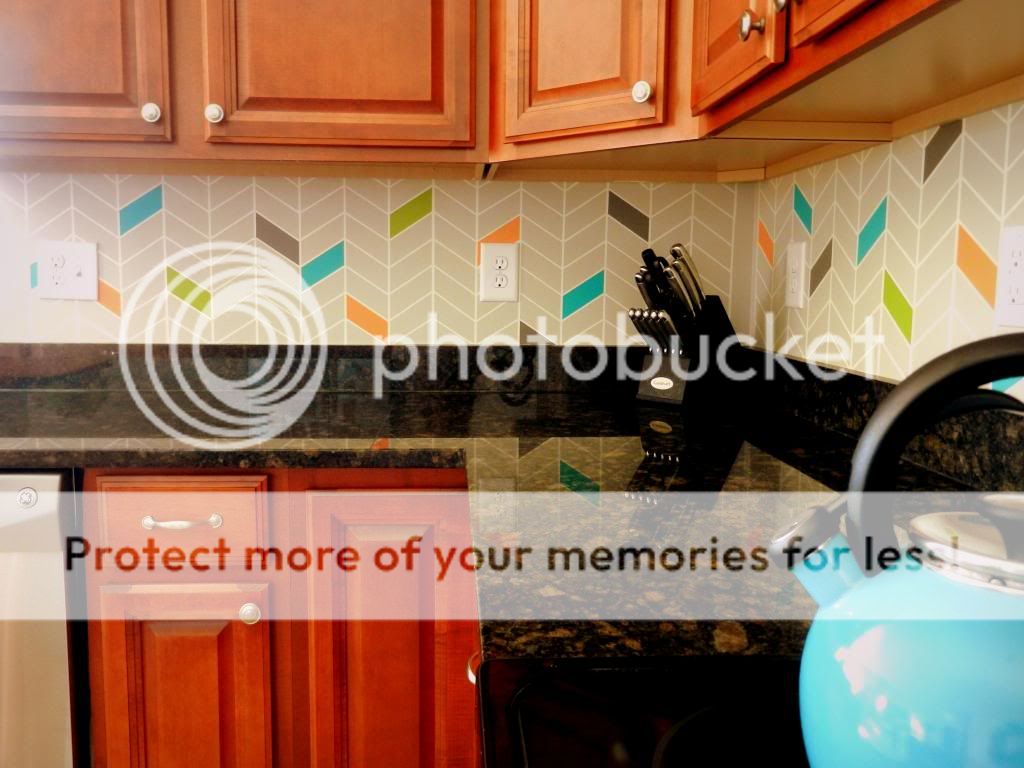
I couldn't decide what kind of backsplash I wanted to do in the kitchen, so I decided to do a painted backsplash for now. It was super-cheap and adds some character until I figure out what I want to do permanently. Here's how it turned out:
I got the color inspiration from
this tile backsplash on Houzz.com and the design inspiration from this HGTV magazine cover:
Here's what I used:
- 1.5 rolls of
Frog Tape (this stuff is the best for painting clean lines).
-Ruler
-Pencil
-Samples of paint (I used Martha Stewart Opal for the "grout lines")
-Paint brushes
First I sketched out on a piece of paper the size "tiles" I wanted. Then I added my measurements to a paint stirrer so I didn't have to keep measuring every time, then I made tiny pencil marks on the wall where the "grout lines" should go.
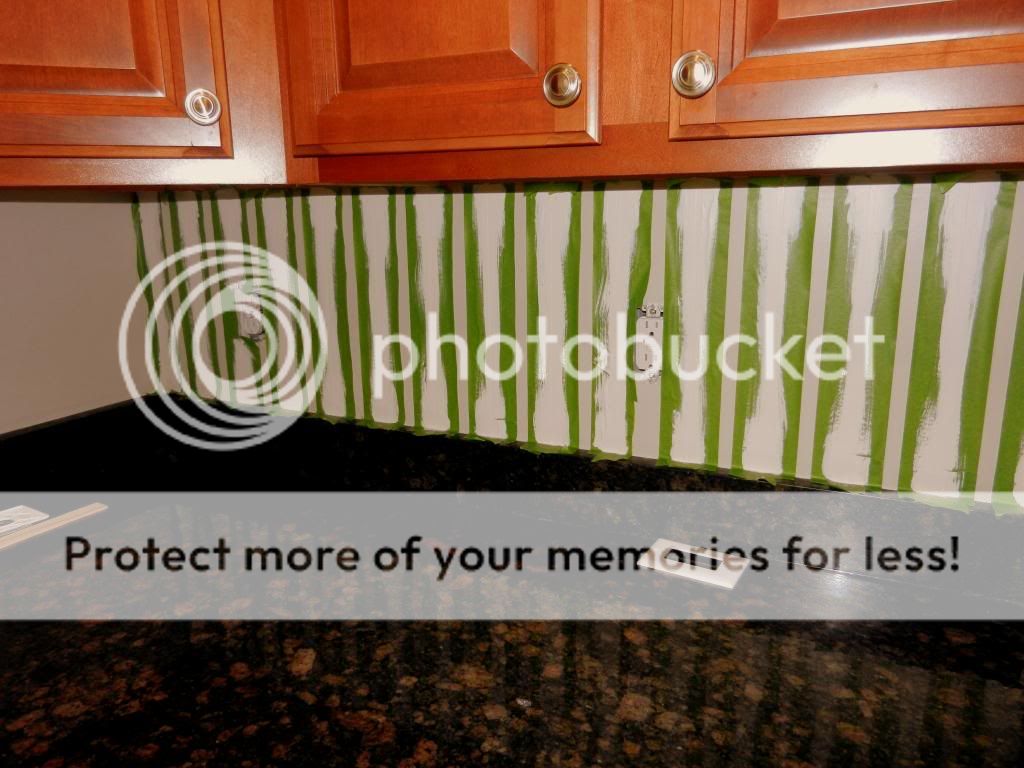
I marked the horizontal lines first, then taped, then painted:
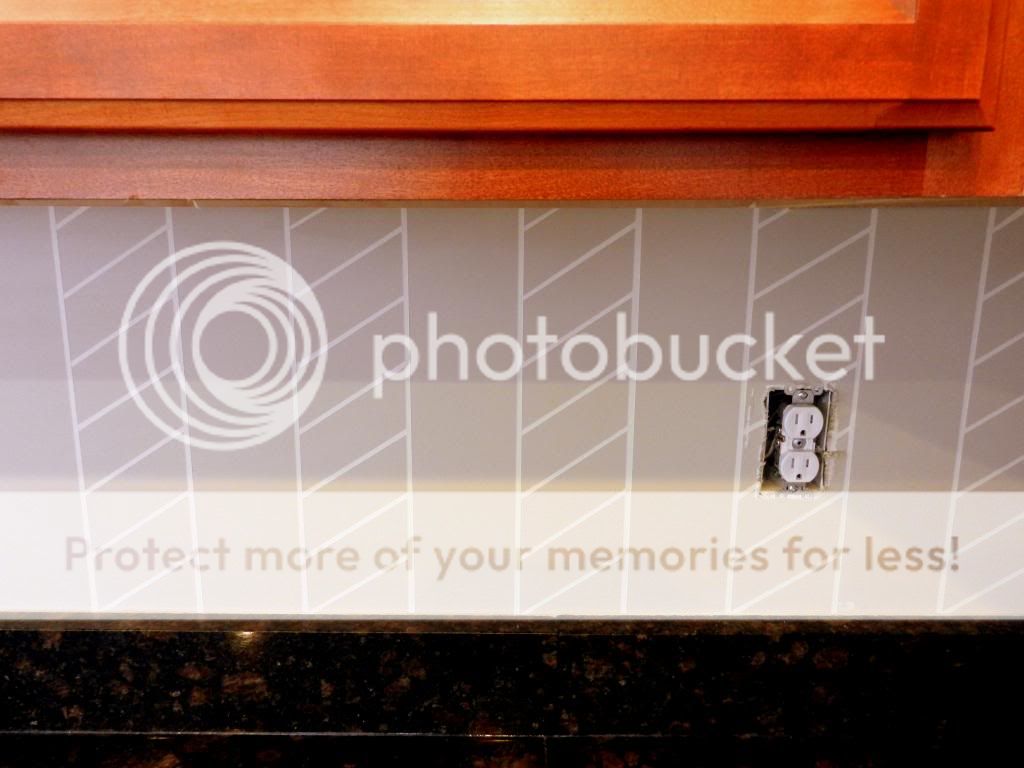
Then I marked, taped and painted the diagonal lines in one direction first, then the other. I let it dry for at least a day between tapings.
It was a bit tricky getting to the spots in the very corner...
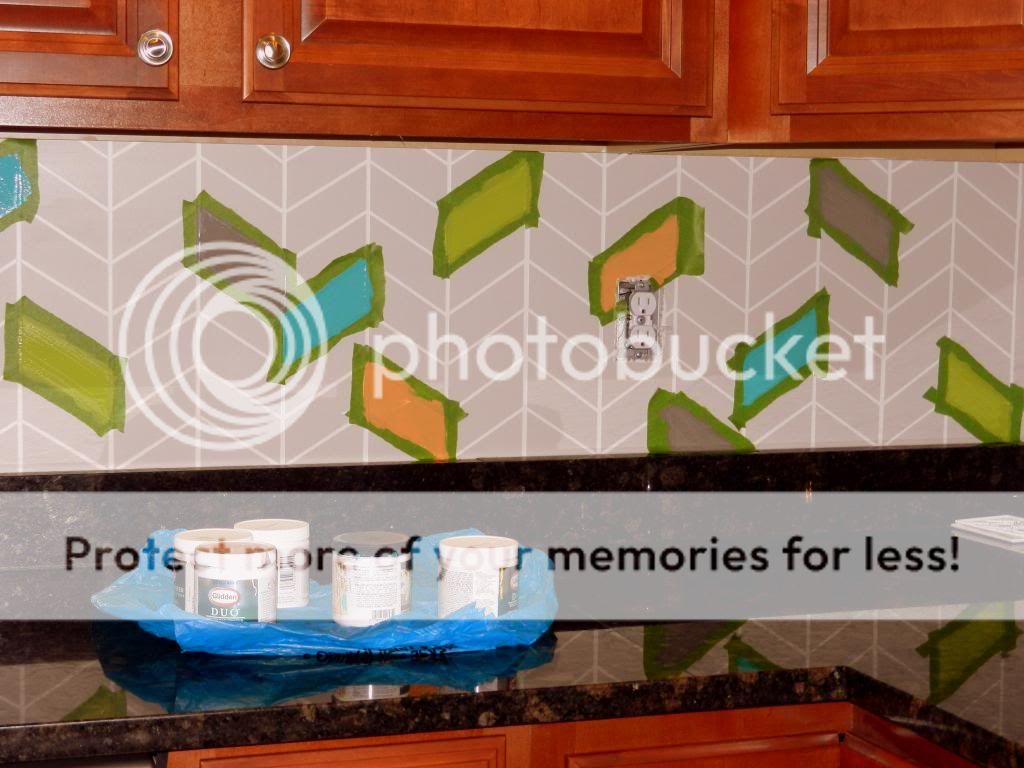
After I did all of the "grout lines", I taped off some random "tiles" to add my colors:
And here are some photos of our finished (for now) kitchen with the new snazzy backsplash!
I'm not gonna lie, this project was rather time-consuming. It was probably about 8 hours worth of work, but since I had to wait a long time between coats/steps and I don't have all that much free time on my hands, it took several weeks to complete. BUT, it was super-cheap... $30 total! I love how it cheers up the kitchen and adds some more "pops" of color.
Is anyone else doing a new backsplash? We picked up several tile samples but I could not make up my mind, so we went with this temporary fix. I'd love to see what you guys are doing!
**I am linking up at these great blogs... go check them out!**
This project was featured on House of Rose and One Project Closer.... woohoo!