Joss & Main Exclusive online private sales for the home
Showing posts with label under cabinet lighting. Show all posts

Friday, January 3, 2014

Drop it Like it's Hot

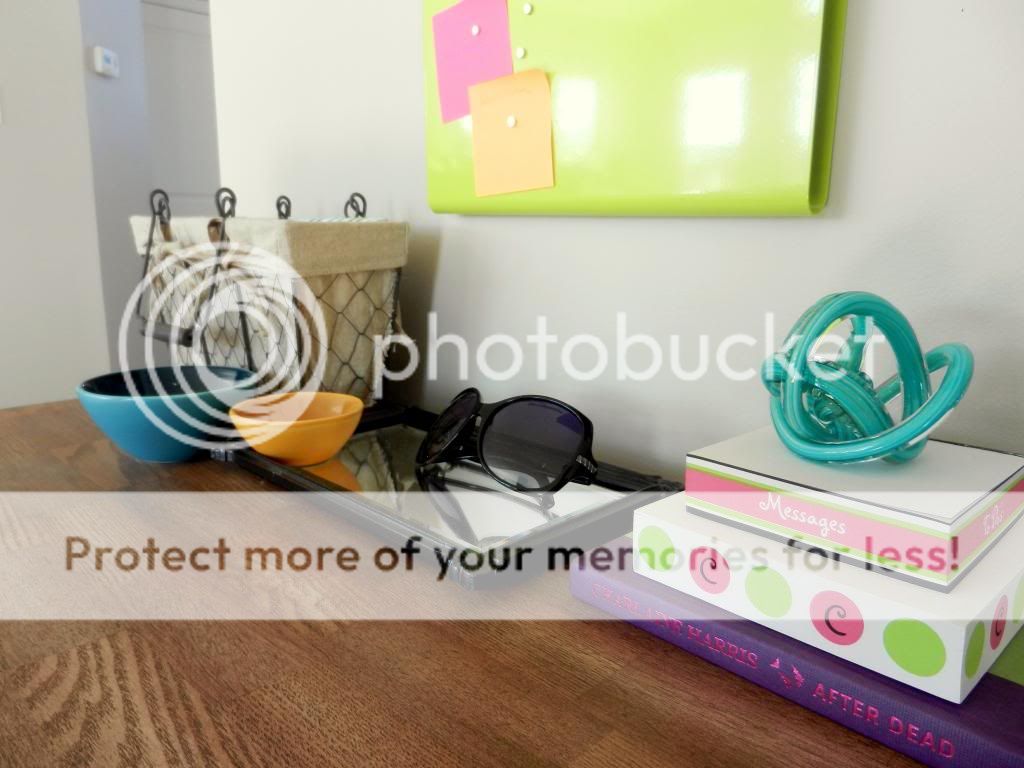
I had been frustrated with how everything we brought into the house seemed to wind up on the kitchen island... mail, bags, jewelry, keys... you know the deal.  So I created a small space right next to the garage entrance to our house (where we usually come in) to drop our things... the DROP ZONE!  I was originally calling it the "command center" as I've seen it sometimes called around the interweb, but Greg told my family we called it that because that's where I command him what to do.  Haha.  So I changed the name to the drop zone :).


The hooks are for our keys and the occasional scarf.  I have been hanging coupons I get in the mail on the cork board so I remember to grab them when I go out shopping.  I actually just got a sweet chevron cork board for Christmas so I'll be switching that plain one out.  I have been eyeing that @ sign for so long and I happened to see it on sale at HomeGoods the other day for $7.  Score!

The green magazine holder is from Three by Three Seattle.  It has these cute little magnets that are surprisingly strong.  The board on the right is a chalkboard for writing important dates.  I have an idea for a calendar I may put there instead, but I like this for now.  The little wire basket is from a general store near me and holds incoming mail. 

The little bowls are from Target and catch jewelry and spare change.  The little tray is just an old mirror that I spray painted.  The teal paperweight is from West Elm and $5 of each purchase goes to St. Jude Children's Research Hospital.  My mom really loved St. Jude's, and after she died my dad bought a memorial brick at the hospital in her honor.  Because of that, we were invited to visit the hospital in Memphis a few years ago.  It was one of the most touching experiences of my life.  Seeing all of those sick kids and how positive they are makes my every day problems seem so trivial.  I believe the worst thing in the world is a suffering child, and St. Jude's does so much to help these innocent children.  I urge you to check out their gift shop or consider donating.  We decided to make a donation to St. Jude's in lieu of favors for our wedding... they give you these cute little bookmarks to give to your guests.

And to wrap up this post, for once I stuck to my self-imposed scheduled and installed my under-cabinet lighting on New Years Day!  Nothing like checking something off of my 2014 list on the first day of the year!

Tuesday, December 31, 2013

How to Replace an Electrical Outlet

I am in the process of installing under-cabinet lighting to show off my new backsplash.  I despise visible wires so I needed to find a way to plug in my under-cabinet lights someplace "invisible".  hehe.  My cousins just did the same thing and they gave me the idea to switch out the single microwave outlet in the cabinet above the microwave for a double one.  Then I just need to drill some holes in the bottom and sides of my cabinets and I can plug the lighting in there.

This was my first experience with electrical work and it was much easier than I anticipated so I figured I would share a how-to.  I did a little research and an electrician would charge anywhere from $100-$200 for this type of work.  The actual outlet only cost about $5 so I think it's totally worth it to DIY this one!

Here's how it's done:

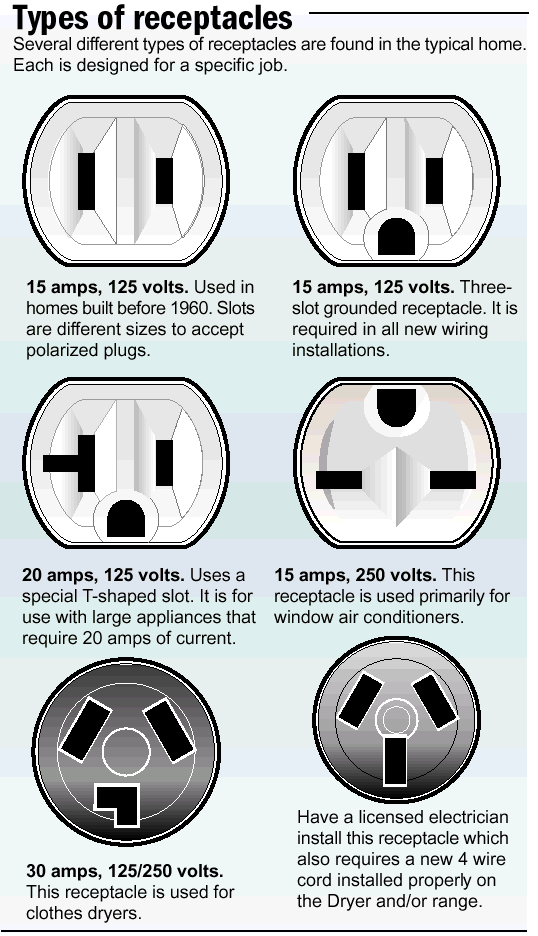
1. Figure out your circuit's current in order to purchase your new outlet.  Most household circuits are 15 amps.  However, some appliances, such as the microwave may need 20 amps, as was the case with mine.  You can tell the difference because a 20 amp outlet has a "T-shaped" prong hole, whereas the normal 15 amp outlet just has straight prong holes.


(source)
New outlet and cover

2. Turn off the electricity to your outlet via the circuit breaker!!!

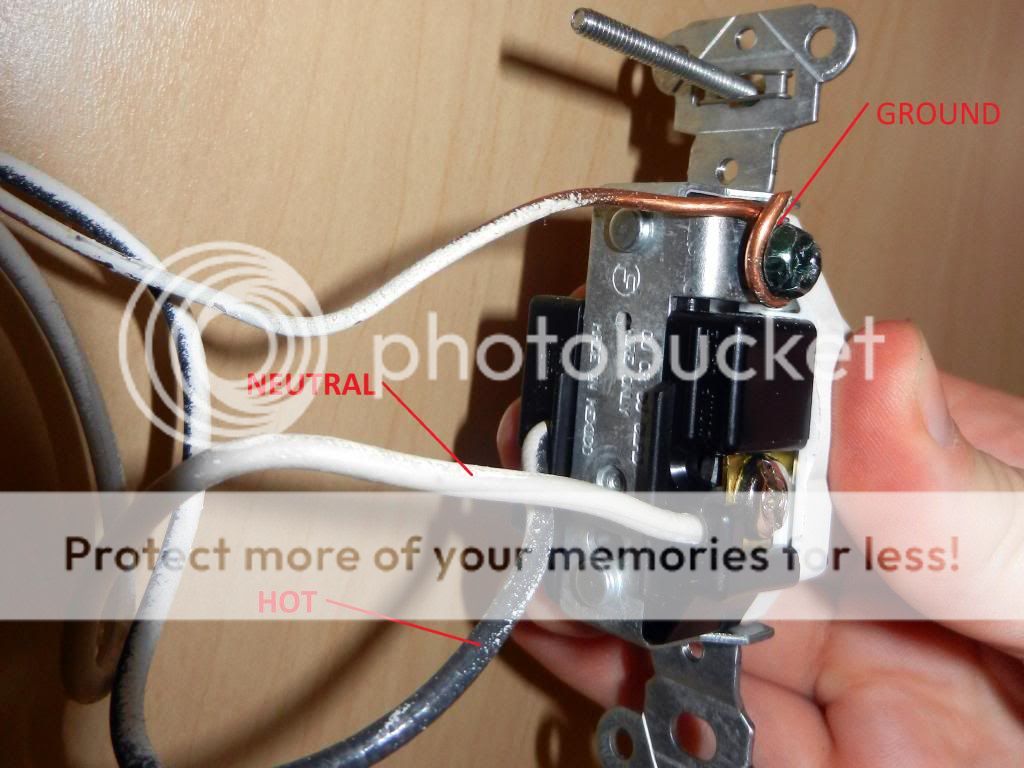
3. Remove the existing outlet by unscrewing the top and bottom long screws.  Note the colors and how the different wires are attached.  The black wire is the "hot" one, which carries the current, the white one is neutral and the brass/bare one is the ground.

4. Remove the white and black wires from the existing outlet by loosening the screws on either side of the outlet and pulling them out.  Remove the ground wire with pliers.

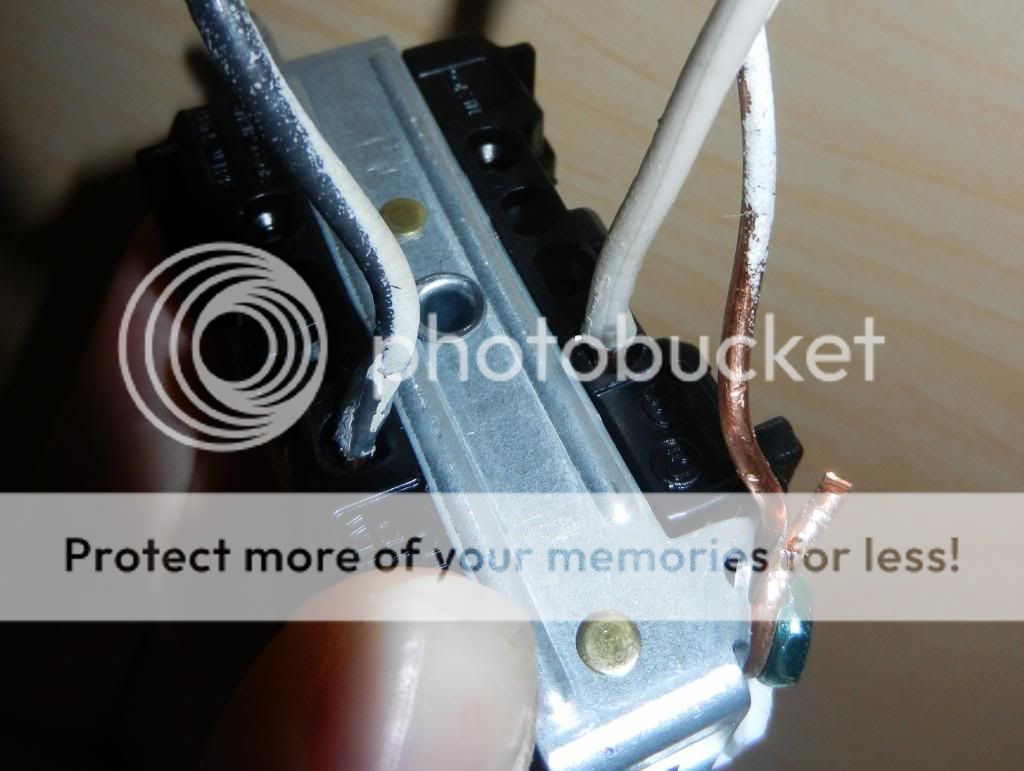
5. Attach the wires to your new outlet.  Insert the black wire in the hole next to the brass-colored screw (black = brass), then tighten the screw.  Insert the white wire into the hole next to the silver screw.  Use pliers to wrap the ground wire around the green screw on the top (ground = green).

6. Insert the new outlet into the receptacle, screw into place and cover with your new outlet cover.


Now I am hoping that I get the energy on New Years Day tomorrow to install the under-cabinet lighting!  Has anyone else installed under-cabinet lighting themselves?  I'm considering doing some above-cabinet lighting too, but I can't decide... any thoughts?

Until 2014... HAP-py New Year!!