It was so nice having a few days off from work to get some crafting done last weekend! I showed you the easy “instagram photo frames” I made the other day. I also made a “built-in” fabric-covered, nailhead trim, cork board for our built-in bookshelves in the office. I struggle with using different patterns in my decorating and I thought this would be a good way to introduce a fun pattern in a somewhat non-committal way, since I can fairly easily change out the fabric if I want to down the road.

This was a very quick, easy and cheap project. It took me about an hour from start to finish, only cost about $35 and doesn’t require any power tools. Here’s what you need:
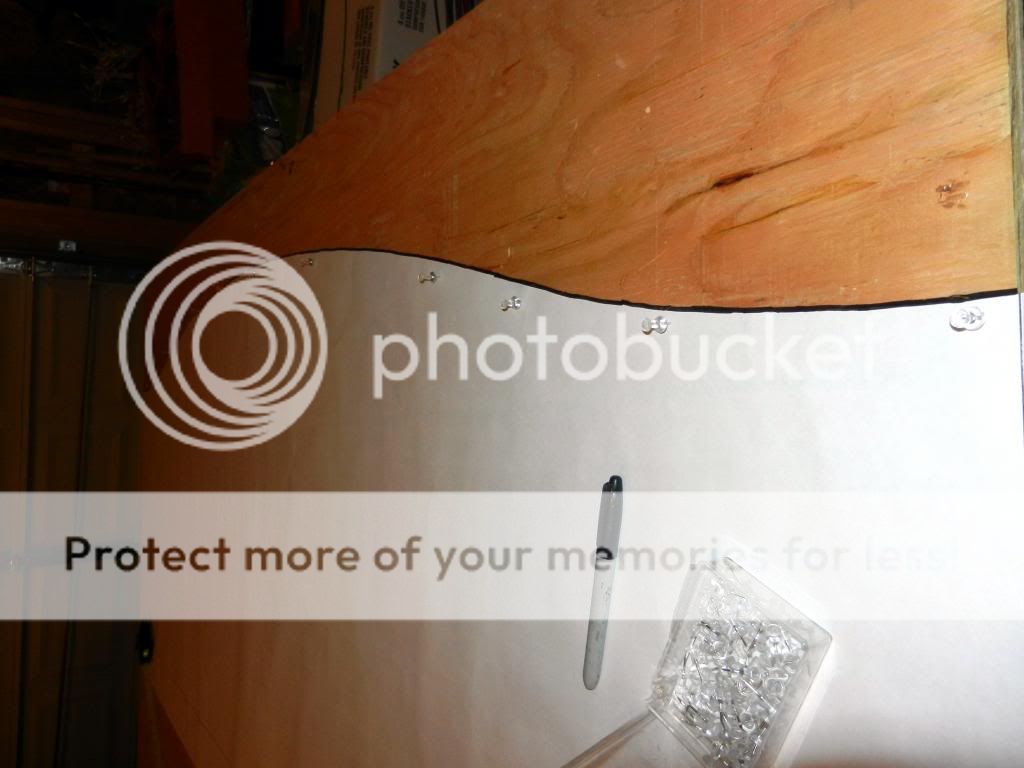
Piece of thin plywood underlayment cut to your desired size
1” x 2” wood cut to fit the 4 sides of your underlayment
Screws or nails + a drill or hammer
Fabric
Nailhead Trim
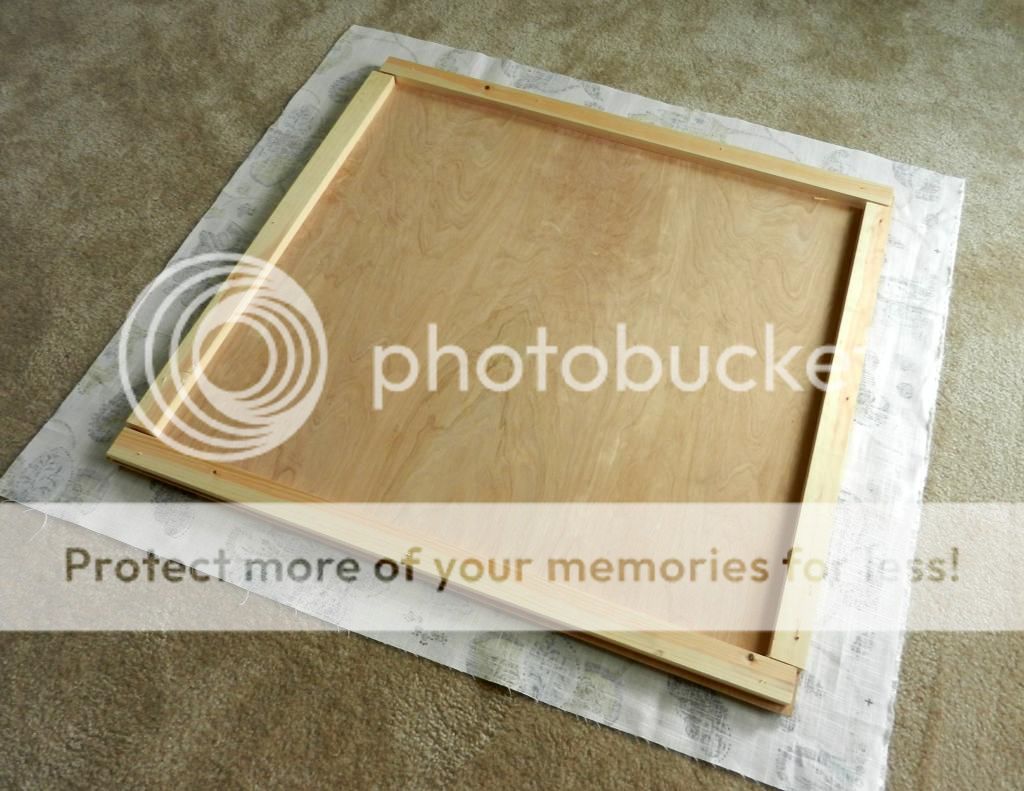
You can get all of your wood cut to size at Home Depot or Lowes. I had my underlayment cut to fit the center section of our built-in bookshelves, where my computer will go. Then I cut my 1x2 pieces and screwed them to the underlayment. I added these mostly for stability and to give me a little thicker surface to staple into, but you really don’t absolutely need those pieces.

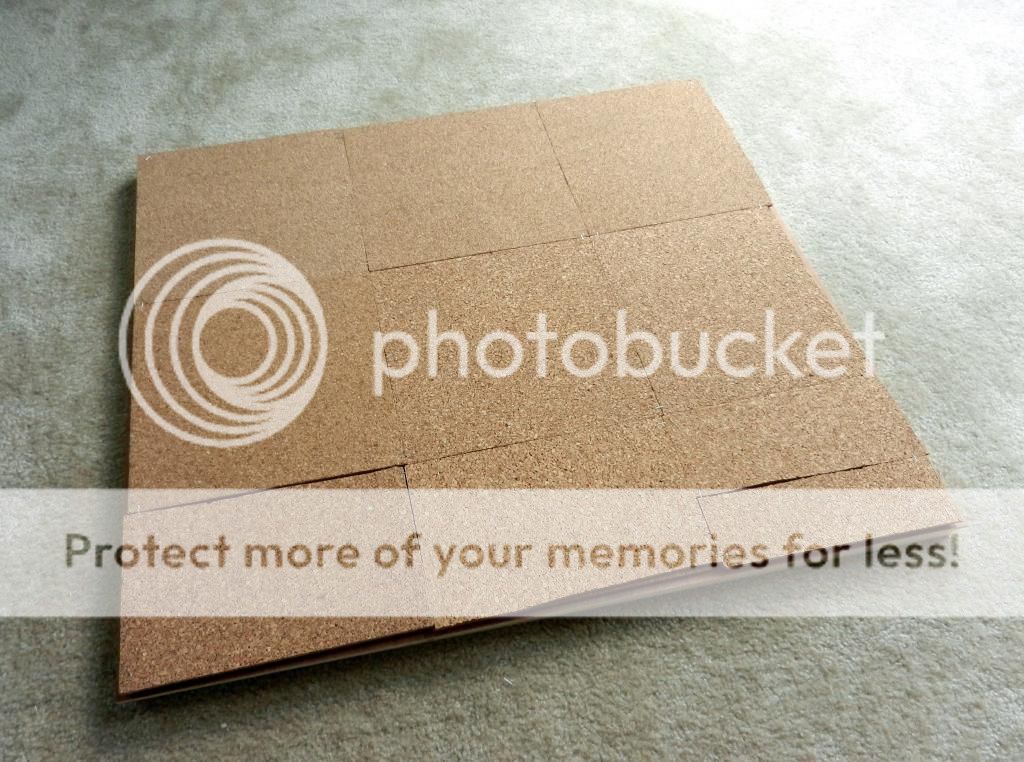
Once you have your base the way you want it, glue the cork tiles on, cutting them as needed. My tiles were very thin so I did two layers so my thumbtacks would hold better. I also added some staples in the corners of each square for extra adhesive power. Again, probably not necessary, but I love reinforcement.
Once you have your base the way you want it, glue the cork tiles on, cutting them as needed. My tiles were very thin so I did two layers so my thumbtacks would hold better. I also added some staples in the corners of each square for extra adhesive power. Again, probably not necessary, but I love reinforcement.
Next, iron your fabric then lay it pattern side down and flip your cork board over on top of it (see photo above). I used this fabric from Tonicliving.com. They are not cheap, but have an amazing selection. Pull the fabric tight and staple it around the back edges of the board.
Then flip it back over and add your nailhead trim. I like to use the kits that are just a long string instead of using individual nails… saves a lot of time and aggravation! Measure from the edge of the cork board as you go to make sure you are staying straight. I kept mine 1 inch from the edges.
And there you go… Four easy steps to a super cute new cork board!

Note: Mine fit snuggly in my space so I didn’t need to attach it to the wall at all (I was planning on using command velcro strips if it didn't wind up fitting so nicely. But if you plan on hanging it on a wall I recommend using a hanging system like this so it doesn’t get crooked every time you pin something.

This project brings me one step closer to finishing the office! It’s all annoying work that we have left like caulking the crown molding, touching up the painted desk, putting a protective coat on my file cabinet makeover (more on that to come), and cleaning (yuck!). I always drag my feet with these last “finishing touches” because they always take longer than you expect and you don’t see much difference when they are done. I like instant gratification!!
This post was featured @ Designs by Miss Mandie and the Lovely Wren!


Linking up at these great parties. Go check them out!
Link it or Lump it
The Makers
Work-it Wednesday
S.T.Y.L.E.
Inspire Me Please
Creativity Unleashed
Frugal Friday
The Inspiration Gallery
The Party Bunch
The Handmade Hangout
Create and Share
DIY Show Off
Bewitchin Projects
DIY Sunday Showcase
The Makers
Work-it Wednesday
S.T.Y.L.E.
Inspire Me Please
Creativity Unleashed
Frugal Friday
The Inspiration Gallery
The Party Bunch
The Handmade Hangout
Create and Share
DIY Show Off
Bewitchin Projects
DIY Sunday Showcase
*This post contains affiliate links*