

I finished our master bedroom headboard!
I got my inspiration from the picture of the comforter that I
bought online last month for our new king size bed.

Here's how I did it:
1. SKETCH IT... I sketched and cut out the shape I wanted for the top on a very
large piece of paper (I actually printed this on the plotter at work...
ssshhh.... don't tell my boss). You could also do it on a large de-constructed
cardboard box or the back of wrapping paper or just tape a bunch of pieces of
paper together. Or you could just sketch it right on the wood if you're that
good. I held the paper up behind the bed first just to make sure I like the way it
looked and the size was right before we proceeded.
2. CUT IT... The dimensions of our headboard are 76" wide x 42" high (about
30" shows above the mattress but I wanted the extra height below the
mattress line just in case). We bought a 4'x8' piece of plywood from Home Depot and
had them cut it to 76" (6 1/3') wide for us. We left the height as 4' so we had
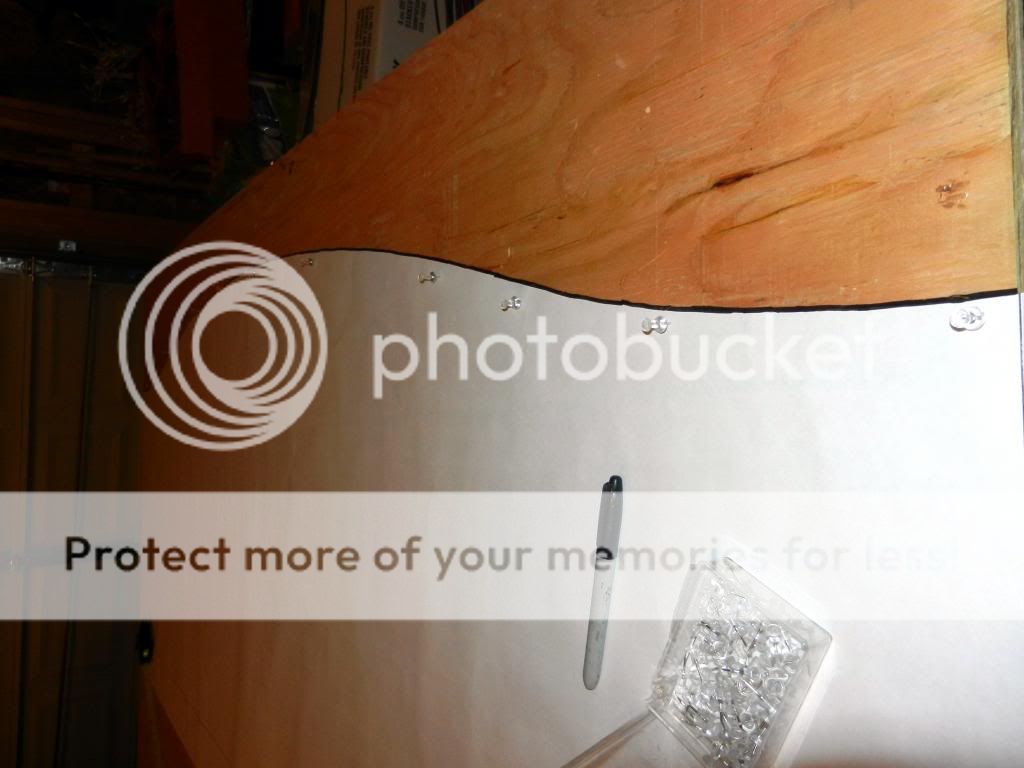
some wiggle room in case we messed up cutting the top. I
attached the pattern to the plywood with thumbtacks and traced the shape onto the wood
with a sharpie. I carefully cut along the line using a handheld saber saw
(super easy to use!). It doesn't matter if it's not exactly perfect (mine
wasn't) since you'll be wrapping it with batting and fabric.

3. COVER IT... I sprayed the wood with adhesive and laid the foam on top.
I recommend leaving it a little long then you can just cut around the edges
after it's attached. Then I laid the (pre-ironed) fabric on the floor, then the
batting on top, making sure they were both pulled tight to eliminate any
wrinkles. I trimmed each so there was at least 4" extra batting and fabric along
each edge. I pulled the batting tightly around the wood and stapled in the back
every few inches and did the same with the fabric.


4. NAIL IT... I used a nailhead trim kit from amazon.com. (I originally bought my nailhead trim from perfectfit.com, but it never came and
they wouldn't give me my money back... grrrrr!!!). I was worried that the kit wouldn't work with the shape of my headboard since it's the trim is a solid string and my headhoard is not straight on the top, but it was actually very flexible and easy to mold around the curves. I suggest using needle nose pliers to hold the nails in place while hammering them so you don't damage your digits!


5. HANG IT... My dad and I had various ideas on how to hang the headboard, but we ultimately settled on hanging it on the wall with picture hangers and using brackets on the bottom for support.

6. ADMIRE IT! Sweeeeeet! It's not perfect, but I made it so I think it's
cooler than perfect :).
 |
 |
Here's what I used to make it:
3 yards of charcoal gray duck fabric from bigduckcanvas.com -
$21.00
Nailhead trim kit from amazon.com
- $11
1 piece of 3/4 in thick 8'x4' plywood - $30
Picture Hangers - $0 (already had)
Brackets - $4.00
5 yards of 3/4" thick upholstery foam (I only needed 2.5 yards, but I had to
get two strips because it wasn't tall enough) - $20
3 yards of batting - $9
Spray adhesive - $0 (already had)
TOTAL: $95
TOTAL: $95
TOOLS:
Electric screwdriver/drill
Needle nose pliers
Needle nose pliers
I honestly think the hardest part of this project was ironing the fabric.
But I'm a pretty terrible iron-er so you all would probably have an easier time
with it. :)
What do you think?!
P.S. I'm linking up to the Dog Days of Winter Party at Love of Family and Home. Check out some of the other fun projects :).
What do you think?!
P.S. I'm linking up to the Dog Days of Winter Party at Love of Family and Home. Check out some of the other fun projects :).
Very nice! Homemade stuff shouldn't be perfect... it adds character. =)
ReplyDeleteColette, this looks AMAZING! You did a fantastic job. You have given me some inspiration, my dear!
ReplyDeleteGorgeous! Totally wouldve done this if we hadnt purchased for our daughter already, great job!
ReplyDeleteVERY nice job!!!!
ReplyDeleteWow, as my neice would say you've got mad [DIY] skills! That looks great!
ReplyDeleteVery Nice, I did that in our other house, so this time I wanted a cherry headboard.
ReplyDeleteQuestion.......where did you get the bench at the end of your bed?? i love it.......I want one.
Thanks! Unfortunately that bench is an old (like 1970's) piece that I took from my parents' house and just spraypainted and reupholtered. http://movingtothecountryryanhomes.blogspot.com/2013/01/spray-paint-fun.html
DeleteIt's beautiful!! Matches your comforter set perfectly! Great job on your DIY skills!
ReplyDeleteFantastic job! I am in the process of building our bed. And now we are thinking about upgrading to a King. (Now that I've already built the queen headboard and footboard - good times!)
ReplyDeleteYou did a great job with it. I always say about my stuff - It's not perfect but it makes me happy, which is better.
Hi, trying to decide between models. I read a blog where they say that in their Verona they can hear everyone talking downstairs as if they were talking on the second floor. Do you experience that with your courtland with the 2 storey foyer.
ReplyDeleteYou can definitely hear what's going on downstairs, but it hasn't really bothered us. I don't think the soundproofing in a Ryan home is all that great no matter what model you get. Let me know if you have any other questions about the courtland!
Delete