I couldn't decide what kind of backsplash I wanted to do in the kitchen, so I decided to do a painted backsplash for now. It was super-cheap and adds some character until I figure out what I want to do permanently. Here's how it turned out:
I got the color inspiration from
this tile backsplash on Houzz.com and the design inspiration from this HGTV magazine cover:
Here's what I used:
- 1.5 rolls of
Frog Tape (this stuff is the best for painting clean lines).
-Ruler
-Pencil
-Samples of paint (I used Martha Stewart Opal for the "grout lines")
-Paint brushes
First I sketched out on a piece of paper the size "tiles" I wanted. Then I added my measurements to a paint stirrer so I didn't have to keep measuring every time, then I made tiny pencil marks on the wall where the "grout lines" should go.
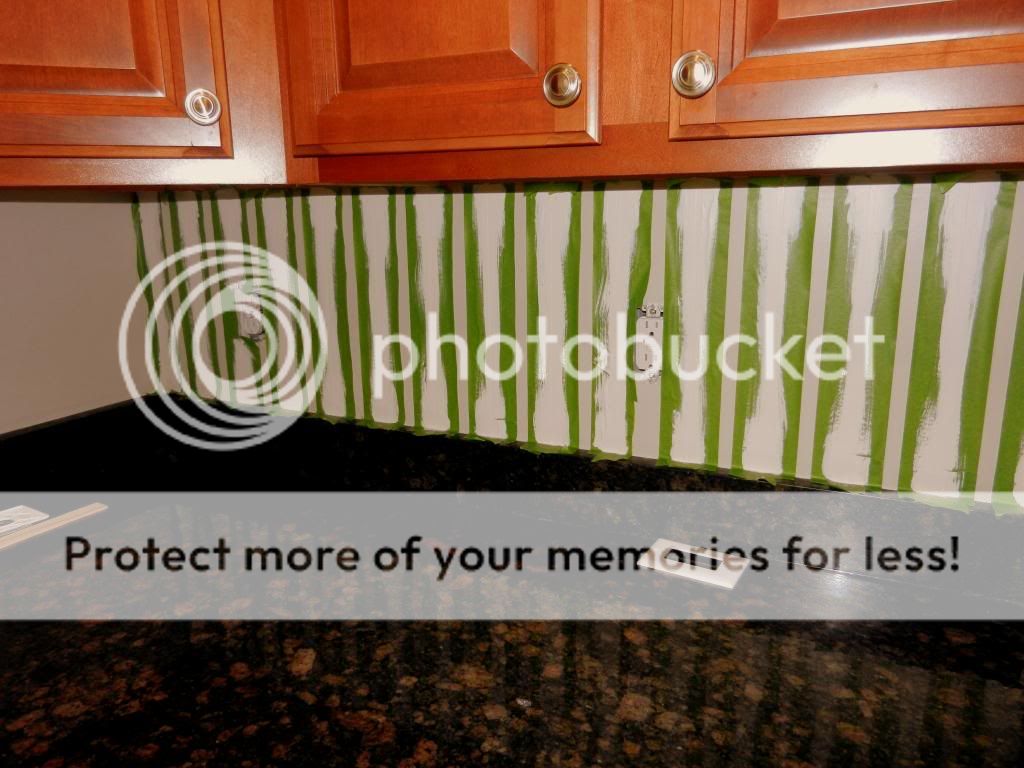
I marked the horizontal lines first, then taped, then painted:
Then I marked, taped and painted the diagonal lines in one direction first, then the other. I let it dry for at least a day between tapings.
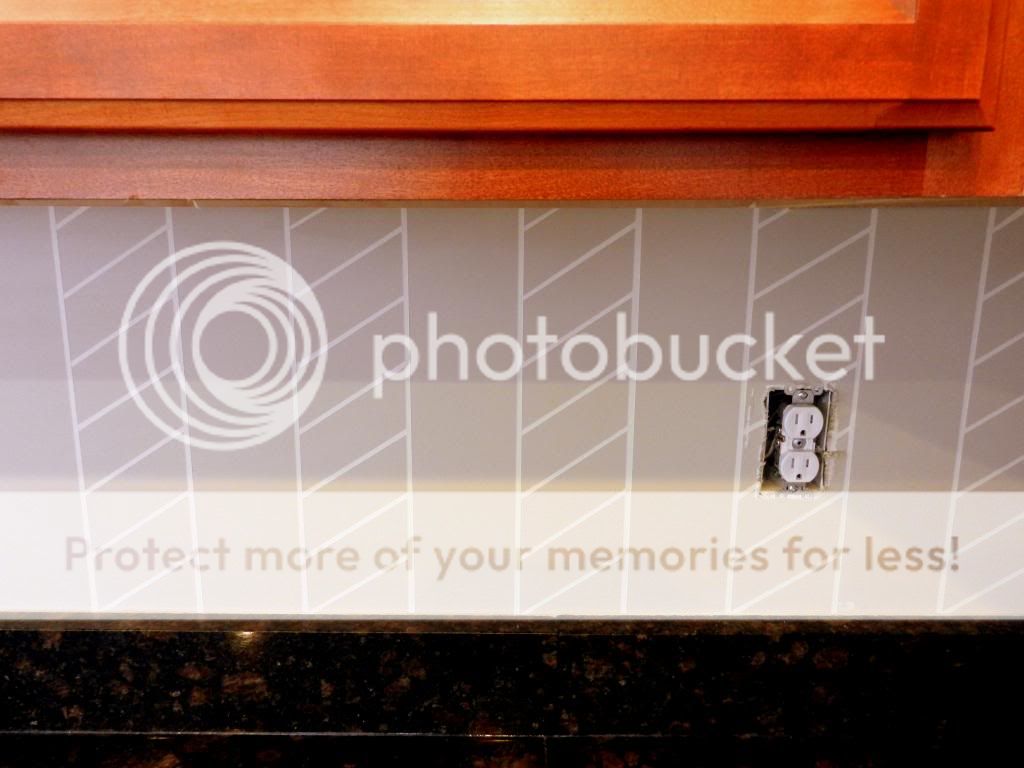
It was a bit tricky getting to the spots in the very corner...
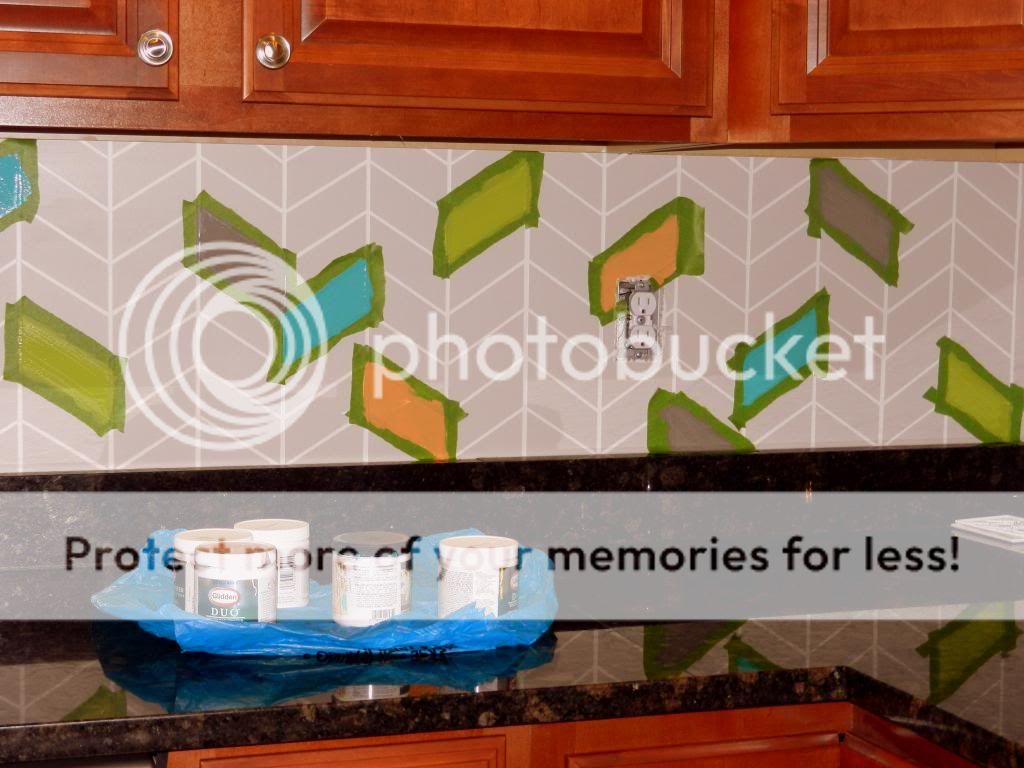
After I did all of the "grout lines", I taped off some random "tiles" to add my colors:
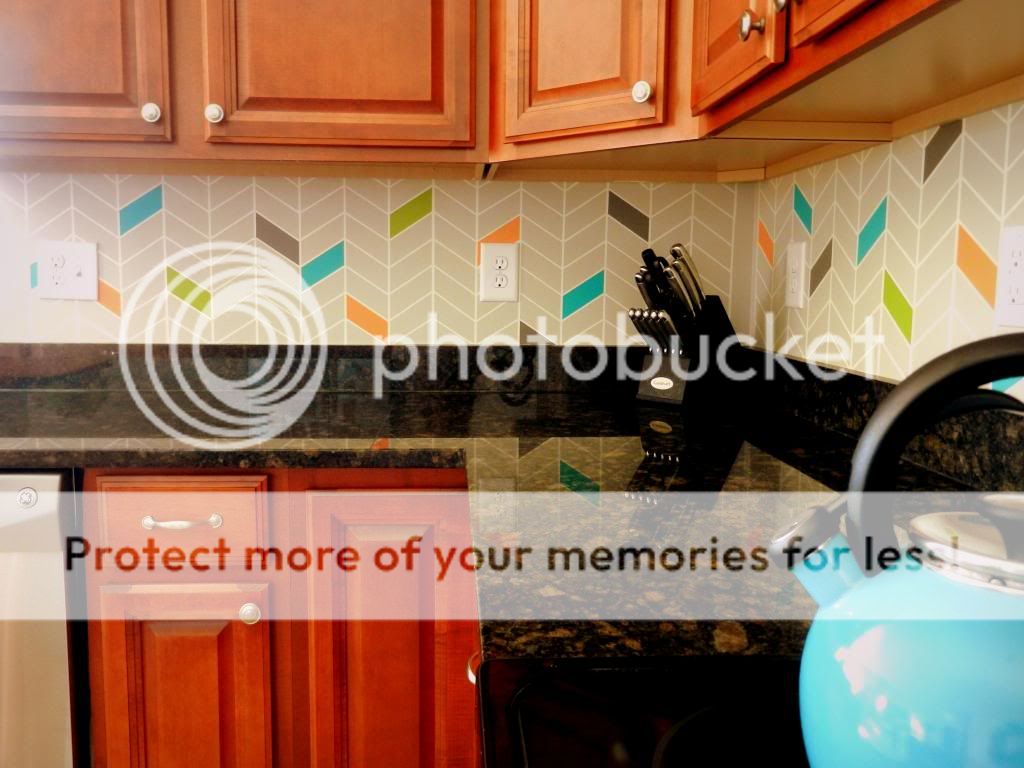
And here are some photos of our finished (for now) kitchen with the new snazzy backsplash!
I'm not gonna lie, this project was rather time-consuming. It was probably about 8 hours worth of work, but since I had to wait a long time between coats/steps and I don't have all that much free time on my hands, it took several weeks to complete. BUT, it was super-cheap... $30 total! I love how it cheers up the kitchen and adds some more "pops" of color.
Is anyone else doing a new backsplash? We picked up several tile samples but I could not make up my mind, so we went with this temporary fix. I'd love to see what you guys are doing!
**I am linking up at these great blogs... go check them out!**
This project was featured on House of Rose and One Project Closer.... woohoo!


I never would have thought to paint on a backsplash... great idea and it turned out great! Oh and you have way more patience than me! I probably would have thrown in the towel before everything was taped up. In fact, I'm *still* trying to make myself work on the finishing part of the faux mantel bookshelf that we built a couple of months ago. I still need to put two coats of clear coat on it and sand it twice... and December is right around the corner. Eek!
ReplyDeleteThere were definitely times when I wanted to throw in the towel! Just doing it a little at a time made it easier. I could tape a few lines while waiting for dinner to cook.
DeleteWow, very nice! DIY is FUN!
ReplyDeleteso glad you posted this!! i saw this in the magazine too and wasn't sure if i wanted to go temp or perm and of course decisions overwhelm me so lol i did neither. but this looks GREAT it caught my eye when you posted about ur family room finish. looks wonderful!
ReplyDeleteIm tired just looking at the pics! LOL..How cool! You're crazy! We are painting our rooms NOW and I type and I cant imagine doing THAT, its amazing!
ReplyDeleteYes we also want to do a backsplash, we had one in our old house and its easy, since you and I are real good at DIY. But I just cant decide either.
I really want subway tile, but the hang over into the morning room leaves a small space above the sink and two tiles would NOT fit, hubby says we can "take off" the granite backsplash which a regret letting them install. I remember the day I caught them doing it and I said NO, stop. But hubby said no go ahead and install, now we are limited I think, but he says he can just rip it out, somehow its never quite that easy.
I used to get tons of samples from stores and line them up on the wall with tape to get the full effect and return what I didnt want. It was a pain in the butt, but what's worse, hating your backsplash?
;-) Looks wonderful!!
ReplyDeleteI love this! You are so good at DIY! You have given me an idea for a backsplash and now, if you don't like it, you can just paint over it. Also, how did you add the "pin it" feature to your blog?
ReplyDeleteDanielle - this blog has really good directions on how to add the pin it button: http://www.codeitpretty.com/2012/04/add-pin-it-buttons-to-your-blogger.html. I know nothing about coding, but she spells everything out so even I could follow it.
DeleteYOU ROCK, *colette* I think once I begin my interior design course for the next semester I may be inspired to do some DIY projects myself instead of hiring someone to do everything. I just don't have the patience; however, I want to learn some basic things. In the meantime, I just love love putting the entire room together and creating the perfect space. I am renovating our basement to include a laundry room and media room and sauna. Can't wait. We start on January 6 with the contractor. YAY! YOU ARE JUST AMAZING AND LOVE YOUR ENGINERING TALENTS. I LOVE HOW YOU STAY CONNECTED WITH OUR PROJECTS.
ReplyDeleteOMG Nadase - you need to have us all over to see your house someday... a sauna?!?! That's amazing. I love the ideas you come up with! I have been dying to take some interior design courses too, but I just don't have the time right now... hopefully soon!
DeleteNice work there Collete!
ReplyDeletehave a related but unrelated question for you. Hope it's ok to reach out and pick your brain a little bit.
saw you talking a year or so ago about your build on here. thought I'd trying to connect with you because i'm doing research for a blog I'm launching to help owner house builders go from concept to completion.
was just curious; back then, what’s the one thing you guys wish you’d known during the financing phase of your project?
that is fab!!
ReplyDeleteWOW looks so amazing and i love the added touches of color!! thanks for linking up!
ReplyDeleteThank you and thanks for hosting!
DeleteFeaturing tomorrow morning at Creativity Unleashed link party at One Project Closer! :)
DeleteI absolutely LOVE this! What a fun way to add some color inexpensively!!! Pinning for sure, and thanks so much for sharing this at Creativity Unleashed!
ReplyDeleteThank for stopping by and thanks for pinning :).
DeleteThis is unique and fun and adds some an unexpected touch to the kitchen...Love it!
ReplyDeleteThank you! Thanks for stopping by!
Deletesuch a cute backsplash! I'm always looking for unique ideas for the home and this is definitely one of them. I could also see this in the laundry room or a fun bathroom. Thanks for sharing!
ReplyDeleteSandra
www.notesfromtheslife.com
Thanks Sandra! You are totally right... something like this would be great for a laundry room... I think I may just have to do that whenever we get around to doing our laundry room!
DeleteWow this is so impressive!
ReplyDeleteGreat pop of color! You have a lot of patience. :)
ReplyDeleteColette,
ReplyDeleteWow! I'm impressed. I'm actually an engineer by trade too, but this is making my head hurt. You must be so patient and meticulous! But I love how it turned out. The colors are great too.
Lora @ Craftivity Designs
OMG! At first, I thought you had painted random tiles then upon further reading, I found you painted the entire thing! It looks FABULOUS!! I love the color pops! GREAT JOB!
ReplyDeleteHaha, thanks Cher-Ann... it was a labor of love :).
DeleteThat is beautiful! I think the pops of color just make it! I have done a faux tile back splash in the past so I can appreciate the HOURS it took to do this. Great job! #SITSblogging
ReplyDeleteOMG this is beautiful. I plan on starting this next month. I was actually going to spend the money on the tiles to get a design similar to this, but after some quick math, I realized i would be $600 "poorer." I hope you don't mind that I am stealing your design, but I am doing pops of red with browns and beige. Your blog is awesome. New follower here!!
ReplyDeleteThanks for the kind words and thanks for following! Steal away! I would love to see your back splash when you are finished! I have been thinking about adding some sort of protective sealer since I finished this, but I haven't done it yet. So far I've been able to wipe it down with no issues, but I'm sure a sealer would help. Let me know if you find a good product.
DeleteStealing this design, but adding browns and beige with pops of red. Would you recommend painting over the design with some sort of protective sealant?
ReplyDeleteI actually wanted to do that, but really had no idea what product to use so I just left it as is and it's held up pretty well so far.
DeleteI really wanted to try this pattern out! What is the thickness of the lines/spacing for the horizontal ones etc... I tried recreating but I couldn't get the measurements correct specially for the side ways one! Please help!
ReplyDelete