Joss & Main Exclusive online private sales for the home

Monday, January 28, 2013

DIY Nailhead Trim Headboard

I finished our master bedroom headboard! 
 
I got my inspiration from the picture of the comforter that I bought online last month for our new king size bed.


Here's how I did it:
 
1. SKETCH IT... I sketched and cut out the shape I wanted for the top on a very large piece of paper (I actually printed this on the plotter at work... ssshhh.... don't tell my boss). You could also do it on a large de-constructed cardboard box or the back of wrapping paper or just tape a bunch of pieces of paper together. Or you could just sketch it right on the wood if you're that good. I held the paper up behind the bed first just to make sure I like the way it looked and the size was right before we proceeded.

 
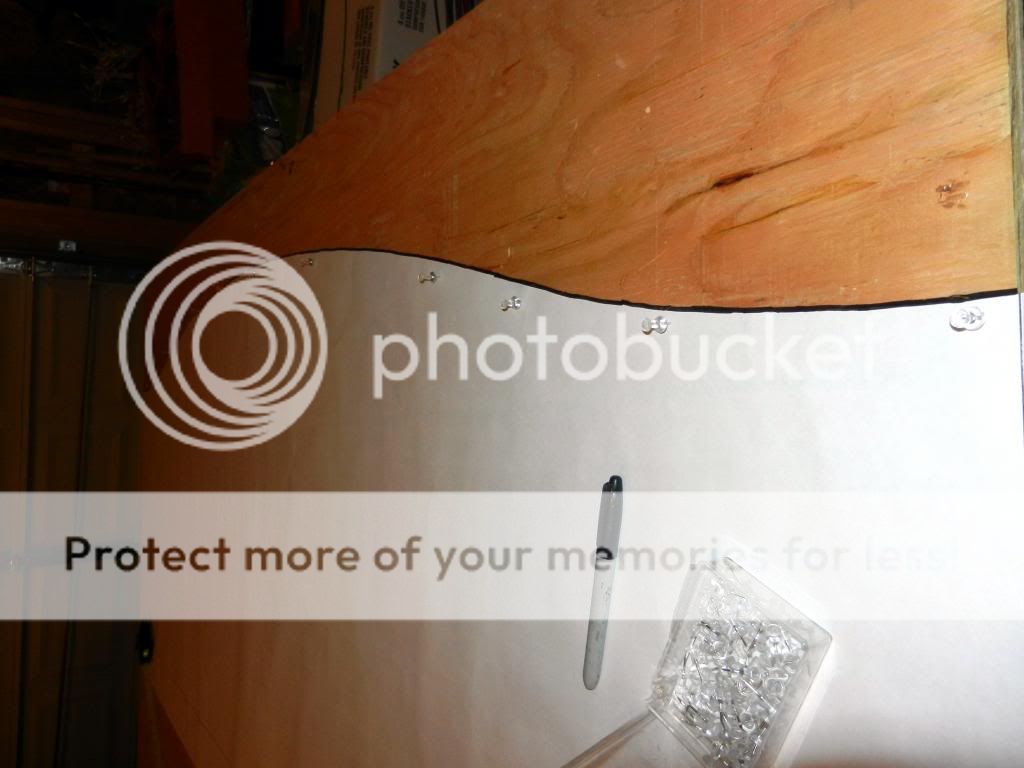
2. CUT IT... The dimensions of our headboard are 76" wide x 42" high (about 30" shows above the mattress but I wanted the extra height below the mattress line just in case). We bought a 4'x8' piece of plywood from Home Depot and had them cut it to 76" (6 1/3') wide for us. We left the height as 4' so we had some wiggle room in case we messed up cutting the top. I attached the pattern to the plywood with thumbtacks and traced the shape onto the wood with a sharpie. I carefully cut along the line using a handheld saber saw (super easy to use!). It doesn't matter if it's not exactly perfect (mine wasn't) since you'll be wrapping it with batting and fabric.

 
3. COVER IT... I sprayed the wood with adhesive and laid the foam on top. I recommend leaving it a little long then you can just cut around the edges after it's attached. Then I laid the (pre-ironed) fabric on the floor, then the batting on top, making sure they were both pulled tight to eliminate any wrinkles. I trimmed each so there was at least 4" extra batting and fabric along each edge. I pulled the batting tightly around the wood and stapled in the back every few inches and did the same with the fabric.

diy-fabric-headboard

 
4. NAIL IT... I used a nailhead trim kit from amazon.com. (I originally bought my nailhead trim from perfectfit.com, but it never came and they wouldn't give me my money back... grrrrr!!!).  I was worried that the kit wouldn't work with the shape of my headboard since it's the trim is a solid string and my headhoard is not straight on the top, but it was actually very flexible and easy to mold around the curves.  I suggest using needle nose pliers to hold the nails in place while hammering them so you don't damage your digits!


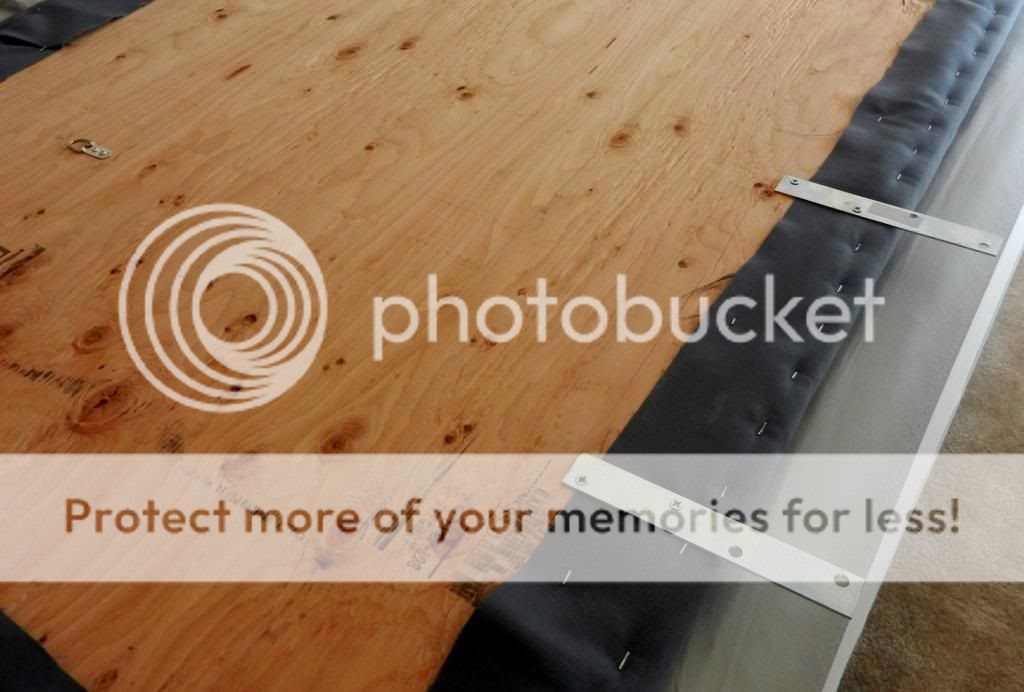
5. HANG IT... My dad and I had various ideas on how to hang the headboard, but we ultimately settled on hanging it on the wall with picture hangers and using brackets on the bottom for support.

 
 6. ADMIRE IT! Sweeeeeet! It's not perfect, but I made it so I think it's cooler than perfect :).


DIY-headboard
 
DIY-headboard
 
Here's what I used to make it:
MATERIALS:
3 yards of charcoal gray duck fabric from bigduckcanvas.com - $21.00
Nailhead trim kit from amazon.com - $11
1 piece of 3/4 in thick 8'x4' plywood - $30
Picture Hangers - $0 (already had)
Brackets - $4.00
5 yards of 3/4" thick upholstery foam (I only needed 2.5 yards, but I had to get two strips because it wasn't tall enough) - $20
3 yards of batting - $9
Spray adhesive - $0 (already had)
TOTAL: $95
TOOLS:
Electric screwdriver/drill
Needle nose pliers
I honestly think the hardest part of this project was ironing the fabric. But I'm a pretty terrible iron-er so you all would probably have an easier time with it. :)

What do you think?! 


P.S. I'm linking up to the Dog Days of Winter Party at Love of Family and Home.  Check out some of the other fun projects :).

Tuesday, January 15, 2013

Original Art

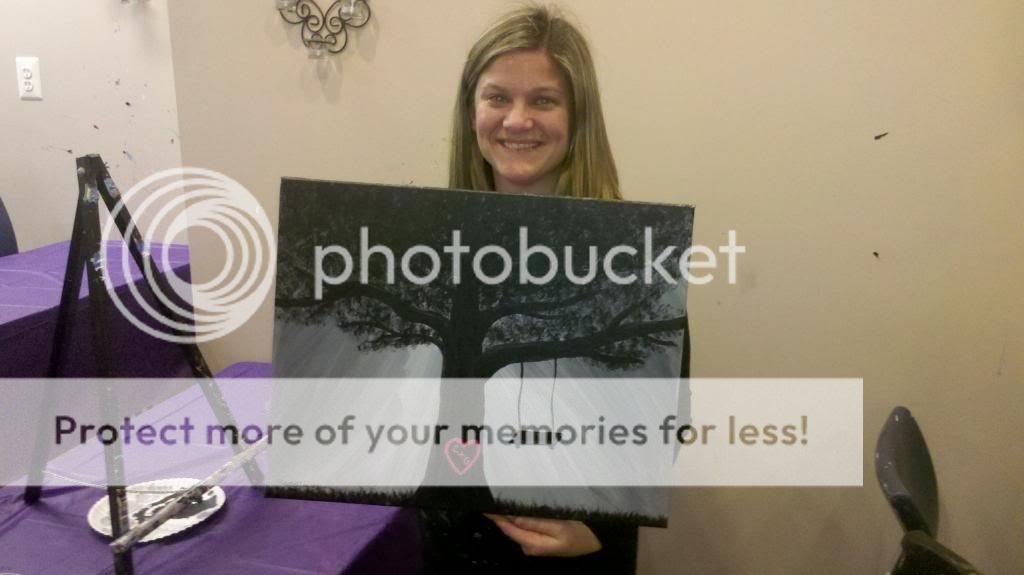
This is not really house-related, but it was such a cool experience that I had to share it! My girlfriends and I went to this place called Canvas Mixers, where you drink wine (or mimosas in my case) and a professional artist teaches you how to paint an actual painting. We all had to agree on one painting from their gallery online (we chose "Young Love" but I really want to do "Torso" if we do it again... take a look ;)). We had some cocktails while they got us set up, then we painted the picture in three stages. It took about 15 minutes to do the background. Then we chatted/ate/drank while the canvas dried and they set us up for the next stage, which was the tree trunk, branches and leaves. We took another short break, then did the final touches... the grass, the heart on the tree and some "highlights". It took about 3 hours from start to finish, including a good amount of socializing and goofing around.
The experience was so much fun... the instructor was great, it was really laid back (though me being the perfectionist I am, I got slightly frustrated at times) and it was just something different than the typical dinner date with friends. Apparently they have places like this all over, so if you think you might be into this type of thing I would definitely check it out. Now I just have to find the perfect place in our house for my masterpiece!
P.S. It was $30 per person and you can bring whatever food and drinks you'd like.

Tuesday, January 8, 2013

Spray Paint Fun

I had a pretty productive weekend in terms of house stuff.  I am essentially finished my DIY headboard... I'm just waiting on the nail head trim I ordered to arrive.  I ordered it back in November and there was a snafu wit the shipping :(.  I also did some painting/reupholstering of some old furniture I stole was gifted from my dad's house.

Bench for the foot of the bed:


This is a chair I have had since I was a little girl (hence it's small, but works for holding my clothes that take me a week to put away :)).  I'd like to get a nicer one when I can find a good price, but it will do for now.  I also made that "M" sign from a $3 Ikea frame, a 69-cent piece of craft paper, my printer and a sharpie!


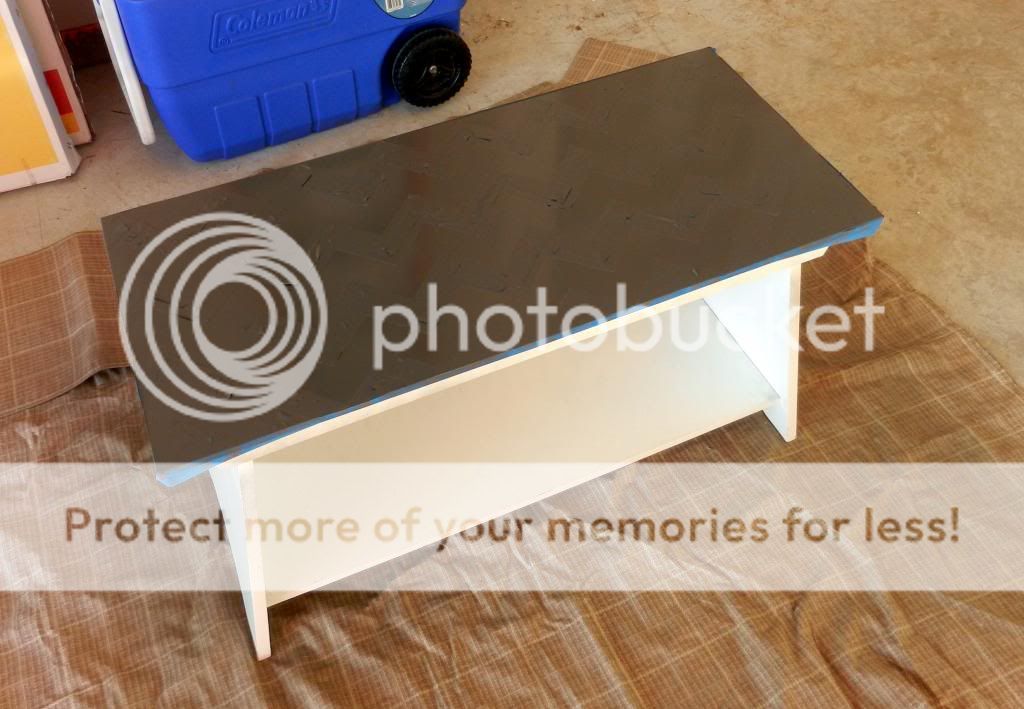
This bench I got on craigslist as a place to hold our work shoes in the garage and a place to sit on to take them on and off. I just drew a grid on top with pencil as shown in the second picture, taped on the chevron pattern with painters tape, spray-painted it, removed the tape then erased the pencil marks on the white parts. 


We have also been busy couch-shopping the past few weekends, but I still can't find anything I love.  Unfortunately I have a very specific idea of what I want and I can't find it in stores anywhere.  Hopefully we'll have more luck this weekend.  I know Greg is super-psyched to shop again this weekend ;).

Wednesday, January 2, 2013

It's Going to be a Busy Year!

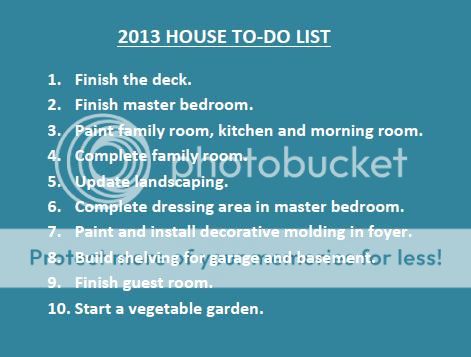
Our Home from Scratch inspired me to make a "House To-Do List" for 2013... which got me to thinking about my own personal goals for 2013. Of course I always set a goal to work out more and eat healthier. Unfortunately I not very successful with that last year. I would also like to learn to sew. I would love to be able to make curtains and pillows and stuff on my own to save a bit of money.  My final personal goal for 2013 is to SAY NO. I have a terrible habit of committing to too many things/people and wearing myself out. I'm always afraid of missing something or letting someone down. I am at a place where I would truly rather stay home and work on the house or just hang out with Greg than go out partying. I need to make an effort to do what is best for me and my family and not worry so much about making it to everything single thing we are invited to. I am going to try to learn to relax!

So, there you have my personal goals for 2013... now onto my house goals. I had a hard time narrowing it down to 10 things, but I'm trying to be reasonable here:

Details...
 
1. We have the hard part of the deck finished so we should be able to bang out the rest in a couple of weekends.

2. I want to build a headboard and bench, paint, put up window treatments, buy matching nightstands (Greg is currently using a step stool as his nightstand) and get a new dresser-type thing for the wall opposite our bed.

3. Our home need some color!  We spend most of our time in the kitchen and family room so I figure it's best to start there.

4. Family room: Buy new couches, chairs and coffee/end tables; paint; window treatments; area rug; gallery wall; fake mantle (we don't have a fireplace).

5. Trees please! I also want to install some lighting outside. 

6. We plan to make the "sitting room" in our master bedroom into a vanity/dressing area. I don't have any concrete plans for this yet.

7. Haven't decided whether we will hire someone to do the foyer (it's very high) or do it ourselves.  I want to do something similar to the Courtland Gate model home... see the last picture in this post.

8. Our basement is in serious need of organization!!! Nothing pretty, just some shelves to put all of our boxes, bins and tools in some sort of organized fashion.

9. Guestroom: Build a headboard, refinish dresser(s), install window treatments, paint.

10. My wonderful hubby has quite the green thumb. He loves gardening (he actually just started an indoor herb garden over the holiday) and I love fresh produce! We started composting when we first moved in (I forgot to do a post about that) so I hope it will be ready for use by the summer or fall.
 
 
Anyone else have any big projects in store for the new year?