Joss & Main Exclusive online private sales for the home
Showing posts with label Courtland Gate. Show all posts

Friday, October 17, 2014

Home Office Reveal!

Our home office is finished! Get ready for a ton of photos... I was so super-excited about how this room turned out, so I was a little trigger-happy with the camera :). So this makes 3 rooms in the house that are finished... at this rate, our whole house will be done by about 2020.  Slow and steady wins the race, right?? Haha.


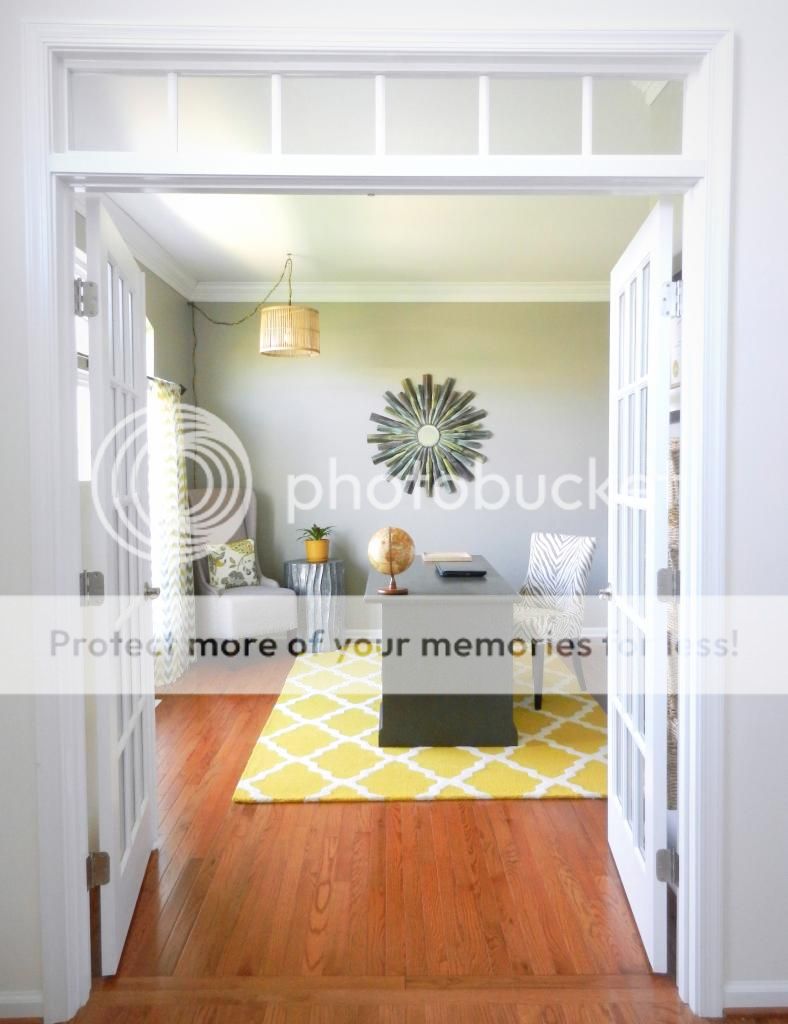
I didn't realize how much I would appreciate the french doors until I needed to get work done while Greg was watching footfall in the family room.... close those babies up and I couldn't hear a thing!

Please, come right in!!


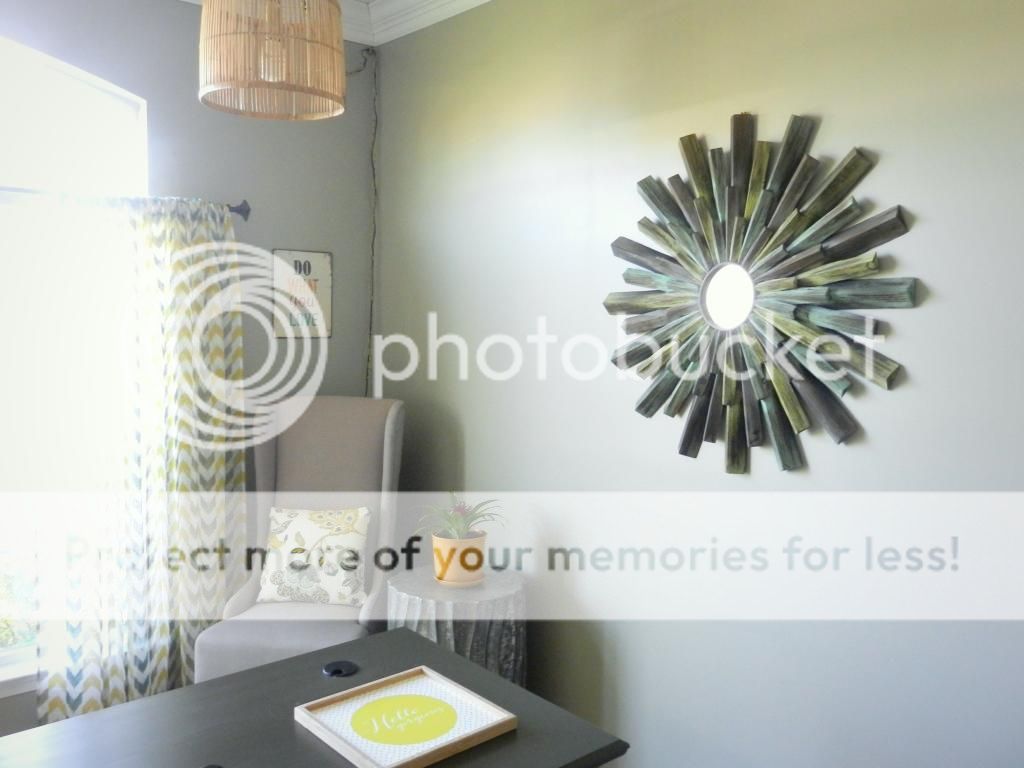
This pillow was my first sewing project. But my 12-year-old cousin walked me through it, so I'm not sure if that counts! Learning to sew that's going to be one of my goals for 2015. Make sure you guys remind me when I list my goals at the beginning of next year! 

These built-ins are my FAVORITE!!! The built-in desk and bookshelves are my biggest DIY accomplishment to date I think. They are actually easier than they look to build. You can read about how I made the desk base here, and I'll be posting a tutorial on the bookshelves shortly! You can also see how I made the fabric-covered nailhead trim corkboard in the center of the bookshelves here.

The gray freestanding desk is from Craigslist, which I made over with homemade chalkpaint. You can check out the desk makeover and how to make your own chalk paint here.


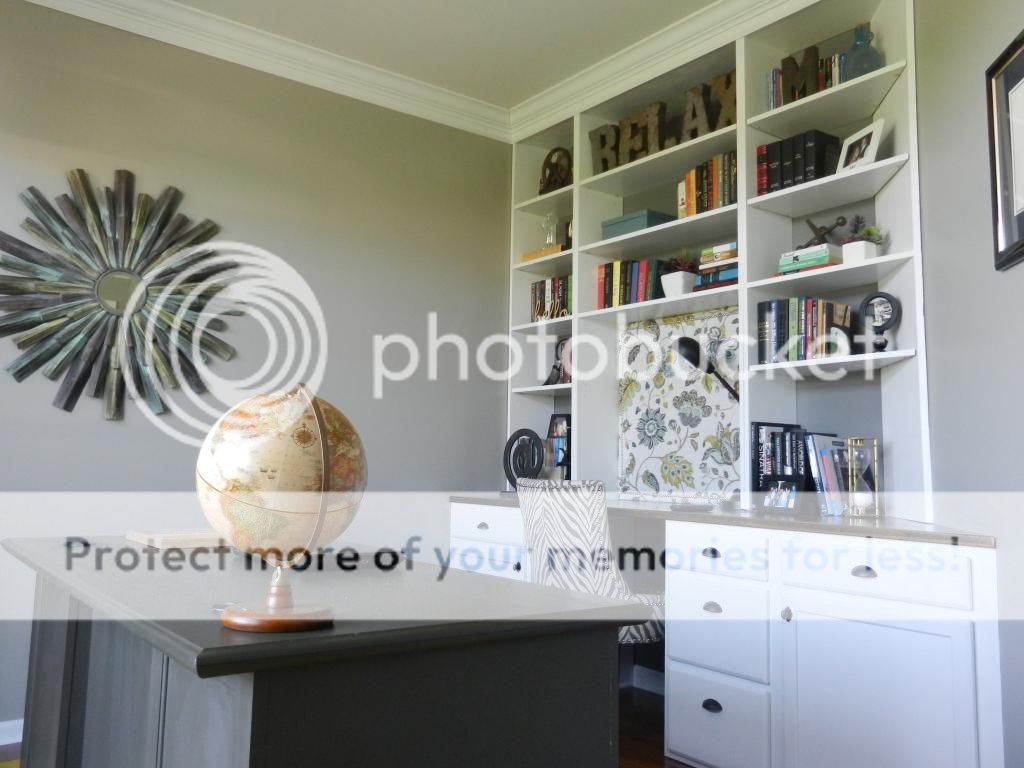
I have to give Greg credit for filling up the bookshelves with nice, hardcover books.  Most of my books are chintzy, paperback fantasy/vampire novels.  Greg reads pretty much all non-fiction... he is the cultured on in our family. ;)    

Here is a look at the other side of the room. The space to the right of the doors was exactly the perfect size for a file cabinet. In many of the Courtland (now Courtland Gate) elevations, you don't have that extra space, but our elevation included a two-foot bump out in the study. We didn't even think about it when we were choosing our elevation, but it's definitely something to keep in mind. You can read more about how your elevation choice might affect your home's square footage here.


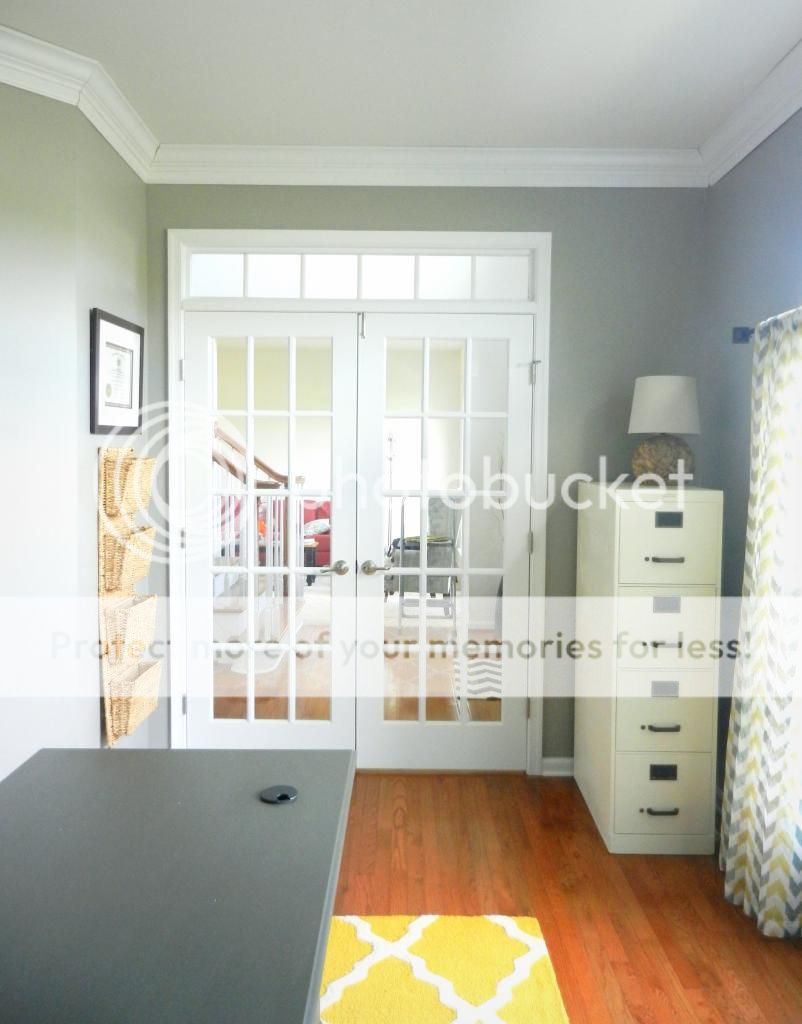
This was an old file cabinet from my dad's house that I made over with spray paint. I will be doing a post on the make-over shorty. Spoiler-alert... it was a bit of a DIY fail!!

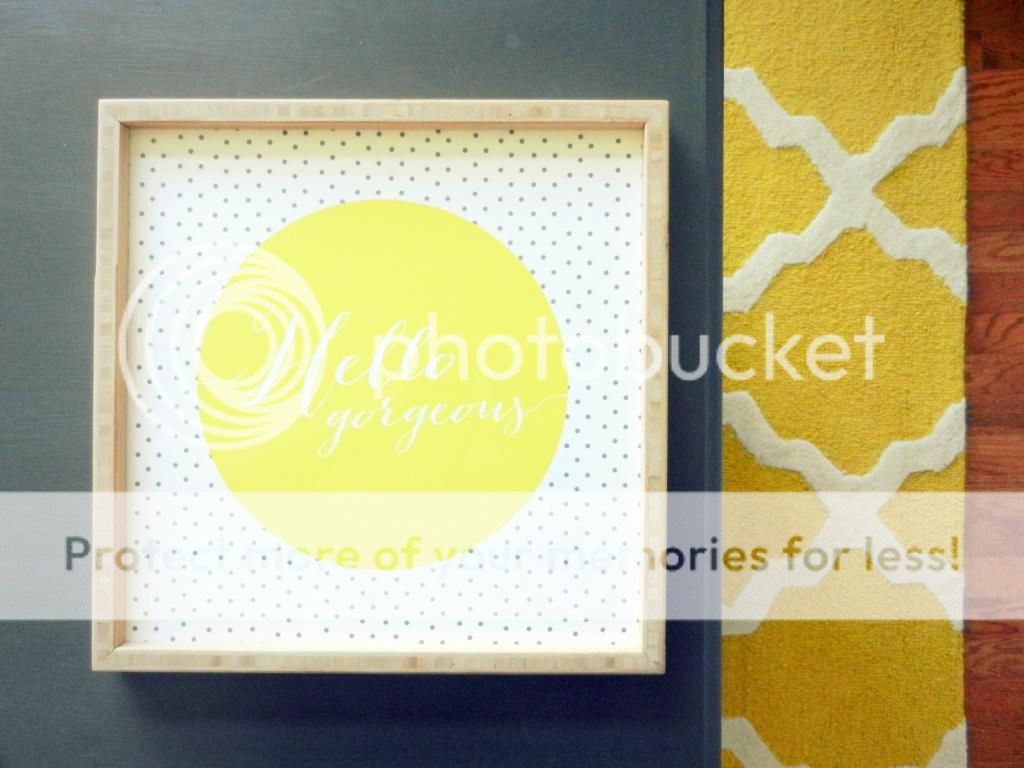
This cute little tray is a friendly reminder to myself that I am quite lovely, even those times when I am feeling anything but! :)

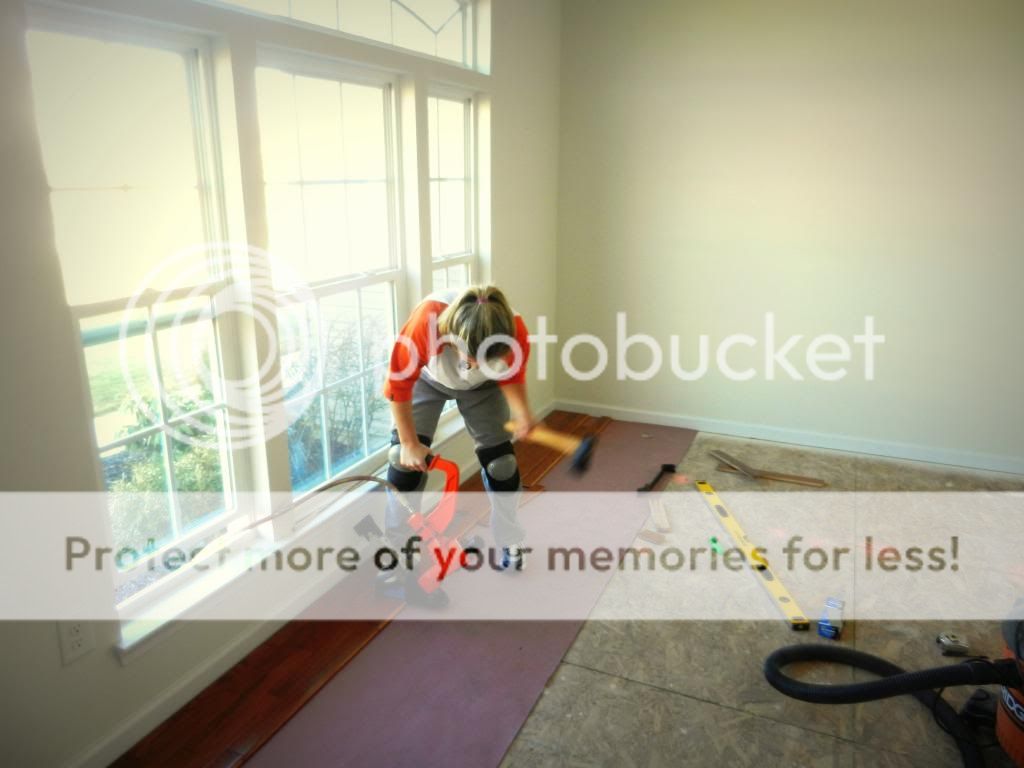
And just for fun, here are some before and after photos.  It blows my mind how much bigger the room looks now that it is finished.  I think the hardwoods make a huge difference in making the room look bigger.


As per my usual M.O., this room is actually not 100% complete.  I still need to caulk the crown molding and add some decorative trim to the front of the bookshelves. Once the room gets to the point that it looks pretty, I have so much trouble completing those final finishing touches! 

Let's look at everything it took to get this room looking like it does now (if you're interested in how I began the design process for this room, you can check out this post):

Home Office To-Do List
1. Install hardwood floors. 100% Complete!
2. Build built-in desk/bookshelves. 97% complete (still need to add some trim).
3. Install crown molding. 95% complete (still need to caulk).
4. Paint. 100% complete!
5. Install window treatments. 100% Complete!
6. Makeover freestanding desk. 100% Complete!
7. Re-finish file cabinet. 100% Complete!
8. Make corkboard for built-ins. 100% Complete!
9. Decorate. 100% Complete! (for now :))


Here is a list of all of the DIY projects I did for this room, with links to each post:

4. File Cabinet Makeover (post still to come!).
5. Home-made pillow.

Source list:
Curtains - Crate and Barrel
Rug - Rugs USA
Starburst Mirror - Joss & Main
Wingback Chair - Joss & Main
Tree Stump Side Table - Joss & Main
Pillow - Homemade, fabric from Tonic Living
Yellow Pot - Joann's
Bamboo Light Pendant - Lamps Plus (no longer available)
Gray Desk - Craigslist Makeover
Zebra Chair - Wayfair
Hello Gorgeous Tray - Joss & Main
Globe - Urban Engineers' 5-year service gift
File Cabinet - Hand-me-down madeover
Rattan Lamp - Walmart
Woven Wall Pockets - Ballard Designs
Diplomas - University of Delaware & Bloomsburg University (these were very expensive :))
All of my bookshelf decor will be featured in another post!

This post was featured at the Work it Wednesday link party. Make sure to go check out all of the other great features!

I am linking up at these sweet parties... go check them out!

Wednesday, April 9, 2014

9 Pieces of Advice for Buying a New Construction Home


My husband and I bought a new construction home in 2012.  We were living in the city and decided we wanted a single family home, more space and a bigger yard.  We looked for houses and somewhere along the way stopped into a model home of a new construction community.  We were surprised to learn that having a brand new house built was not much more expensive (in some cases even cheaper) than buying a "used" house, so we started to give building from scratch some serious thought.  We looked into several different builders in our area and quickly discovered that Ryan Homes was one of the most affordable of the single family builders in our area.  Ryan Homes does not offer a lot of the custom features that other builders offer, but we knew we wanted to "customize" our home ourselves anyway, so we were ok with that.

We worked with an RH salesperson to look at several different models and price out options.  Then, once all our selections were made and our good faith deposit was paid, we were turned over to our project manager to begin construction.  The buying and building process was very overwhelming.  Neither my husband or I were first-time buyers, but building a house from scratch is an entirely different experience.  There are so many more decisions, trade-offs and potential to spend A LOT of money on upgrades.

Now that we have been in our house for almost two years, I wish we could do it all over again!  After living in our home, seeing what spaces we use most, and doing a lot of DIY projects, I have learned a ton!  In some instances I am glad we made the decisions we did, but others I wish we had done differently.  Obviously everyone is different, so my "lessons learned" may not apply to everyone, but here is my advice for anyone considering or in the process of buying a new construction home:

1. Ask for a price list of all of the upgrades offered for your model.  And ask for it early.  You will not believe how quickly your upgrades can add up and how little is included in the base price.  I promise you that about 90% of what you see in the model home is an upgrade... and is not cheap.  We went with very minimal upgrades and negotiated some things for free and still wound up spending about $25,000 over our base home price.  You don't want to get your heart set on a particular model only to find out you can't afford it when you add your "must have" upgrades.  

2. Splurge on structural, not cosmetic upgrades.  Almost all of the upgrades we chose were things we could not easily do down the road; a 4' extension on the family room, a few extra windows, master bedroom/bathroom luxury suite.  We passed on the things we knew we could either do ourselves or have a contractor do cheaper.  Things like flooring, crown molding, the deck, etc. were all things we knew we could do ourselves cheaper than Ryan's price.  We recently installed hardwood floors in our study.  The same exact flooring was almost exactly 1/2 the price of what the builder was charging.

3. Negotiate.  Most builders will tell you they don't negotiate, and they are all lying.  They may not budge on the base home price, but if they think you are really serious about buying, they will throw in some upgrades for free or at a discount.  Just make sure you do all of your negotiating before you give them any money.  Once they have you hooked, you can forget about getting anything else for free.

4. Consider lighting, especially on the first floor.  I wish we had gotten more recessed lights and/or rough-ins.  It's essentially impossible to add recessed lights on the first floor without tearing out your ceiling (unless you get really creative like John with his coffered ceiling).  If you don't like a ton of lamps in each room, think about splurging for the extra lighting package.  The second floor is a bit easier to add lighting later since you can access it from the attic.  That's what we plan to do for the upstairs bedrooms at some point.

5. Get a three car garage!  (If it's an option).  This is probably my biggest regret about our house.  This was one structural upgrade that we felt was superfluous at the time.  Both of our previous homes were in the city where we didn't even have a driveway, so we figured a two-car garage would be more than enough.  We were wrong.  I still cannot believe how often we use the garage and I think everyone has more "stuff" to store in their garage than they realize.  We added some storage under our deck and we are going to build a shed at some point, but it would be nice to have the extra garage space instead of adding another structure to our property.  A three-car garage is not cheap, but I would argue that it is worth the money.  (I would love to hear what someone with a three-car garage thinks about it).

6. Don't let the salesperson talk you into extras you don't need.  They love to tell you how that extra upgrade will only cost you $10.00 a month since you will be financing it in your mortgage.  But you're also paying interest on it for the term of your mortgage so you actually wind up paying more for it than the listed price.

7. Make sure you get the kitchen you want.  A kitchen renovation is one of most expensive things you can do to your house.  If you just have to have those butterscotch glazed painted cabinets, just do it... or it will cost you tens of thousands of dollars to rip out your existing cabinets and do it later.

8. Consider sunlight when choosing your lot.  We did not think about this, but it just so happened to work out for us.  Our family room and kitchen are in the back of the house, which is where the sun sets.  This is perfect for us because we both get home from work around 6:00, so we enjoy some natural sunlight in the evening.  And it makes for some romantic sunsets on our back deck :).

9. Be wary of lot premiums.  Some communities we looked at were charging up to $30,000 for lot premiums!!  In some cases every single lot had a premium, which still makes no sense to me.  I think it's false advertising to say that houses start at $200,000 when you need to pay at least $10,000 for the land to put the house on.  (Maybe that's just me).  As with the upgrades list, make sure you get the list of lot premiums for every lot in the community so you can make an informed decision.

I know a lot of readers have also recently built new-construction homes.  I would love for you to comment and share your lessons learned!

Sunday, January 19, 2014

Hardwood Floors in the Study!

I am writing to you from my couch where I sit sore and exhausted, but it was worth it because.... the hardwood floors in the study are in!!  Woohoo!!  I am so happy with how they look.  I swear they make the room look bigger.  The floors were very easy to put in from a skill standpoint, but geez it's a lot of labor!  I estimate that I did about 200 squats these past two days.  And while the floor-nailer is an awesome tool, swinging the sledge hammer hundreds of times is no walk in the park.  However, we did it for about half of what the builder was charging (saved about $700.00), so I am definitely happy with our decision to DIY it.  It took two 8-hour days with two people working to complete them (plus about 2-3 hours to rip out the carpet, padding, staples and nail strips).

Before:

During:
Sweet knee-pads dude!
After:
Sorry about the poor picture quality.  It was getting dark when we finished, but I couldn't wait to take pictures!
Next up is are the built-ins.  I have started working on the design.  More to come shortly!

Hope everyone had a great weekend!

Sunday, December 1, 2013

Another Courtland Gate

The Courtland Gate model home in a development near us will probably be closing soon so I hopped over there the other day to get some pictures to share with you all.  I love getting decorating ideas from the model homes.  This house has particularly nice trim work.  I love the extra tall baseboards... wonder if that is a Ryan option?

Here you go!

Family Room...
I love that "window-mirror"
Kitchen/Morning Room...
In my opinion, this is the best change from the Courtland to the Courtland Gate. 
We just have the fridge and a giant wall in this spot instead of the counter and extra cabinets.
Study...
Foyer...
Living Room and Dining Room...
Upstairs...
Master Suite...
Basement...