Joss & Main Exclusive online private sales for the home
Showing posts with label ryan homes. Show all posts

Monday, December 22, 2014

How to Add Exterior Lighting {Tutorial}

We finally got around to doing our exterior lighting for the house and I LOOOVE it!!  I seriously can't believe how easy it was and what a difference it makes in the way our home looks!


When I say it was easy, I mean it.  It took Greg and our neighbor about an hour to do the whole thing.  It could easily be done as one man (or woman) job in just an hour or two.  If I had known this before I would have done this the day after we moved in!!  I encourage you to learn from my mistake and just do it!! 

How To Install Exterior House Lighting


So, here is what you need to light up your house:

1. Low voltage lighting cable like this: Coleman Cable 095041008 14/2 Low Voltage Lighting Cable, 100-Feet (affiliate link)
2. Malibu Power Pack
3. Malibu LED Spotlights:  We used three 50 W spotlight (which can reach up to 20 feet) for the front of the house and three 20 watt (which can reach up to 10 feet) for the garage.  Note that the those wattages are the halogen equivalent with respect to brightness; the LED lights actually pull a lot less power).
I couldn't find links for the lighting stuff online anywhere, but they sell it all at Home Depot. Here are some pictures of what you will want to get:


4. PVC pipe (optional) or rebar & sledge hammer to bore under sidewalk (if applicable)
5. Something to mount your power box on/with (read on to see how we mounted ours).

Step 1: Lay out your cable along the front of the house, making sure to leave a good amount of slack throughout and extra cable at both ends in case you ever want to add on.  I forgot to take pictures while we were fishing the cable under our walkway, but you basically dig small trenches on either side of the walkway, then place the rebar under the concrete and bang it through the soil with a hammer or sledge hammer.  Then we attached the end of the cable to the rebar with a ziptie and fished it through.  This is a pretty good video on how to do it, but I think our way is a little simpler:  https://www.youtube.com/watch?v=fBHqIGuhmQk.  After we had already fished it under, we thought about using a large diameter PVC pipe under there so that we could run an extension cord for our Christmas lights through the pipe too.  If you use decide to use the PVC pipe, just put a cap on the end and use your hammer to bang it through, then it's super easy to run the wire through.

Step 2:  Cut some of the wire coating off of the ends of your cables and attach to the power pack as shown.  Plug your power box into your outdoor outlet.  (Note that this is all in the easy-to-follow directions that come with the products as well, I am just giving your our personal take on them :)).
Here's what the inside of the box looks like.  It's super-easy to program and has a lot of different timing options.  Our neighbor had attached his box to the side of the concrete stoop and plugged it into the outlet next to the front door.  We actually have an extra outlet in the front of our house, so we plugged it into that and just made a makeshift wood stake to attach it to and hid it behind a bush.

Step 3: Set up your lights where ever you think you want them.  We did this in the daytime so we just guestimated, then fine-tuned them at nightfall.  We originally started out with four large lights for the front plus three smaller ones for the garage, but we wound up getting rid of one of the large lights.  These things are BRIGHT, so you don't need a lot of them to make an impact.

Each light has a short wire attached to it with a plastic and metal fork-like thing at the end, that looks like this (see this is why your need my supplemental directions so you know these technical terms like "fork-things" :)):
(source)
  You simply snap the "fork" onto your cable and your light is lit!  (Make sure you read your instructions to see whether your power box should be disconnected for any of these steps.  We connected the lights while the box was on and had no problems, but that probably wasn't the best way to do it thinking back.  Safety first my friends!!)

Step 4: Wait for darkness, then adjust your lights around to get them exactly how you want them.  Then grab a beer and a chair and sit in the front lawn and enjoy your handiwork!!


I honestly don't think these pictures do justice to what a difference the lighting makes in how our house looks at night.  This was by far our biggest impact project for the smallest time and money investment.  Like I said, it took us less than two hours and the total cost was about $300.  I had heard quotes around $1,200 to have a professional do it for you, so that's a big savings!  Seriously, if you are debating whether to try a project like this yourself, I highly encourage you to just do it!  Feel free to email me if you have any questions... I am by no means an expert, but I'll do my best to help you!

A Few More Tips for DIY Outdoor Lighting Installation


1. Use LED lights!  The new LED lights don't have that weird blue-ish tint and they last sooo much longer.  The Malibu ones that we got from Home Depot actually come with a lifetime warranty, so as long as you keep your receipt they will replace them for free.

2. Malibu's website has some good tips for easy self-installation.  I recommend checking it out before you start to see what your options are and what things to think about with your lighting layout.


I am linking up at these great parties!

Wednesday, April 9, 2014

9 Pieces of Advice for Buying a New Construction Home


My husband and I bought a new construction home in 2012.  We were living in the city and decided we wanted a single family home, more space and a bigger yard.  We looked for houses and somewhere along the way stopped into a model home of a new construction community.  We were surprised to learn that having a brand new house built was not much more expensive (in some cases even cheaper) than buying a "used" house, so we started to give building from scratch some serious thought.  We looked into several different builders in our area and quickly discovered that Ryan Homes was one of the most affordable of the single family builders in our area.  Ryan Homes does not offer a lot of the custom features that other builders offer, but we knew we wanted to "customize" our home ourselves anyway, so we were ok with that.

We worked with an RH salesperson to look at several different models and price out options.  Then, once all our selections were made and our good faith deposit was paid, we were turned over to our project manager to begin construction.  The buying and building process was very overwhelming.  Neither my husband or I were first-time buyers, but building a house from scratch is an entirely different experience.  There are so many more decisions, trade-offs and potential to spend A LOT of money on upgrades.

Now that we have been in our house for almost two years, I wish we could do it all over again!  After living in our home, seeing what spaces we use most, and doing a lot of DIY projects, I have learned a ton!  In some instances I am glad we made the decisions we did, but others I wish we had done differently.  Obviously everyone is different, so my "lessons learned" may not apply to everyone, but here is my advice for anyone considering or in the process of buying a new construction home:

1. Ask for a price list of all of the upgrades offered for your model.  And ask for it early.  You will not believe how quickly your upgrades can add up and how little is included in the base price.  I promise you that about 90% of what you see in the model home is an upgrade... and is not cheap.  We went with very minimal upgrades and negotiated some things for free and still wound up spending about $25,000 over our base home price.  You don't want to get your heart set on a particular model only to find out you can't afford it when you add your "must have" upgrades.  

2. Splurge on structural, not cosmetic upgrades.  Almost all of the upgrades we chose were things we could not easily do down the road; a 4' extension on the family room, a few extra windows, master bedroom/bathroom luxury suite.  We passed on the things we knew we could either do ourselves or have a contractor do cheaper.  Things like flooring, crown molding, the deck, etc. were all things we knew we could do ourselves cheaper than Ryan's price.  We recently installed hardwood floors in our study.  The same exact flooring was almost exactly 1/2 the price of what the builder was charging.

3. Negotiate.  Most builders will tell you they don't negotiate, and they are all lying.  They may not budge on the base home price, but if they think you are really serious about buying, they will throw in some upgrades for free or at a discount.  Just make sure you do all of your negotiating before you give them any money.  Once they have you hooked, you can forget about getting anything else for free.

4. Consider lighting, especially on the first floor.  I wish we had gotten more recessed lights and/or rough-ins.  It's essentially impossible to add recessed lights on the first floor without tearing out your ceiling (unless you get really creative like John with his coffered ceiling).  If you don't like a ton of lamps in each room, think about splurging for the extra lighting package.  The second floor is a bit easier to add lighting later since you can access it from the attic.  That's what we plan to do for the upstairs bedrooms at some point.

5. Get a three car garage!  (If it's an option).  This is probably my biggest regret about our house.  This was one structural upgrade that we felt was superfluous at the time.  Both of our previous homes were in the city where we didn't even have a driveway, so we figured a two-car garage would be more than enough.  We were wrong.  I still cannot believe how often we use the garage and I think everyone has more "stuff" to store in their garage than they realize.  We added some storage under our deck and we are going to build a shed at some point, but it would be nice to have the extra garage space instead of adding another structure to our property.  A three-car garage is not cheap, but I would argue that it is worth the money.  (I would love to hear what someone with a three-car garage thinks about it).

6. Don't let the salesperson talk you into extras you don't need.  They love to tell you how that extra upgrade will only cost you $10.00 a month since you will be financing it in your mortgage.  But you're also paying interest on it for the term of your mortgage so you actually wind up paying more for it than the listed price.

7. Make sure you get the kitchen you want.  A kitchen renovation is one of most expensive things you can do to your house.  If you just have to have those butterscotch glazed painted cabinets, just do it... or it will cost you tens of thousands of dollars to rip out your existing cabinets and do it later.

8. Consider sunlight when choosing your lot.  We did not think about this, but it just so happened to work out for us.  Our family room and kitchen are in the back of the house, which is where the sun sets.  This is perfect for us because we both get home from work around 6:00, so we enjoy some natural sunlight in the evening.  And it makes for some romantic sunsets on our back deck :).

9. Be wary of lot premiums.  Some communities we looked at were charging up to $30,000 for lot premiums!!  In some cases every single lot had a premium, which still makes no sense to me.  I think it's false advertising to say that houses start at $200,000 when you need to pay at least $10,000 for the land to put the house on.  (Maybe that's just me).  As with the upgrades list, make sure you get the list of lot premiums for every lot in the community so you can make an informed decision.

I know a lot of readers have also recently built new-construction homes.  I would love for you to comment and share your lessons learned!

Friday, December 27, 2013

2013 Rewind

As 2013 draws to a close, I am taking a look back at all of the progress we have made on our new-construction home since October of 2012.  Here are some highlights of my favorite projects so far.  We still have a long way to go, but we have definitely seen a lot of progress in one year.

1. The DIY Pantry Spice Shelves were our (my dads) very first project.  Nice little shelves that he whipped up in about an hour to store all of my little spice bottles right in our pantry.


2. My first "all-by-myself" project was my DIY Fabric Nailhead Trim Headboard.  I was thrilled with how it turned out.  We still have a long way to go on the master suite, but at least we have a soft place to lean while reading in bed.  I also made an empty frame gallery wall for the master bedroom from some old frames that I freshened up with spray paint and I made-over an old bench that I took from my dad's house for the foot of the bed.

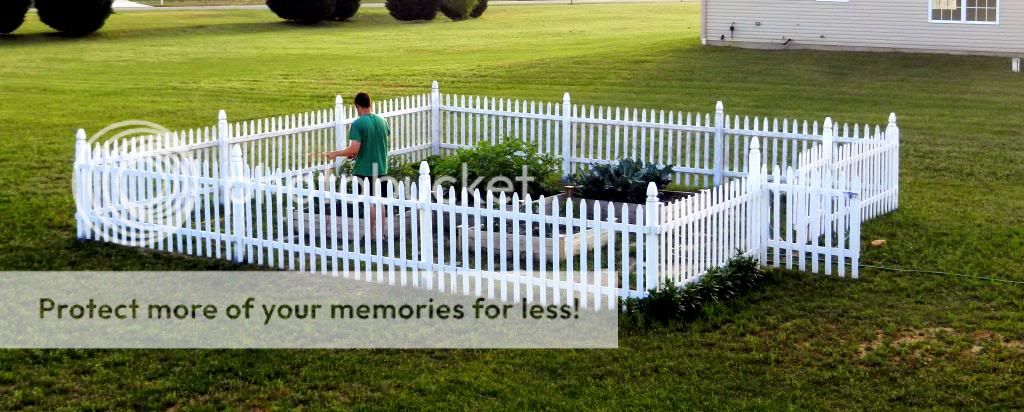
3. Greg built us an awesome fenced-in garden!  We enjoyed peppers, zucchini, broccoli, potatoes, tomatoes, basil, and carrots all summer!  Next year we're going to expand and try some new crops like corn.

4.  After receiving a bunch of awesome wedding canvas prints from my sis-in-law for Christmas last year, I created a Gallary Wall in the family room to display the canvases and some other memorabilia from our wedding and honeymoon.  That spot looks awesome now that I finally got my chairs!

5.  Another major addition to the family room were my No-Sew Burlap Curtains and Galvanized Steel Pipe Rods.  These were so easy to make and only cost about $20 per set (including the rods).  You can check out the complete family room transformation here.

6. My DIY Coasters from Flooring and Paint Samples were a little 15 minute project.  These are completely free (just need samples from Home Depot and some sort of clear sealant). 


7.  I built some shelves for the powder room.  That room is just about complete.  I want to add some trim work, then it will be done!


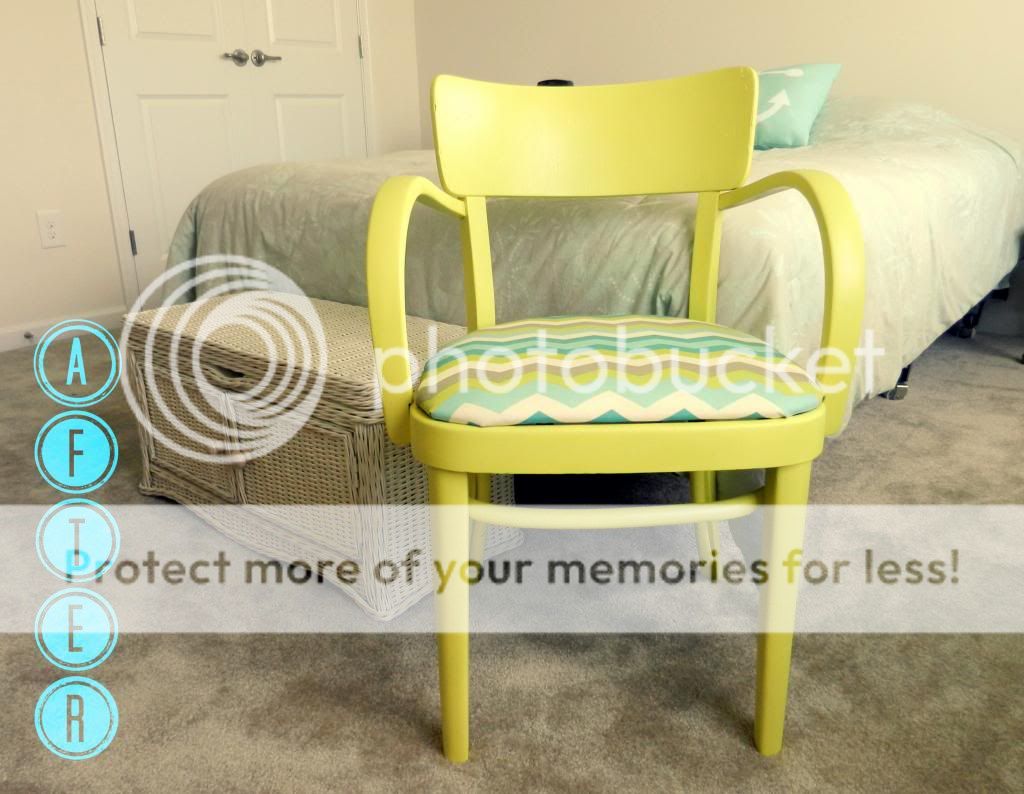
8. I made-over an old chair that I inherited from my grandmother with some fabric and spray paint for our guest room.

9. I recently jazzed up the kitchen with my DIY Painted Backsplash.  It makes me smile looking at those bright and cheery colors every morning :).

And the DIY project I am most proud of is...

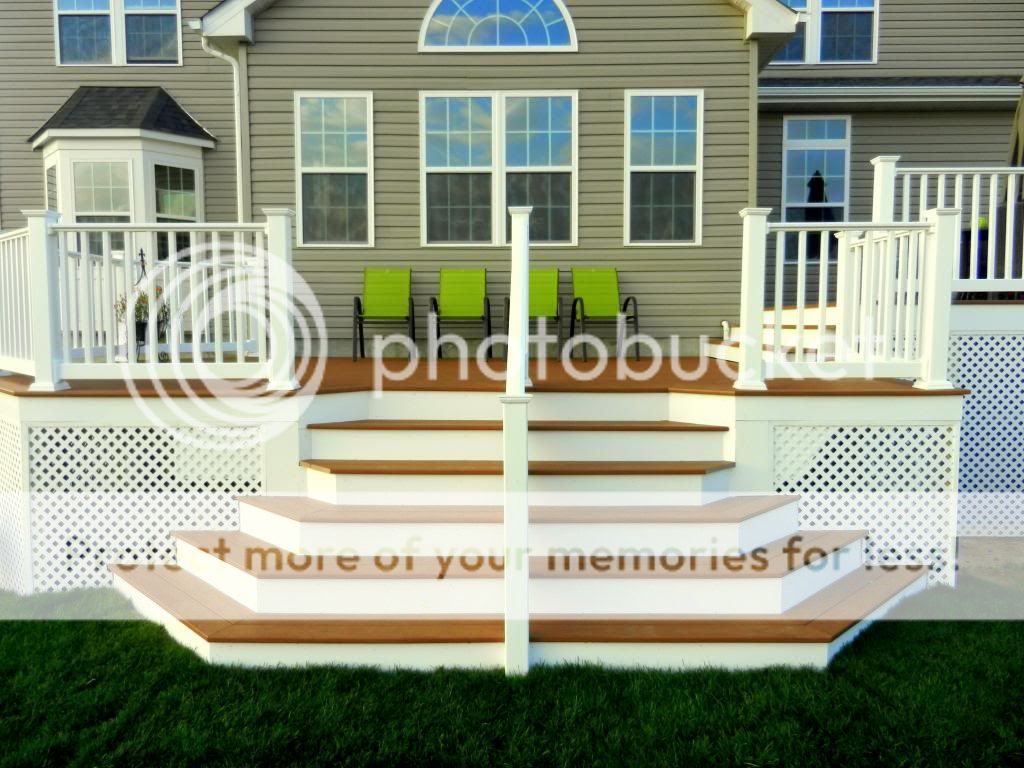
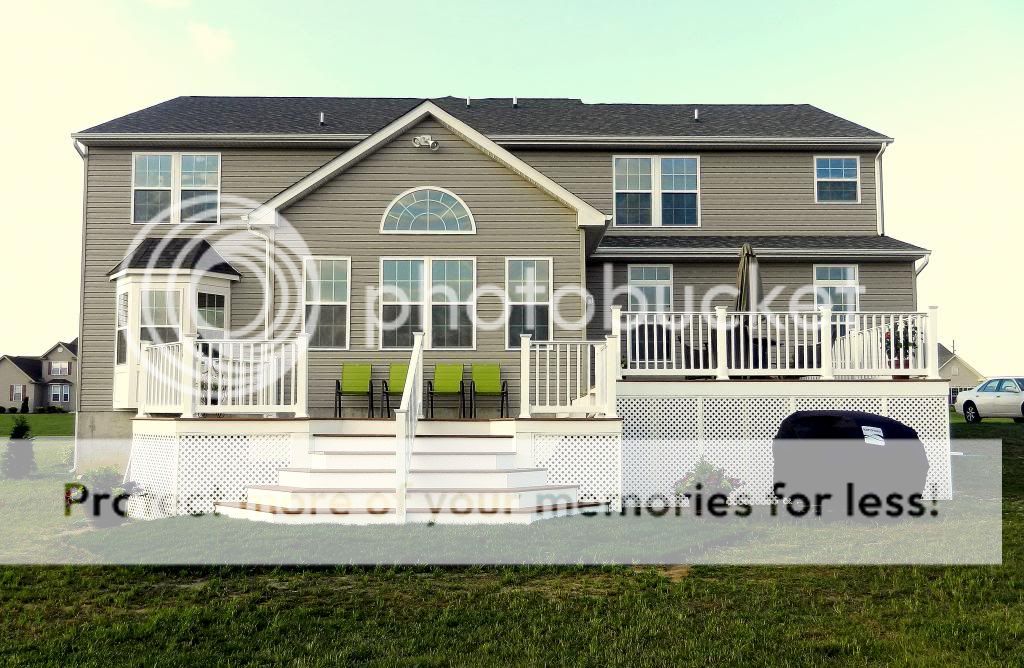
10. The Deck!  After a 6 month wait and 3 months of hard work (we took off over the winter), we finally completed our bi-level, TimberTech XML deck with waterproofed storage underneath.  The deck has become my favorite part of the house.  I can't wait for spring so we can use it again!


Even though we still have a long way to go with the house, it makes me happy looking back to see that we have actually made a good bit of progress.  Now I need to make a plan for what I hope to accomplish in 2014.  Stay tuned!!

I hope everyone had a Merry Christmas!!

Sunday, December 1, 2013

Another Courtland Gate

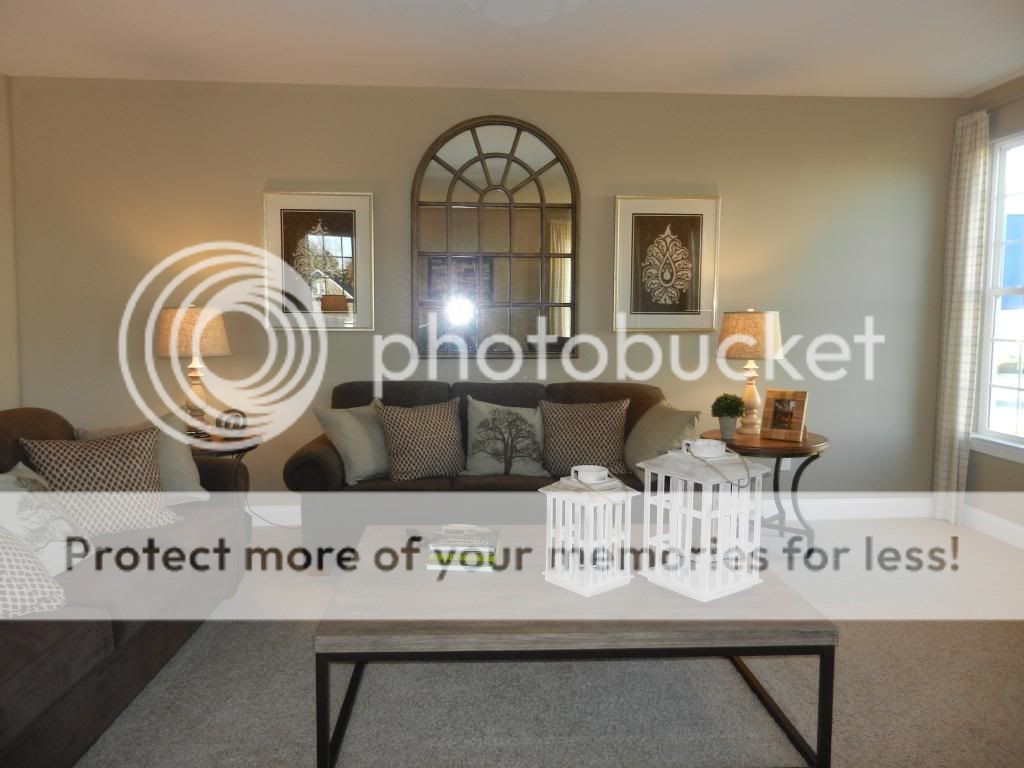
The Courtland Gate model home in a development near us will probably be closing soon so I hopped over there the other day to get some pictures to share with you all.  I love getting decorating ideas from the model homes.  This house has particularly nice trim work.  I love the extra tall baseboards... wonder if that is a Ryan option?

Here you go!

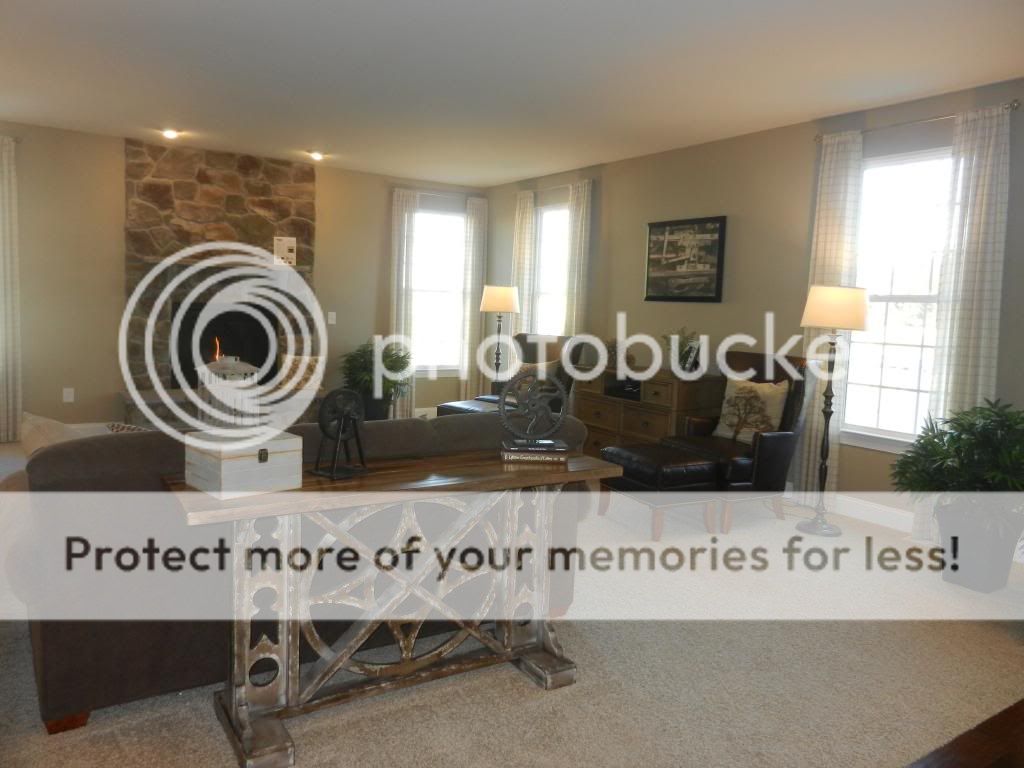
Family Room...
I love that "window-mirror"
Kitchen/Morning Room...
In my opinion, this is the best change from the Courtland to the Courtland Gate. 
We just have the fridge and a giant wall in this spot instead of the counter and extra cabinets.
Study...
Foyer...
Living Room and Dining Room...
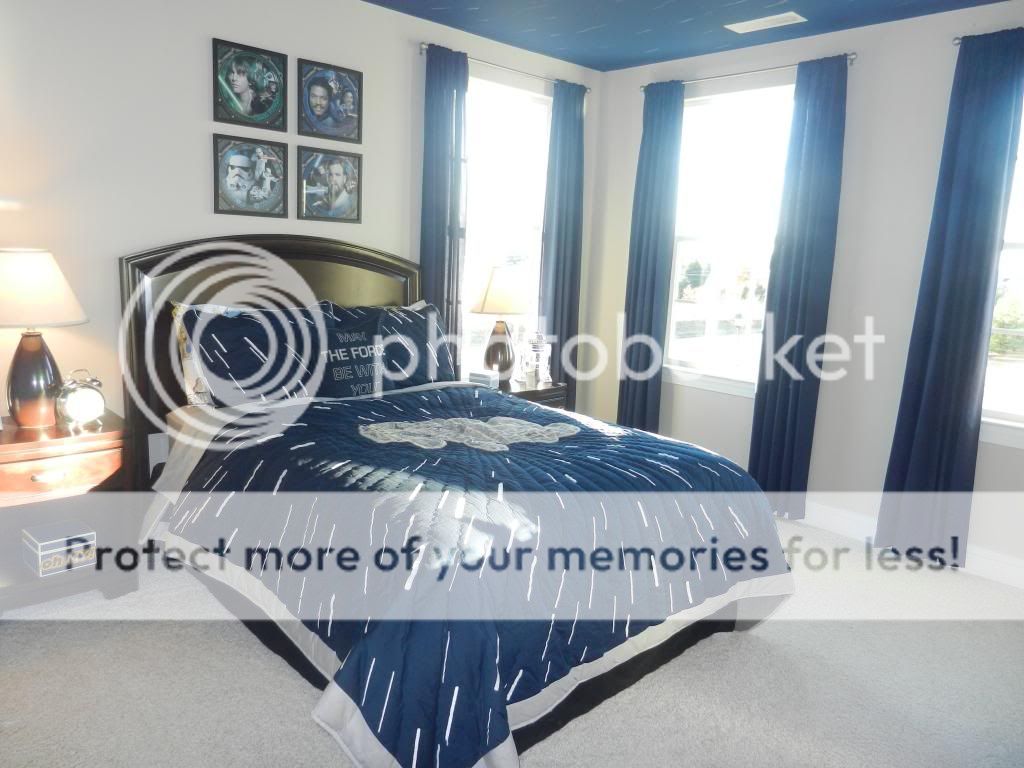
Upstairs...
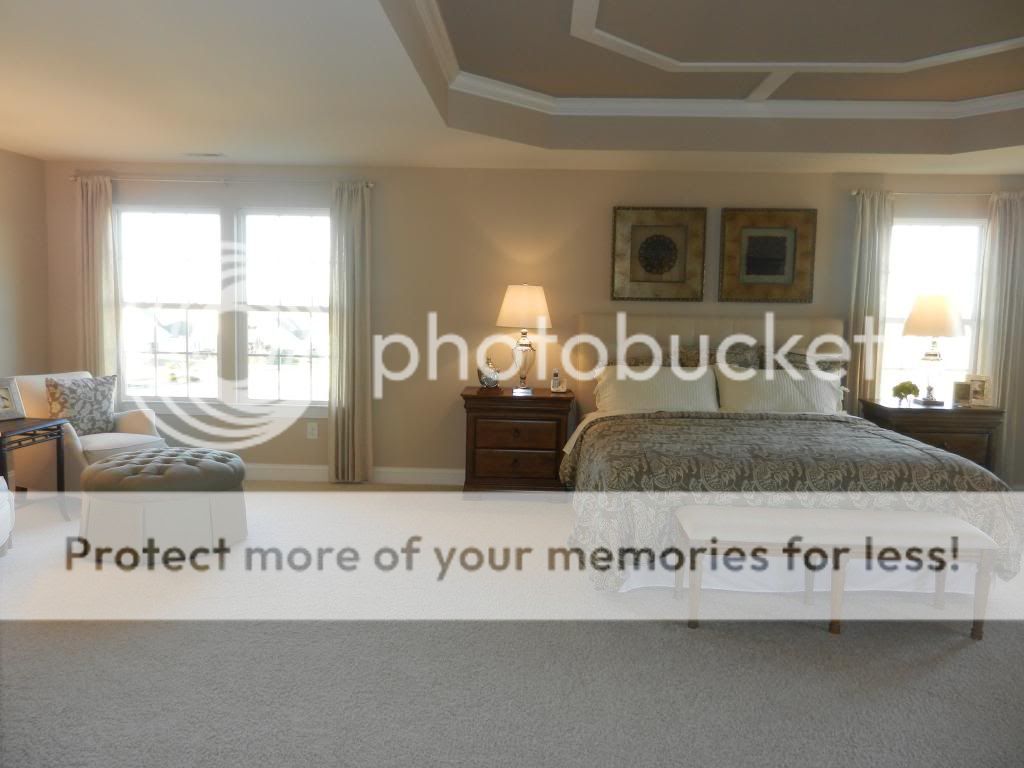
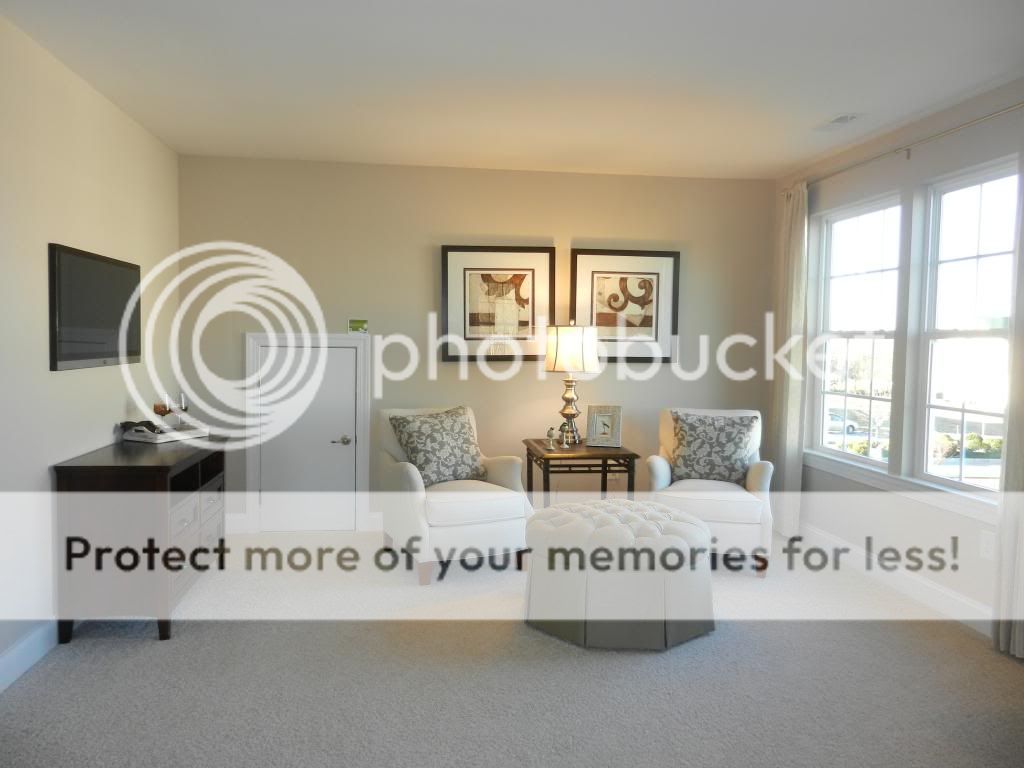
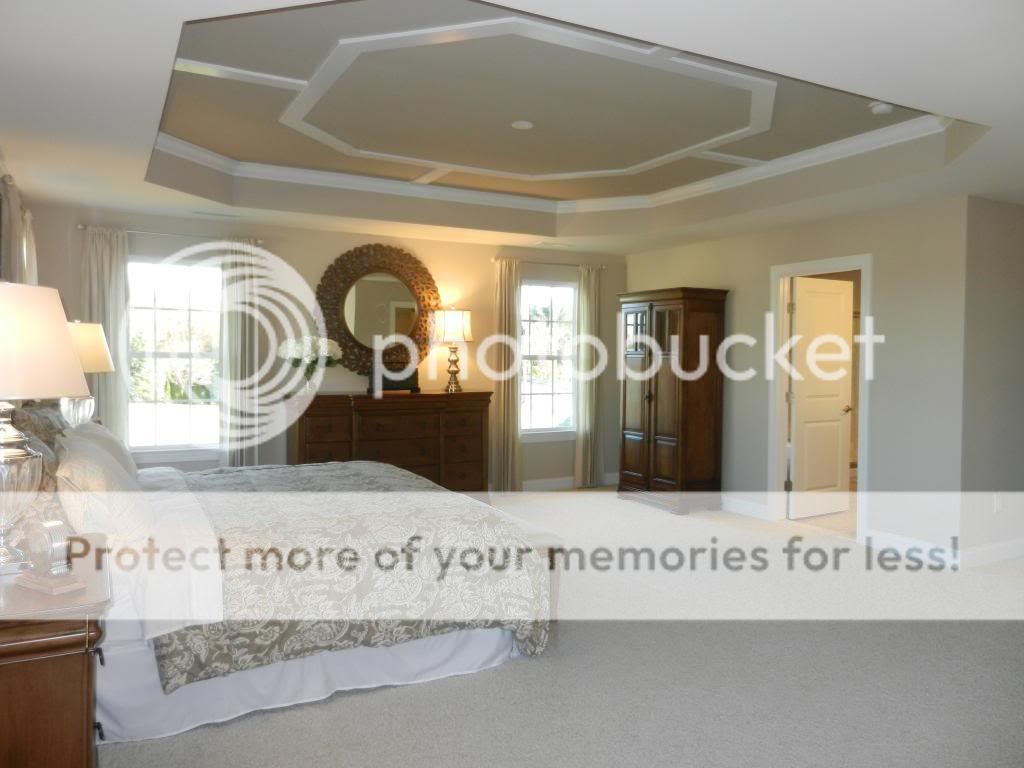
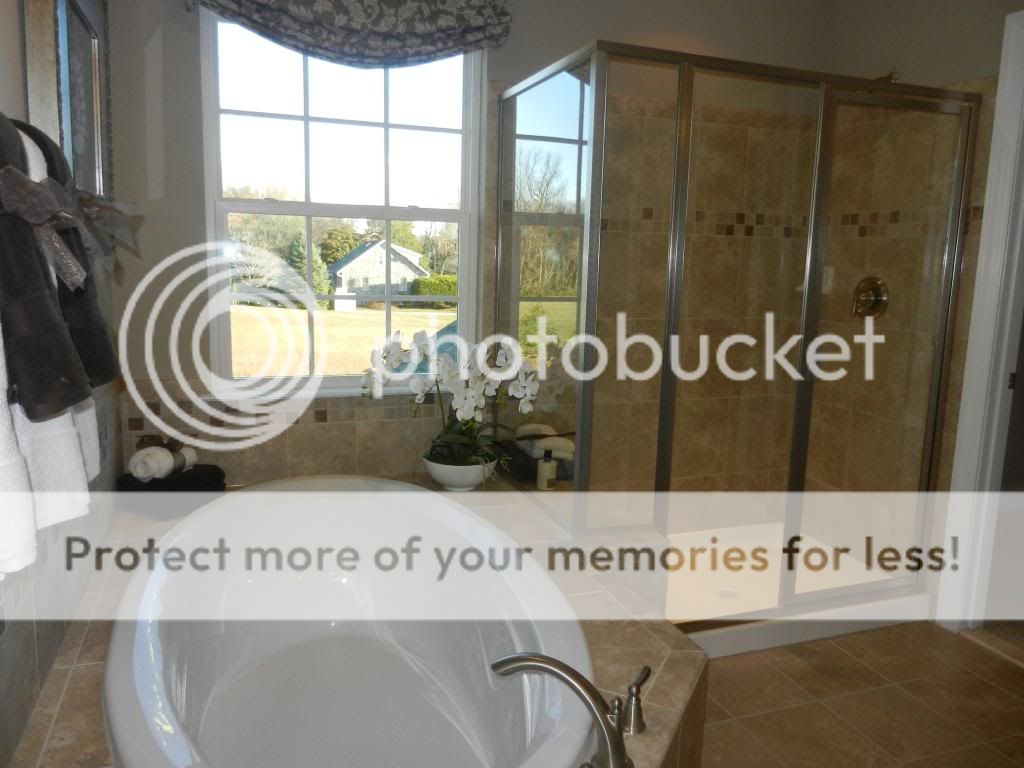
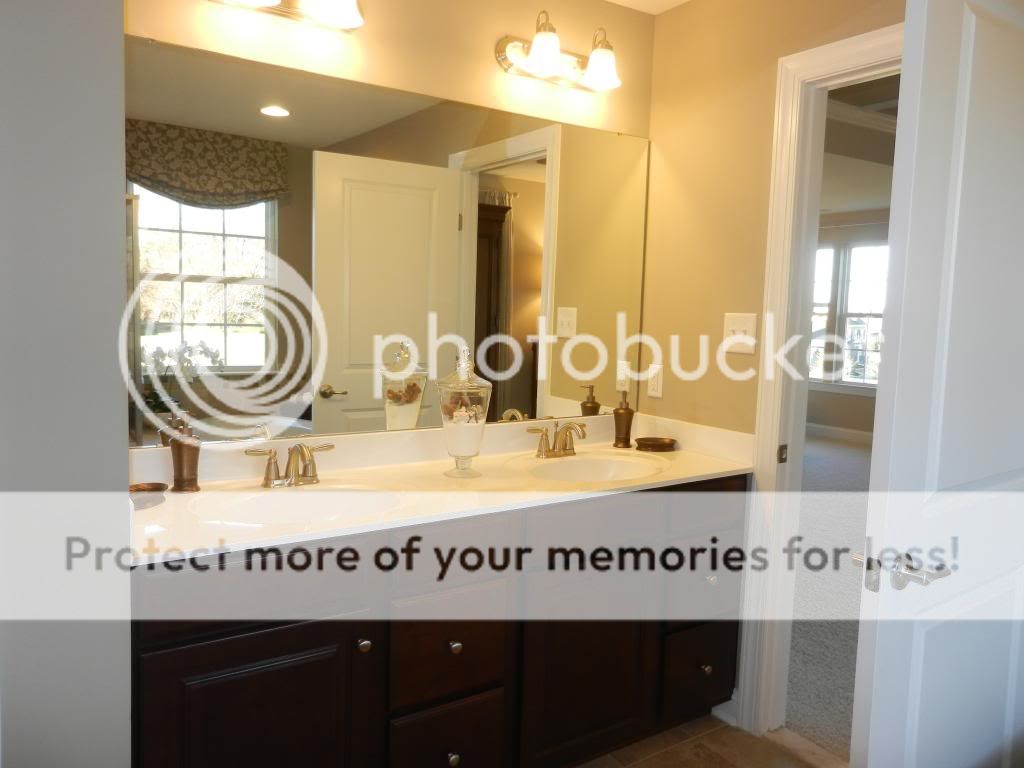
Master Suite...
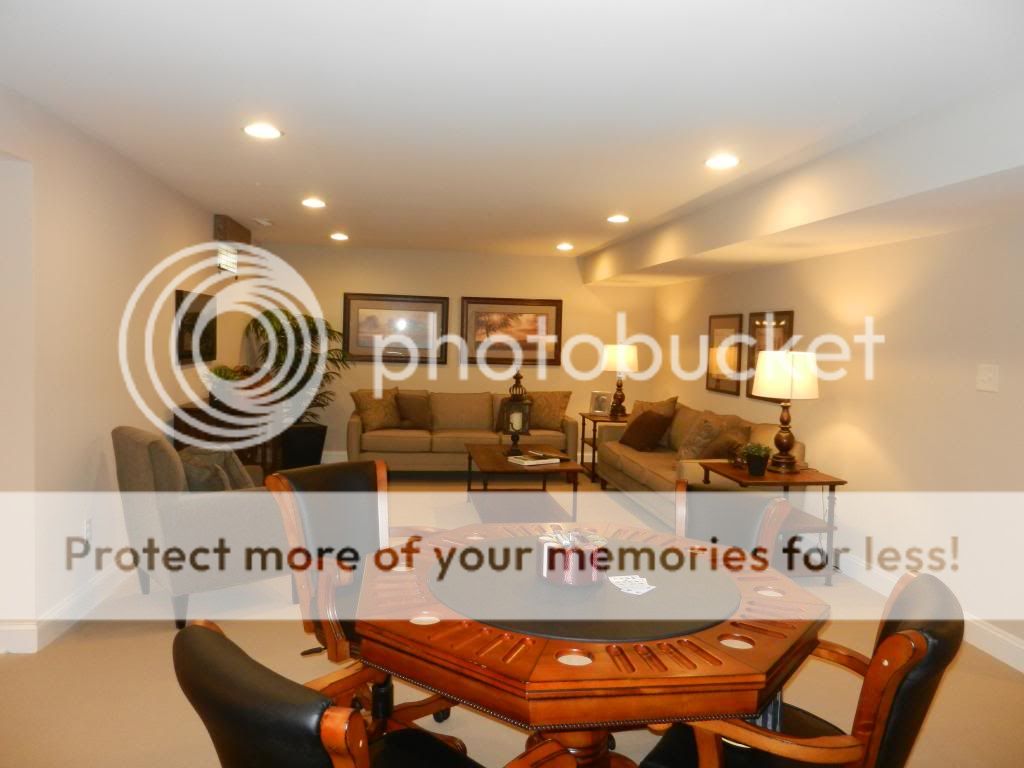
Basement...

Thursday, June 13, 2013

Deck Price Breakdown

Okie dokie, it's time for the numbers!!!  Many people are curious as to how much we spent to build our deck (see the complete deck story here).  I was actually very curious myself because when I did research beforehand, there is very little information out there on the prices of decks.  Many of the construction forums I read say that this is because there are so many variables... i.e. two decks of the same size could be vastly different in price depending on shape, products, height, etc. 

Well I went ahead and calculated the price of all of our materials.  I also happen to have the prices from our supplier for some of the other types of composite material as well as your standard pressure treated wood, so I'll give you some info on that too.

First, a comparison of the type of decking we used (Timbertech XML), with one of the cheapest composites you can get (Trex Select), with regular old pressure treated wood.  I did not include the price for the drainage system supplies since I imagine most people will not need that.  I'll provide some info on that below. 

Here's a little summary of what you see in the breakdown below:  If you were to build our exact 480+ square foot, 6' high deck with the exact products we used, it would cost you about $11,750 in materials, which comes out to about $24 per square foot.  If you were to build our exact size/shape/height deck using the cheapest composite decking available, it would cost you about $9,500 in materials, which comes out to about $20 per sf.  If you were to build our exact size/shape/height deck using pressure treated wood, it would cost you about $6,300 in materials, which comes out to about $13 per sf.
Almost $12K for this beauty!
I have heard that one of the standard deck sizes that Ryan Homes offers is 10'x12'.  The materials for that size deck would be less than $2,400 for standard composite and less than $1,600 for wood.  It would probably be even lower since their decks have standard steps, if any.
All right, here is the math (this girl loves a good spreadsheet!):


Deck Price Comparisons (480 sf deck)
12" OC
12" OC
16" OC
XML
(Solid PVC)
Basic Composite
Pressure Treated Wood
1.  Footings $1,750.00 $1,750.00 $1,750.00
2.  Framing Lumber $1,050.00 $1,050.00 $787.50
3.  Screws, straps, etc $100.00 $100.00 $100.00
4.  Deck Boards $5,468.50 $3,252.00 $1,785.00
5.  Railings $2,090.20 $2,090.20 $1,045.00
6.  Hidden fasteners $497.50 $497.50 $0.00
7.  Deck screws $80.00 $80.00 $120.00
8.  Lattice $120.00 $120.00 $120.00
9.  Fascia $100.00 $100.00 $100.00
10.  Concrete pad for steps $500.00 $500.00 $500.00
Price for our 480 sf Deck: $11,756.20 $9,539.70 $6,307.50
Price per Square Foot$24.49$19.87$13.14
Price for 10'x12' Deck $2,939.05 $2,384.93 $1,576.88

Let me explain the breakdown...
  1. The footings (we needed 15) and 18'x5' concrete pad at the bottom of our steps were done by a contractor (my cousin to be exact). 
  2. We purchased the pressure treated framing lumber from Home Depot and this included everything we needed for the posts, beams, joists, stringers, ledger board as well as delivery.  You'll notice that the price for the wood deck is less.  The composite decking manufacturers suggest that you space your joists 12" on center with their products.  With wood, you can get away with 16" O.C., so I just multiplied the composite number by 0.75 (12/16).
  3. Screws, straps, etc: I forgot to keep the receipts for all of the hardware we used for the framing, so I just threw a number in there... it wasn't significant.
  4. The deck boards were obviously the most expensive aspect and this is also where you have the most options, so you can really keep your cost down by choosing a less expensive product. 
  5. We used RDI Original vinyl railing systems.  In my estimate I assumed that if you were doing a wood deck, you would also use the wood railings.  The price for those is based on the quote we were given from our supplier as well.
  6. The hidden fasteners are special screw systems which you use with "grooved" composite boards so that you don't see the screws in your deck.  It really does look awesome.  I did not include this in the wood deck option since this system is not available for regular pressure treated boards.
  7. Deck screws: We still needed a bunch of regular deck screws for the steps, fascia and the edges where you couldn't use the hidden fasteners.
  8. We used PVC lattice.  You can actually get the pattern in two different sizes and we opted for the smaller size so that you can't see under our deck as much.  Again, this was the more expensive option and regular wood lattice is significantly cheaper.
  9. We also used PVC fascia (are you getting the idea that we don't plan on a lot of future maintenance??), but again going with the regular wood fascia will save you some money.

The drainage system for our deck cost just over $1,000, including the heavy duty plastic and 3" thick gravel that we laid on the ground under the deck. 
The one thing I did not include was the price of tools.  There are some pricey tools that are definitely required.   We were lucky that we either owned or were able to borrow everything we needed.
I hope this helped some people who are considering building a deck.  If you have any questions, leave a comment or shoot me an email and I'll try to answer as best I can!