Joss & Main Exclusive online private sales for the home
Showing posts with label deck. Show all posts

Friday, April 18, 2014

Guest Post on Our Home From Scratch


It's that time of year again!  Time to pull out the outdoor furniture and spend our nights and weekends on our fabulous deck!  In case you missed it, my dad, Greg and I build a brand new, bi-level TimberTech deck last year.  Today Our Home From Scratch is featuring our deck as part of their "Show Us Your Home From Scratch" series.

Please go check out the post for more great information on the build: Your Home From Scratch: Colette's Amazing Deck.

Follow my blog with Bloglovin

Thursday, June 13, 2013

Deck Price Breakdown

Okie dokie, it's time for the numbers!!!  Many people are curious as to how much we spent to build our deck (see the complete deck story here).  I was actually very curious myself because when I did research beforehand, there is very little information out there on the prices of decks.  Many of the construction forums I read say that this is because there are so many variables... i.e. two decks of the same size could be vastly different in price depending on shape, products, height, etc. 

Well I went ahead and calculated the price of all of our materials.  I also happen to have the prices from our supplier for some of the other types of composite material as well as your standard pressure treated wood, so I'll give you some info on that too.

First, a comparison of the type of decking we used (Timbertech XML), with one of the cheapest composites you can get (Trex Select), with regular old pressure treated wood.  I did not include the price for the drainage system supplies since I imagine most people will not need that.  I'll provide some info on that below. 

Here's a little summary of what you see in the breakdown below:  If you were to build our exact 480+ square foot, 6' high deck with the exact products we used, it would cost you about $11,750 in materials, which comes out to about $24 per square foot.  If you were to build our exact size/shape/height deck using the cheapest composite decking available, it would cost you about $9,500 in materials, which comes out to about $20 per sf.  If you were to build our exact size/shape/height deck using pressure treated wood, it would cost you about $6,300 in materials, which comes out to about $13 per sf.
Almost $12K for this beauty!
I have heard that one of the standard deck sizes that Ryan Homes offers is 10'x12'.  The materials for that size deck would be less than $2,400 for standard composite and less than $1,600 for wood.  It would probably be even lower since their decks have standard steps, if any.
All right, here is the math (this girl loves a good spreadsheet!):


Deck Price Comparisons (480 sf deck)
12" OC
12" OC
16" OC
XML
(Solid PVC)
Basic Composite
Pressure Treated Wood
1.  Footings $1,750.00 $1,750.00 $1,750.00
2.  Framing Lumber $1,050.00 $1,050.00 $787.50
3.  Screws, straps, etc $100.00 $100.00 $100.00
4.  Deck Boards $5,468.50 $3,252.00 $1,785.00
5.  Railings $2,090.20 $2,090.20 $1,045.00
6.  Hidden fasteners $497.50 $497.50 $0.00
7.  Deck screws $80.00 $80.00 $120.00
8.  Lattice $120.00 $120.00 $120.00
9.  Fascia $100.00 $100.00 $100.00
10.  Concrete pad for steps $500.00 $500.00 $500.00
Price for our 480 sf Deck: $11,756.20 $9,539.70 $6,307.50
Price per Square Foot$24.49$19.87$13.14
Price for 10'x12' Deck $2,939.05 $2,384.93 $1,576.88

Let me explain the breakdown...
  1. The footings (we needed 15) and 18'x5' concrete pad at the bottom of our steps were done by a contractor (my cousin to be exact). 
  2. We purchased the pressure treated framing lumber from Home Depot and this included everything we needed for the posts, beams, joists, stringers, ledger board as well as delivery.  You'll notice that the price for the wood deck is less.  The composite decking manufacturers suggest that you space your joists 12" on center with their products.  With wood, you can get away with 16" O.C., so I just multiplied the composite number by 0.75 (12/16).
  3. Screws, straps, etc: I forgot to keep the receipts for all of the hardware we used for the framing, so I just threw a number in there... it wasn't significant.
  4. The deck boards were obviously the most expensive aspect and this is also where you have the most options, so you can really keep your cost down by choosing a less expensive product. 
  5. We used RDI Original vinyl railing systems.  In my estimate I assumed that if you were doing a wood deck, you would also use the wood railings.  The price for those is based on the quote we were given from our supplier as well.
  6. The hidden fasteners are special screw systems which you use with "grooved" composite boards so that you don't see the screws in your deck.  It really does look awesome.  I did not include this in the wood deck option since this system is not available for regular pressure treated boards.
  7. Deck screws: We still needed a bunch of regular deck screws for the steps, fascia and the edges where you couldn't use the hidden fasteners.
  8. We used PVC lattice.  You can actually get the pattern in two different sizes and we opted for the smaller size so that you can't see under our deck as much.  Again, this was the more expensive option and regular wood lattice is significantly cheaper.
  9. We also used PVC fascia (are you getting the idea that we don't plan on a lot of future maintenance??), but again going with the regular wood fascia will save you some money.

The drainage system for our deck cost just over $1,000, including the heavy duty plastic and 3" thick gravel that we laid on the ground under the deck. 
The one thing I did not include was the price of tools.  There are some pricey tools that are definitely required.   We were lucky that we either owned or were able to borrow everything we needed.
I hope this helped some people who are considering building a deck.  If you have any questions, leave a comment or shoot me an email and I'll try to answer as best I can!

Wednesday, June 12, 2013

Deck is Complete!!

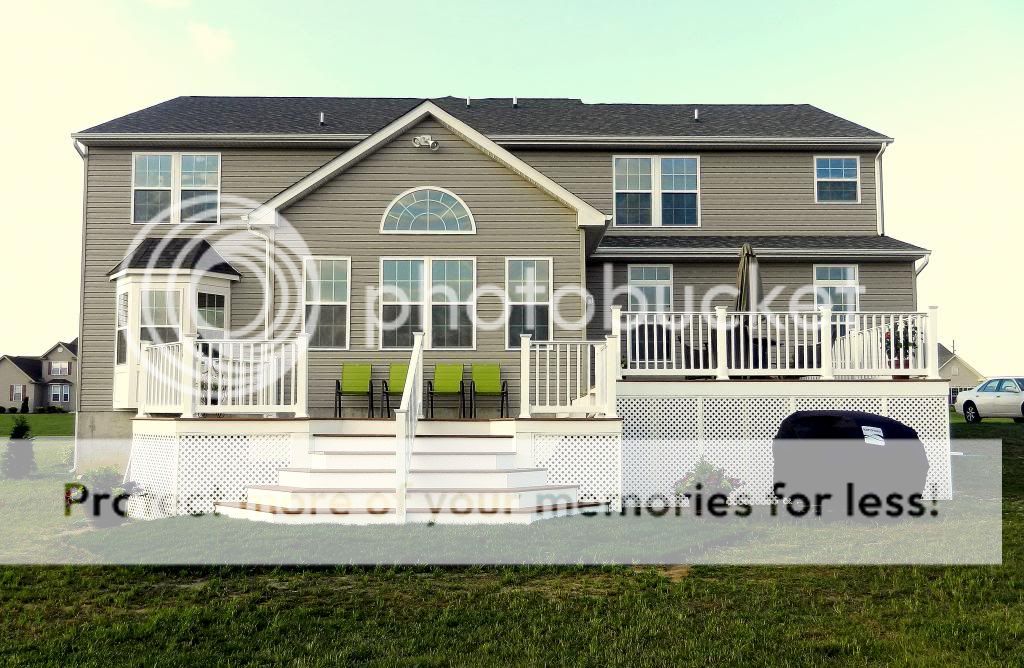
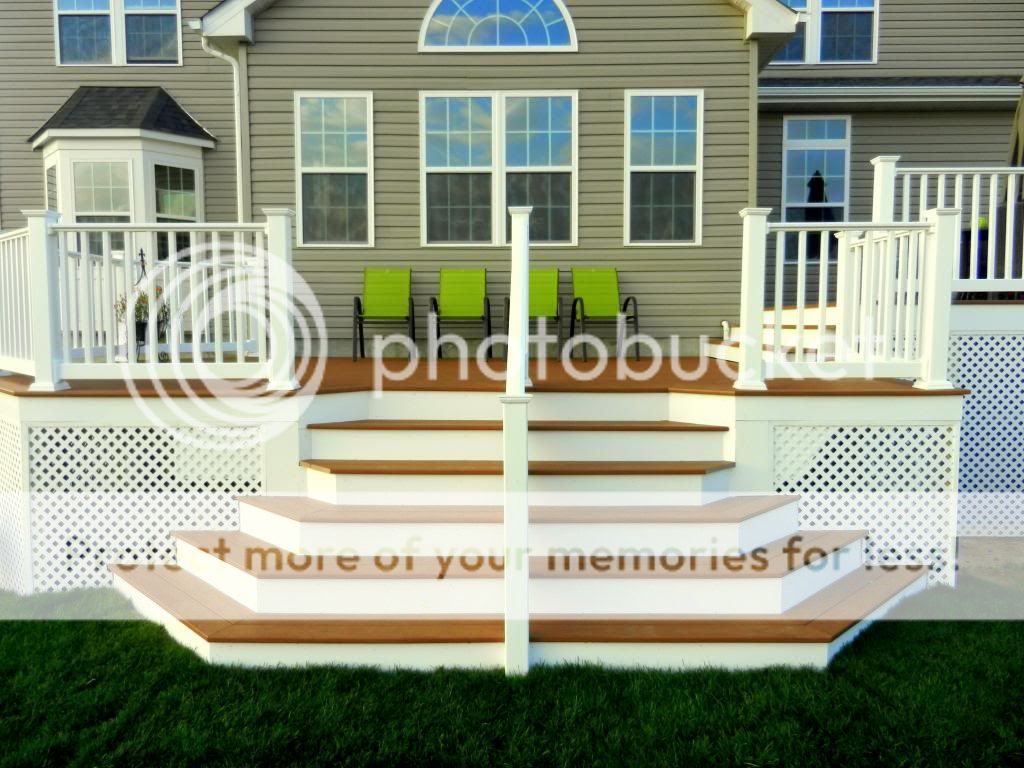
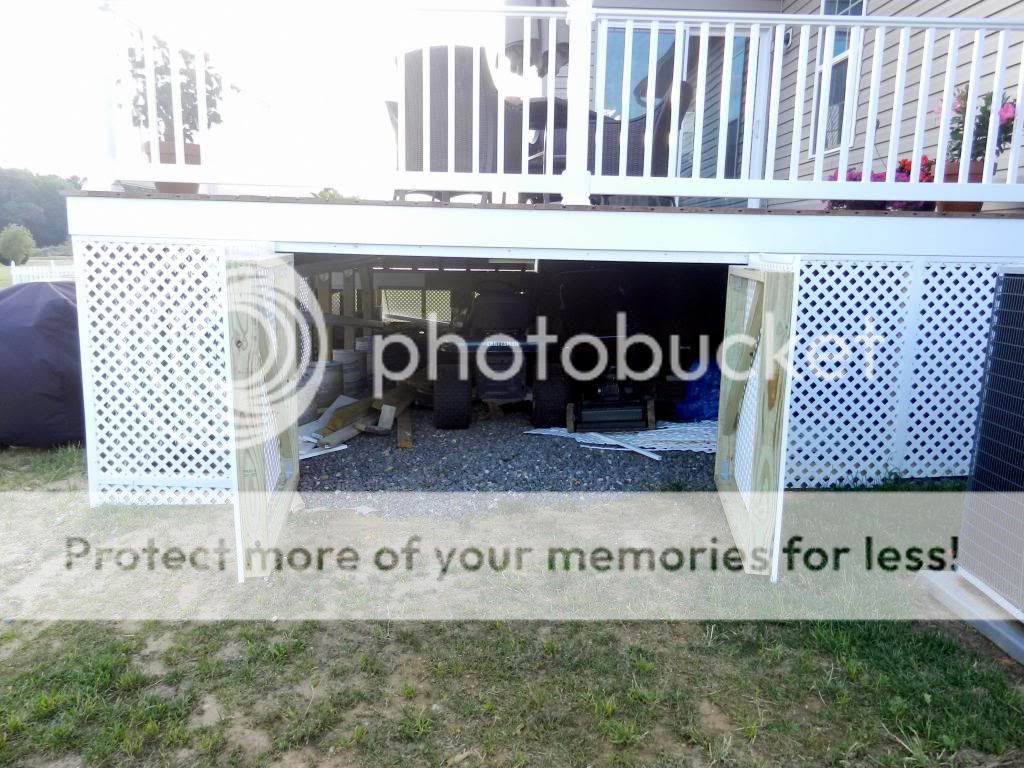
Our bi-level, TimberTech XML, waterproof deck with "wedding cake steps" and storage underneath is finally completely finished!  I could not be happier with how the whole thing (especially the fancy steps) turned out. 

If you missed the journey of the deck, you can read all about the building process here:
Part 1
Part 2
Part 3
Part 4
Part 5
Part 6

Sorry in advance for the barrage of photos... I'm a bit obsessed...

Tell me those steps aren't sexy!
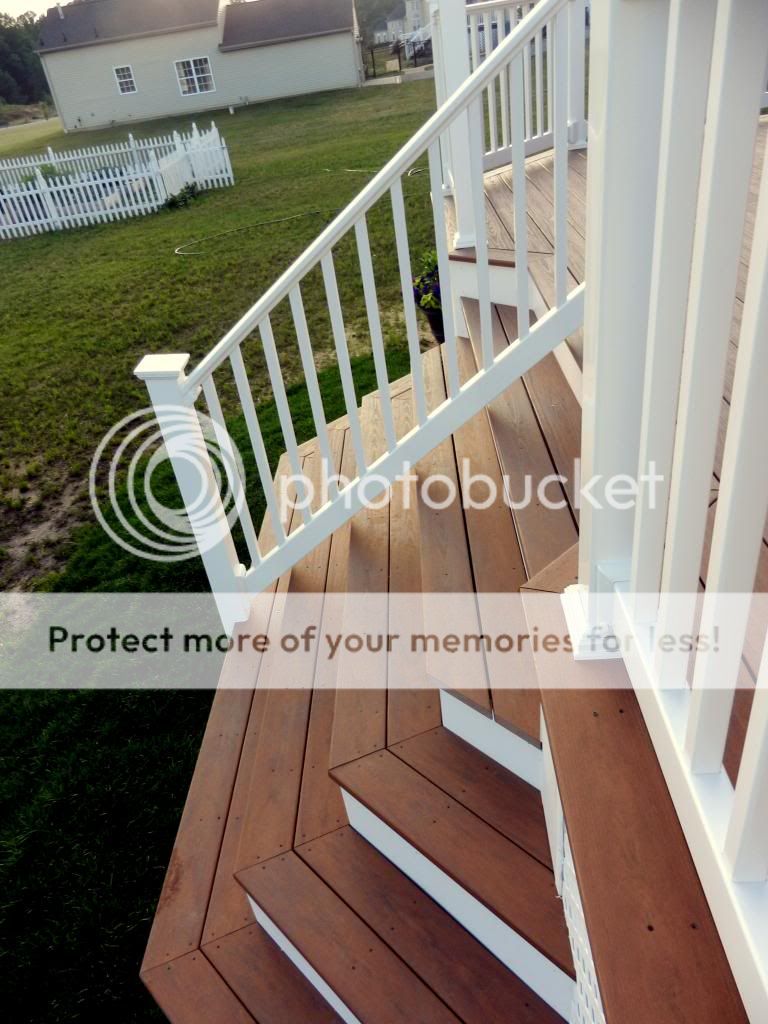
Side view of the steps!
Now you see it...
Now you don't.
These next photos are not deck related, but this is the first time in my life that I have successfully grown something, so I have to share how great our flowers and veggie garden are doing...

The things in the middle are daisies and they are soooooo close to blooming!  That bright green stuff is potato vine and it's my new favorite plant.  The color just makes you smile :).
So pretty... I love bright colors!
Look how close the daisies are to blooming!!

Gregory watering the veggies!
We picked our first heads of broccoli yesterday and it was so good!
Potatoes!  Who knew potato stalks grew so big!
This has absolutely nothing to do with the deck, but I just thought it was cool that there's a beer named after me (which I am drinking as we speak :)).  And there's a tiny bit more of a peek at the family room progress.
I wish you could all come over to hang out on our deck and drink Colette beer!!

Update: A complete price breakdown of our deck can be found here.

Tuesday, May 7, 2013

Deck Update #6 - The Homestretch (plus sneak peek of the garden)

The deck is sooooo close to being finished!  We got the remainder of the railings up this past weekend and my "fancy steps" are about 3/4 of the way done.  I am lucky my dad loves a challenge because the wraparound/cascading steps are proving to be quite the design challenge.  There are a lot of geometry calculations and 3-dimensional thinking involved.  They are coming along great though!

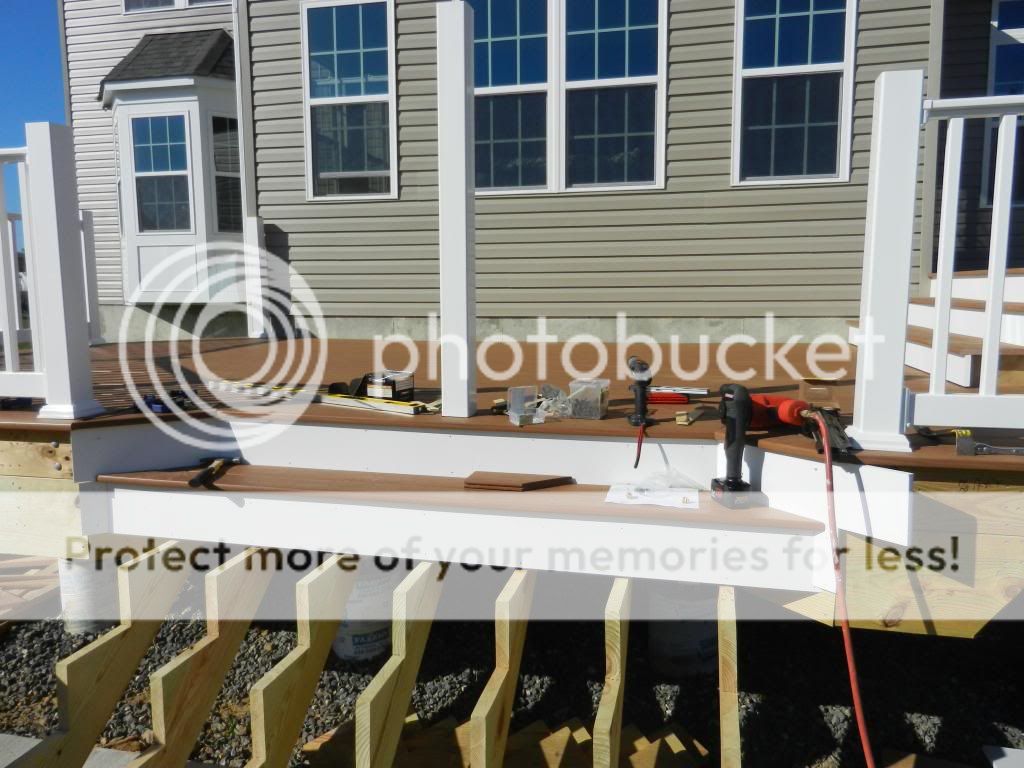
Fancy steps being laid out for concrete landing pad.
Some custom stringers and Dad admiring his handy work.
First step is complete!
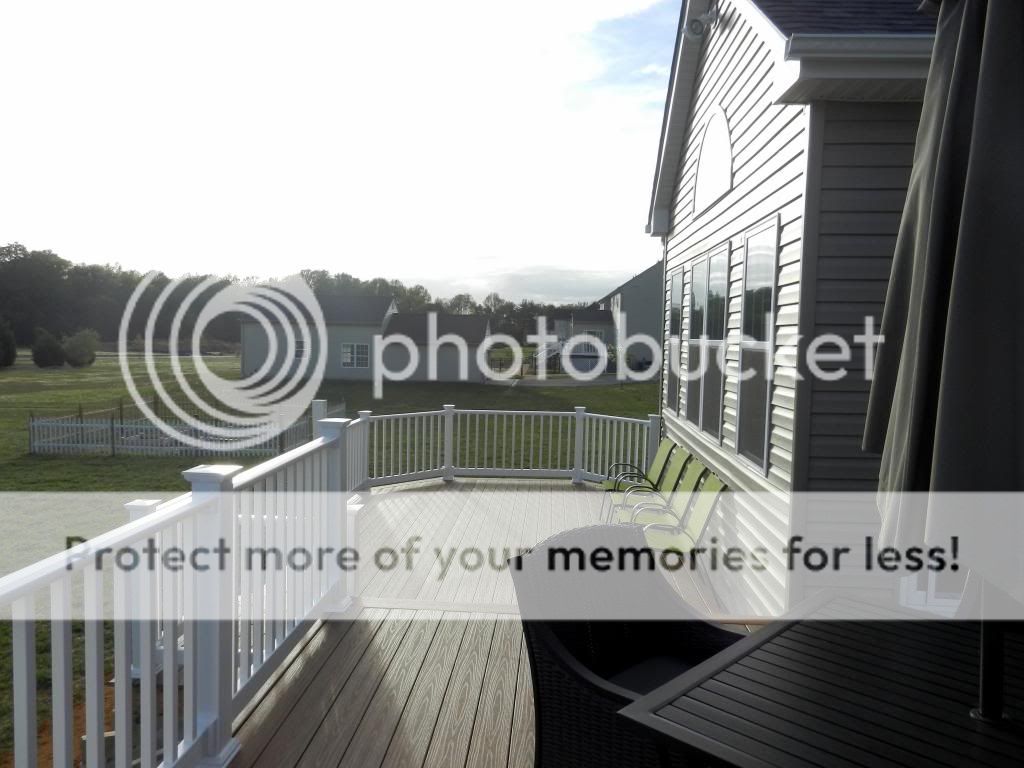
All of the railings are done!
Some temporary furniture.
Back view.
We also scored this sweet outdoor dining set from craigslist for half the price that it's going for at Target!  I'm so happy with it!  Now I just need to find a reasonable "conversation set" for the lower level.  We might just want until the end of the season to get something on clearance if I don't see anything on craigslist that I really like.


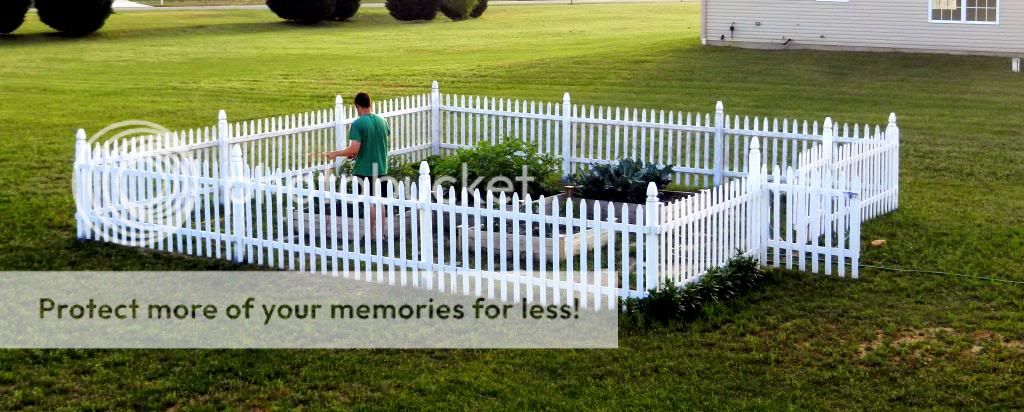
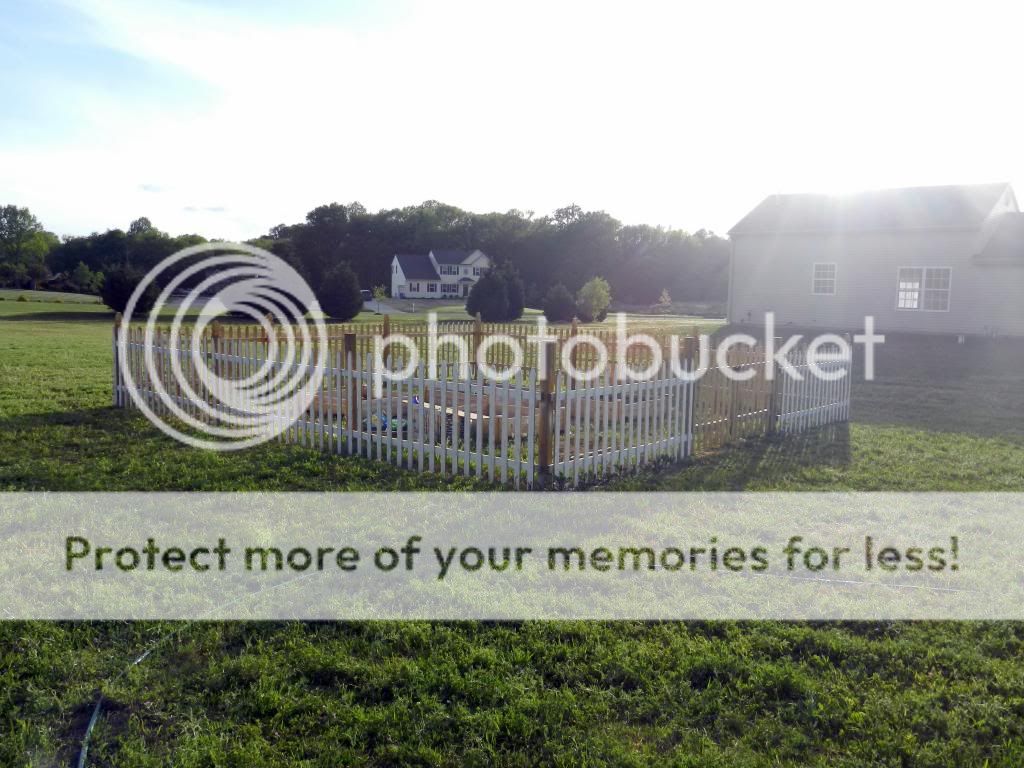
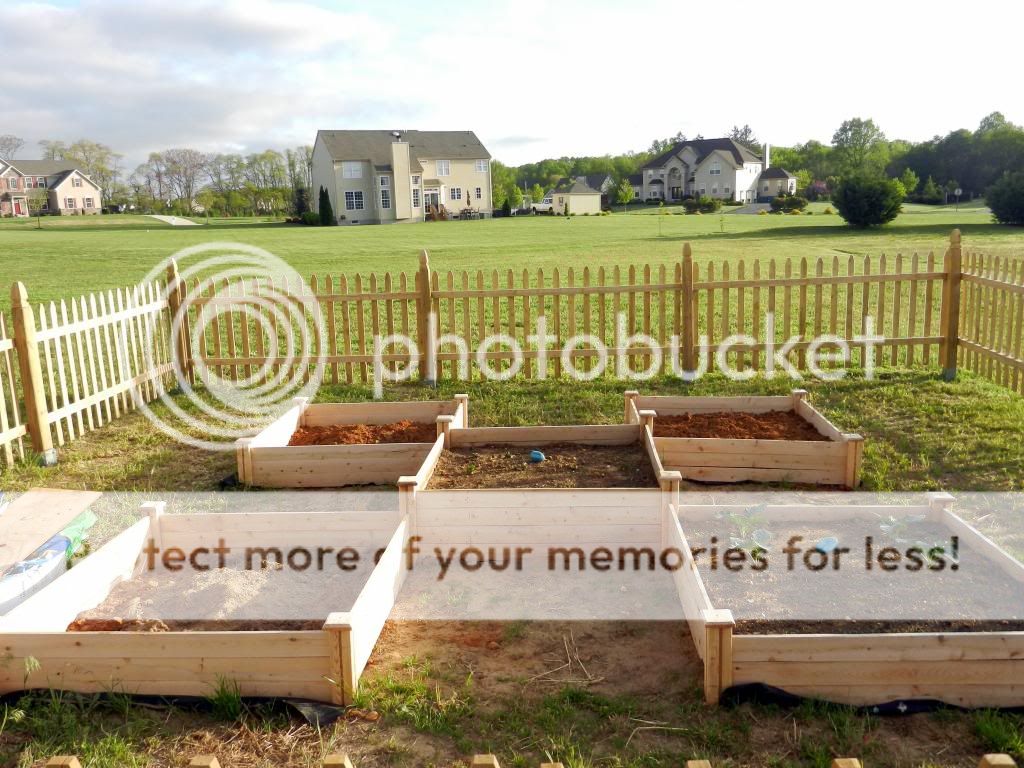
And finally some pictures of the veggie garden!  Greg assembled the boxes and built the fence about a month ago and we just planted our first crops: broccoli, potatoes and carrots (for Peter, of course).  This weekend we are going to plant peppers, tomatoes, squash, cucumbers, eggplant, basil and citronella.  Greg is the champion of our garden... I can't even keep our houseplant alive.  I'm very excited to reap the benefits of his hard work though... There's nothing better than a fresh Jersey tomato straight off the vine!

Just need to finish painting and put the fancy tops of the last few posts.
French door gate!
Lots of room for veggies!
My lone contribution to the garden... painted rock identifiers.  :)
And... Greg and Dad finally got the riding mower working.  No more push mowing for Greg!!


Friday, April 5, 2013

Deck Update #5


We made a lot of progress last weekend!  We got all of the deck boards down on both levels, finished the steps between levels and started on the railings.  We're taking this weekend off, but I'm hoping we can get the rest of the railings done next weekend then the fascia the weekend after that.  Then all we will have left is the bottom steps, which are going to be the trickiest part of the deck.  We plan to add a patio in the next year or two, so we have to make sure we coordinate the bottom of our steps with our future patio as best we can. 

First railing up!
Beginning of the steps
We made the boards long and just cut off the excess after they were all down.
 
Dad trimming the boards.
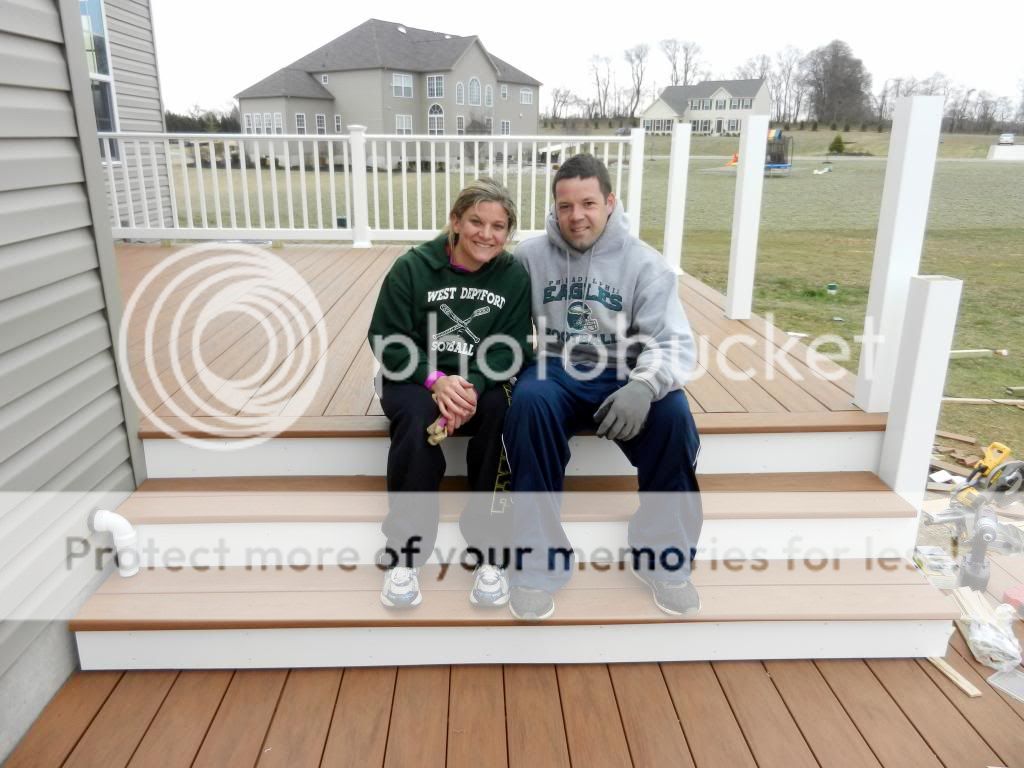
My lovely husband!
Only one casualty so far... Greg hit his finger with a sledgehammer :(
Dad cutting some notches for around the posts.
Close up of the Timbertech concealed fasteners.
Greg would wack the boards into place....
...then I'd follow up and fasten them.
Close up of one of the post installations.
 
We are on the homestretch!!!

Monday, March 25, 2013

Deck Update #4: Goodbye Safety Rail!!

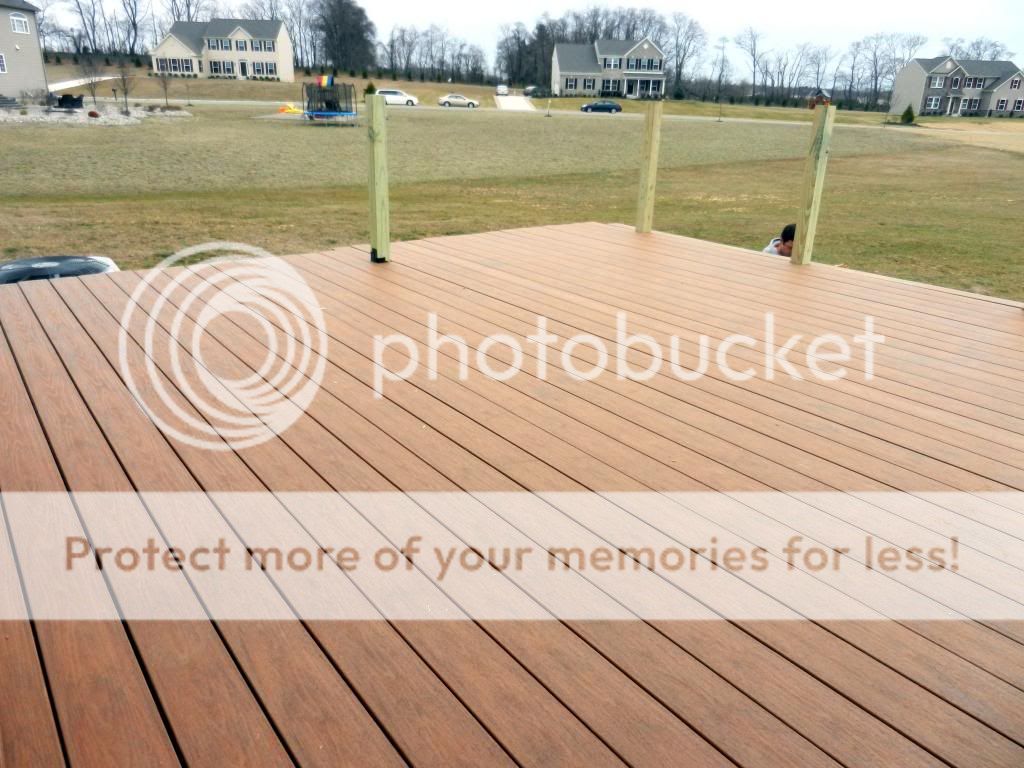
We made some great progress on the deck this weekend!  We got all of the posts for the railings up, installed our drainage system for the upper level (since we will be storing stuff under it), and laid all of the deck boards (except one...haha) for the upper level!!!  My dad also cut the stringers for both sets of stairs. 

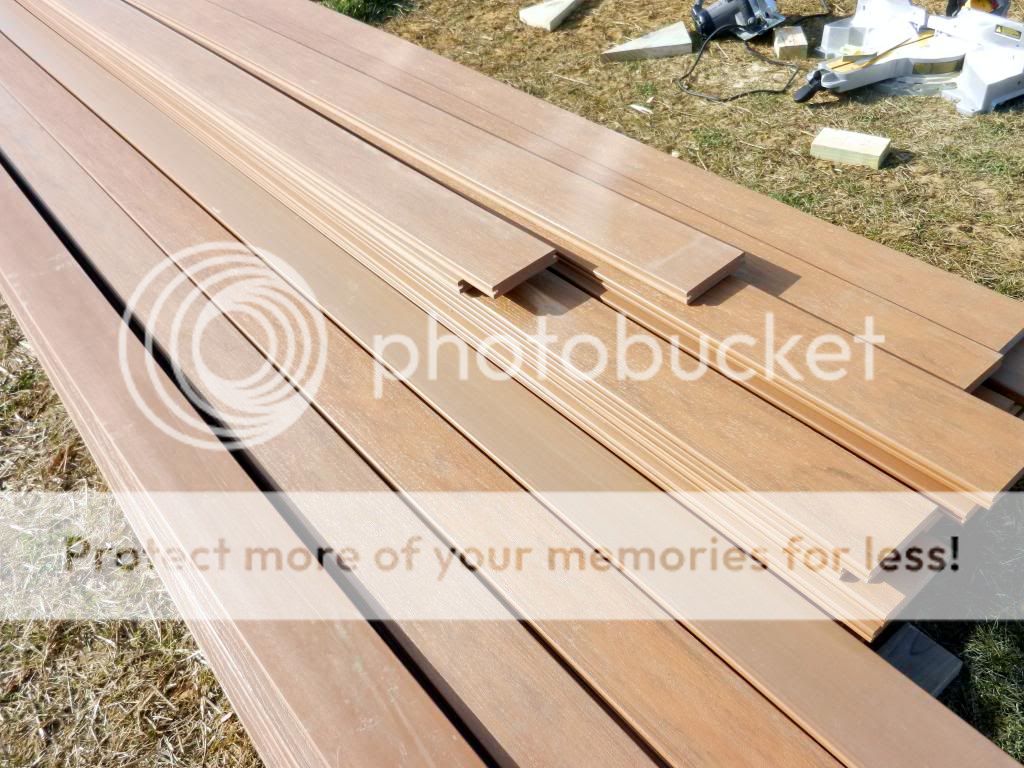
I am in love with the decking we choose.  It is Harvest Bronze from Timbertech's XML Tropical Collection.  The "pattern" in the planks looks so natural and it really does look tropical.  I couldn't be happier with how it looks so far.  We ordered it and our railings from Delaware County Supply Company in Boothwyn, PA.  If you live in the southeastern PA or southern NJ area, I highly recommend their services.  Everyone there is very knowledgeable and super nice and helpful.  With so much crappy customer service around these days, it was refreshing to deal with people who take pride in their trade and actually want to help you.  We will be giving them our service over Home Depot whenever possible!!

We went with the concealed fasteners for the decking in lieu of regular visible screws and it really does make such a difference.  Unfortunately installation is not quite as easy as the advertisements/directions lead you to believe.  We wound up having to use a sledge hammer to bang each board into place, which was pretty tiring and time-consuming.  Greg and I are hurting after two full days (4 days for Greg and my dad) of hard manual labor, but it is totally worth it.  We're getting so close to being finished!!!

Enough talk... here's some progress pictures:

Tell me that's not the most beautiful decking you've ever seen!  :)

Upper level decking complete!
Safety railing is gone!  We can finally walk out our back door!
Removing the safety railing!
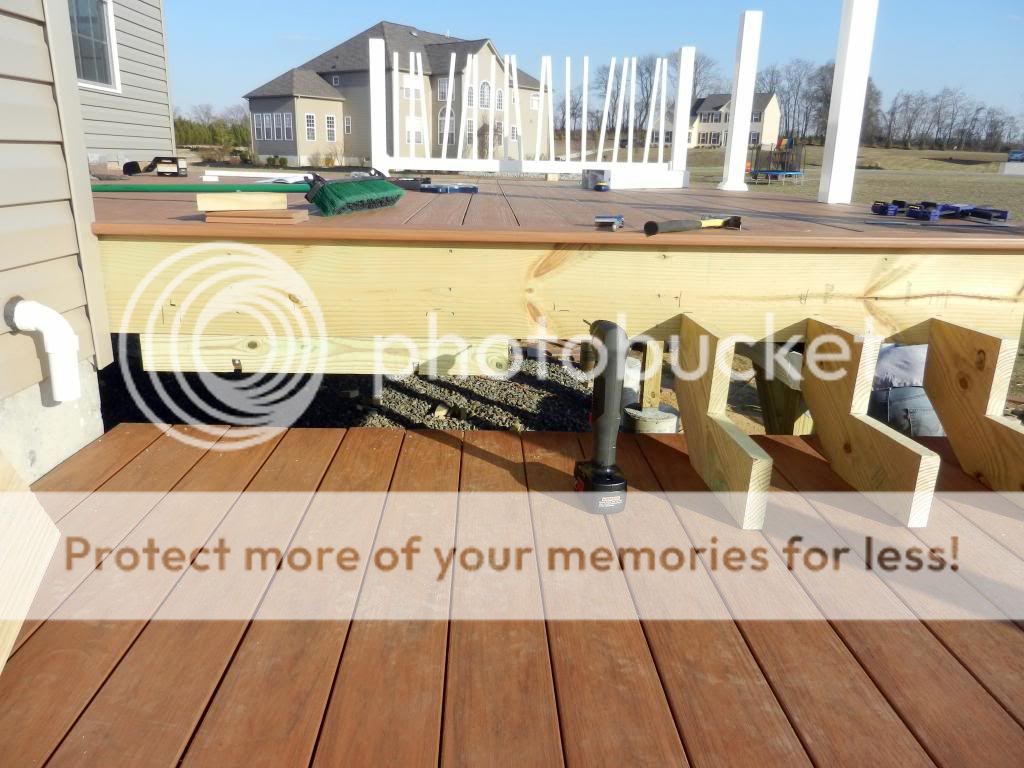
Progress photo showing the DekDrain drainage system under the decking.
Another shot of the drainage before the deck boards went down.
The runoff flows down the troughs in the previous photo (placed between each joist) into this gutter which is attached to the beam at the end of the deck.  Those "bibs" at the ends of the troughs are just to prevent the water from overshooting the gutter.  We still need to add a downspout at the end of the gutter.  Voila!  A dry underdeck!