Joss & Main Exclusive online private sales for the home
Showing posts with label Courtland. Show all posts

Friday, October 17, 2014

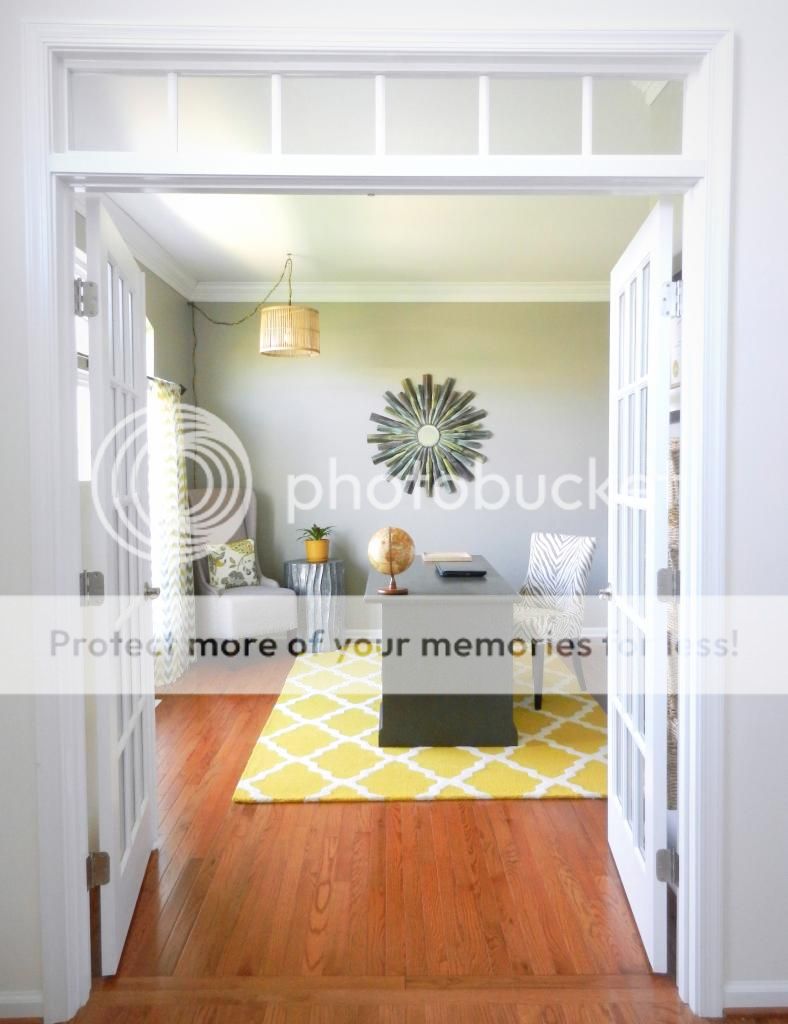
Home Office Reveal!

Our home office is finished! Get ready for a ton of photos... I was so super-excited about how this room turned out, so I was a little trigger-happy with the camera :). So this makes 3 rooms in the house that are finished... at this rate, our whole house will be done by about 2020.  Slow and steady wins the race, right?? Haha.


I didn't realize how much I would appreciate the french doors until I needed to get work done while Greg was watching footfall in the family room.... close those babies up and I couldn't hear a thing!

Please, come right in!!


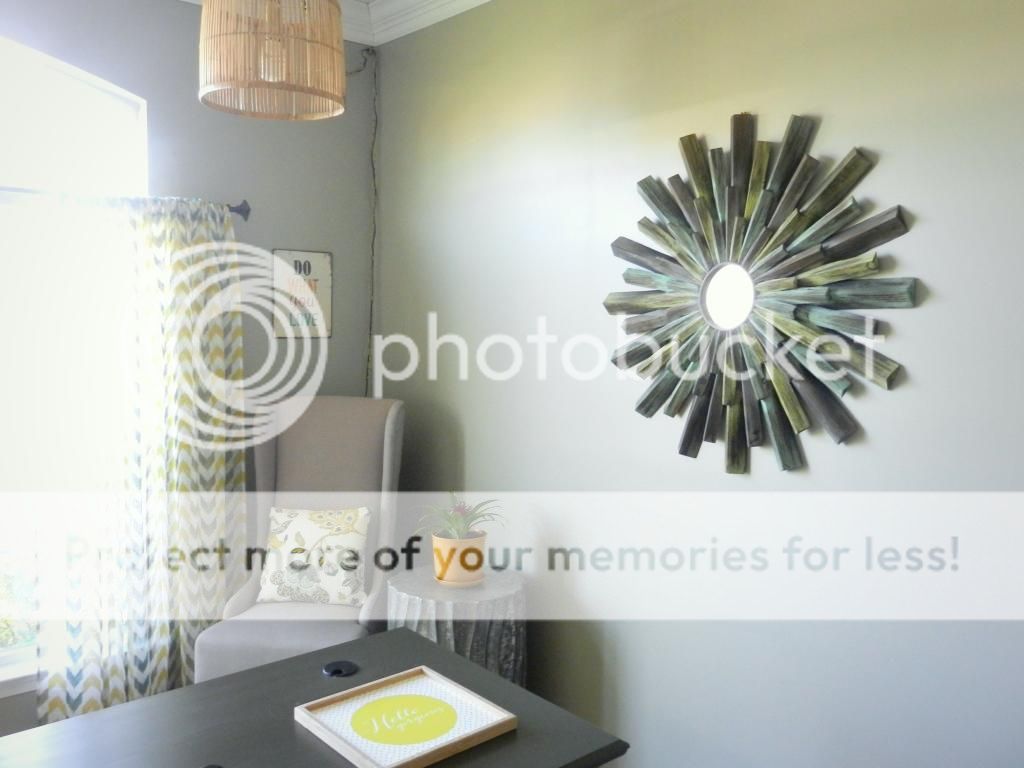


This pillow was my first sewing project. But my 12-year-old cousin walked me through it, so I'm not sure if that counts! Learning to sew that's going to be one of my goals for 2015. Make sure you guys remind me when I list my goals at the beginning of next year! 

These built-ins are my FAVORITE!!! The built-in desk and bookshelves are my biggest DIY accomplishment to date I think. They are actually easier than they look to build. You can read about how I made the desk base here, and I'll be posting a tutorial on the bookshelves shortly! You can also see how I made the fabric-covered nailhead trim corkboard in the center of the bookshelves here.

The gray freestanding desk is from Craigslist, which I made over with homemade chalkpaint. You can check out the desk makeover and how to make your own chalk paint here.
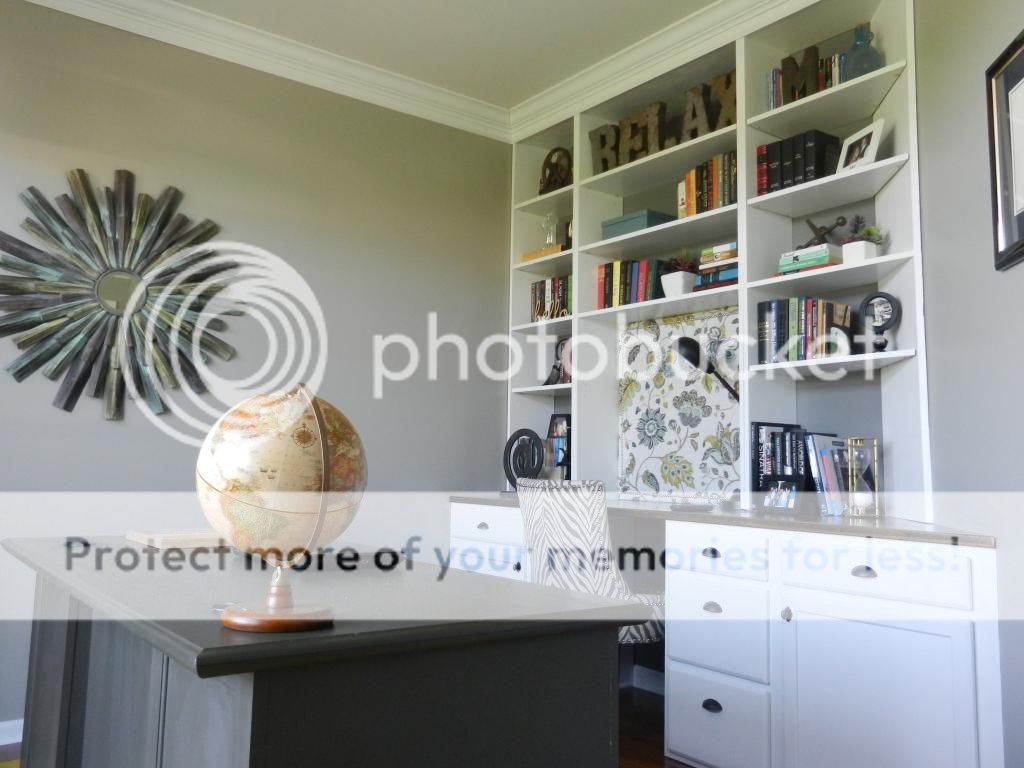

I have to give Greg credit for filling up the bookshelves with nice, hardcover books.  Most of my books are chintzy, paperback fantasy/vampire novels.  Greg reads pretty much all non-fiction... he is the cultured on in our family. ;)    

Here is a look at the other side of the room. The space to the right of the doors was exactly the perfect size for a file cabinet. In many of the Courtland (now Courtland Gate) elevations, you don't have that extra space, but our elevation included a two-foot bump out in the study. We didn't even think about it when we were choosing our elevation, but it's definitely something to keep in mind. You can read more about how your elevation choice might affect your home's square footage here.
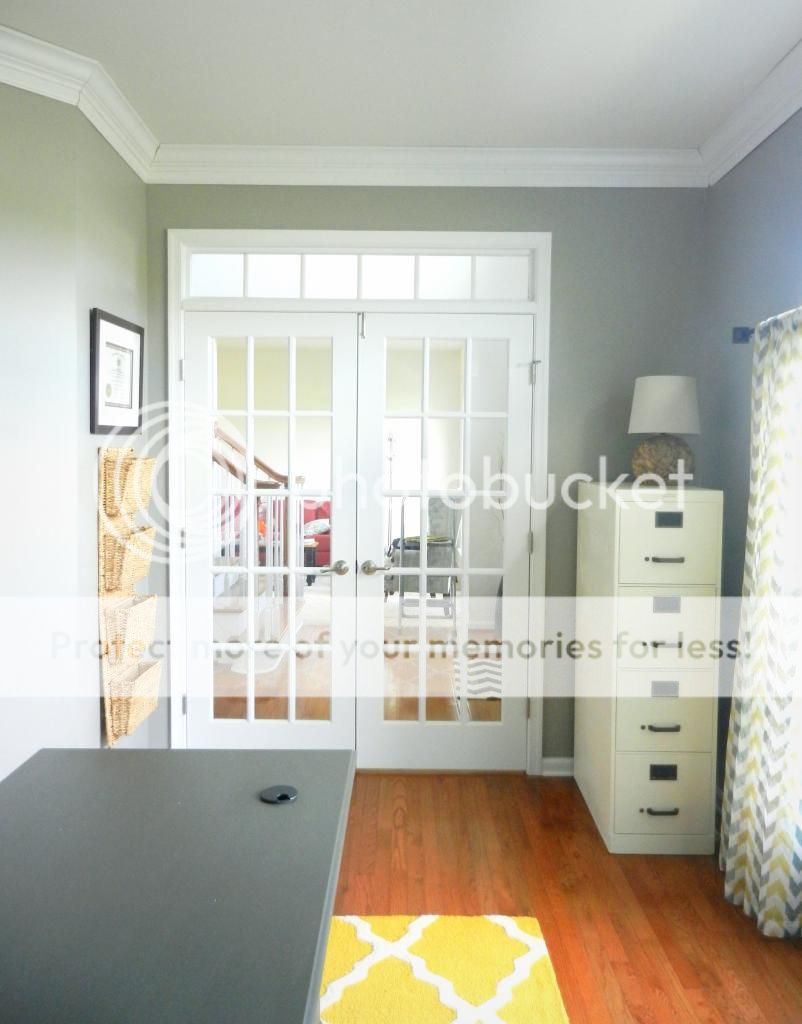

This was an old file cabinet from my dad's house that I made over with spray paint. I will be doing a post on the make-over shorty. Spoiler-alert... it was a bit of a DIY fail!!

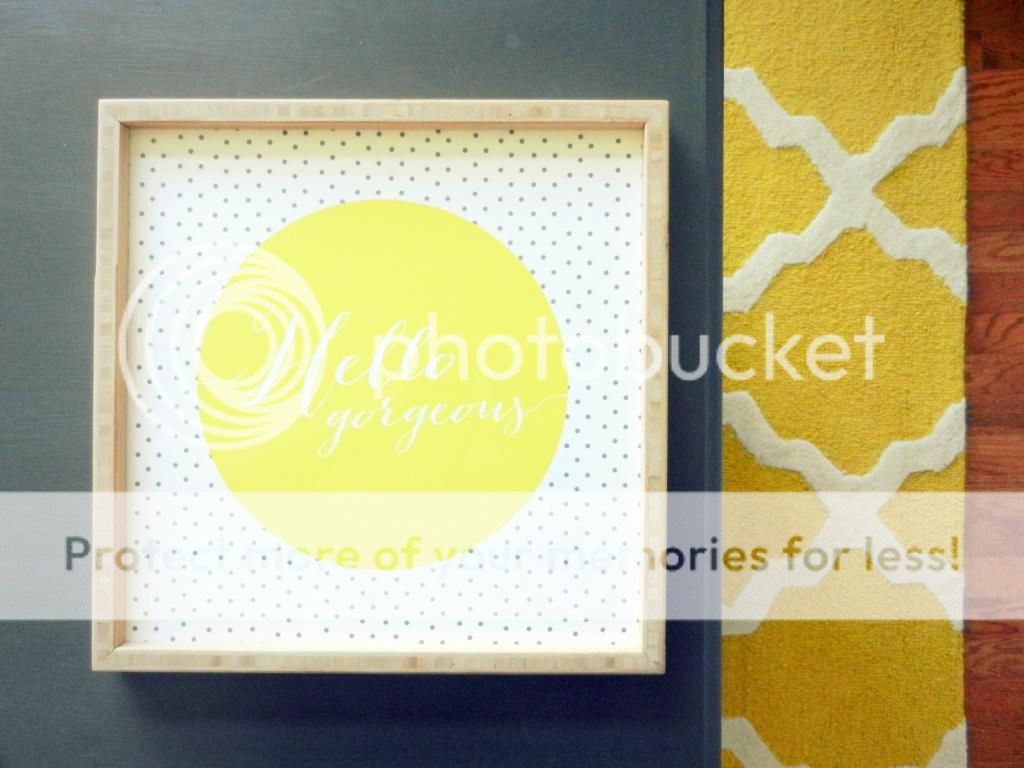
This cute little tray is a friendly reminder to myself that I am quite lovely, even those times when I am feeling anything but! :)
And just for fun, here are some before and after photos.  It blows my mind how much bigger the room looks now that it is finished.  I think the hardwoods make a huge difference in making the room look bigger.


As per my usual M.O., this room is actually not 100% complete.  I still need to caulk the crown molding and add some decorative trim to the front of the bookshelves. Once the room gets to the point that it looks pretty, I have so much trouble completing those final finishing touches! 

Let's look at everything it took to get this room looking like it does now (if you're interested in how I began the design process for this room, you can check out this post):

Home Office To-Do List
1. Install hardwood floors. 100% Complete!
2. Build built-in desk/bookshelves. 97% complete (still need to add some trim).
3. Install crown molding. 95% complete (still need to caulk).
4. Paint. 100% complete!
5. Install window treatments. 100% Complete!
6. Makeover freestanding desk. 100% Complete!
7. Re-finish file cabinet. 100% Complete!
8. Make corkboard for built-ins. 100% Complete!
9. Decorate. 100% Complete! (for now :))


Here is a list of all of the DIY projects I did for this room, with links to each post:

4. File Cabinet Makeover (post still to come!).
5. Home-made pillow.

Source list:
Curtains - Crate and Barrel
Rug - Rugs USA
Starburst Mirror - Joss & Main
Wingback Chair - Joss & Main
Tree Stump Side Table - Joss & Main
Pillow - Homemade, fabric from Tonic Living
Yellow Pot - Joann's
Bamboo Light Pendant - Lamps Plus (no longer available)
Gray Desk - Craigslist Makeover
Zebra Chair - Wayfair
Hello Gorgeous Tray - Joss & Main
Globe - Urban Engineers' 5-year service gift
File Cabinet - Hand-me-down madeover
Rattan Lamp - Walmart
Woven Wall Pockets - Ballard Designs
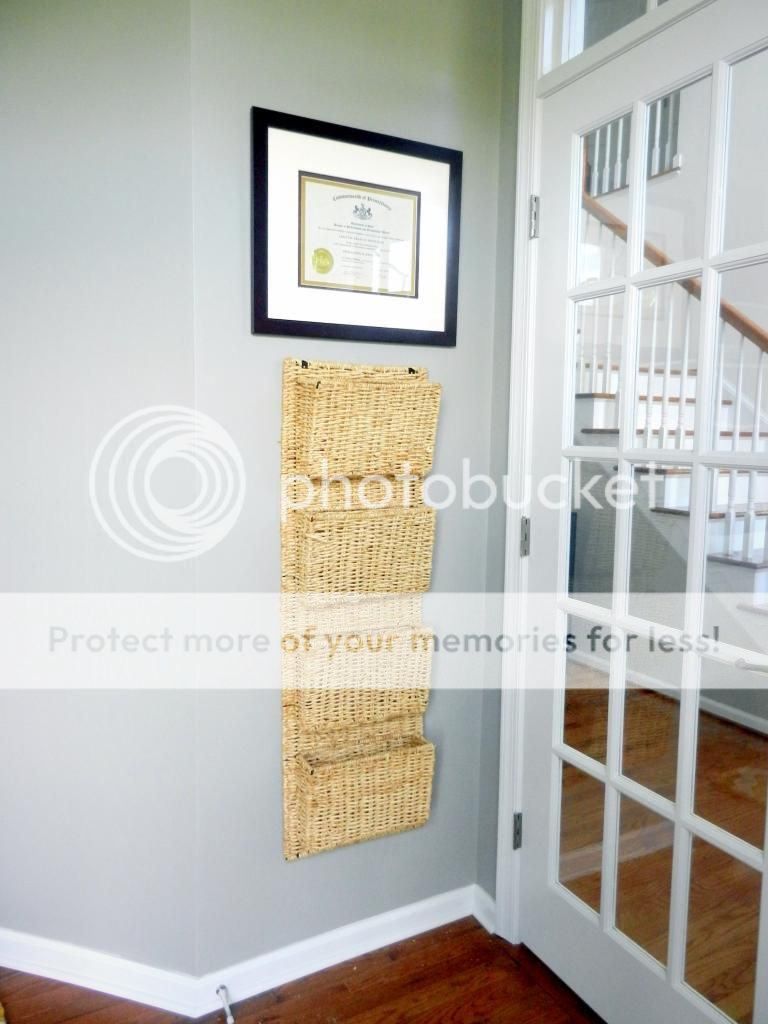
Diplomas - University of Delaware & Bloomsburg University (these were very expensive :))
All of my bookshelf decor will be featured in another post!

This post was featured at the Work it Wednesday link party. Make sure to go check out all of the other great features!

I am linking up at these sweet parties... go check them out!

Thursday, January 23, 2014

Home Office Ideas

I am heading to NYC this weekend for a mini-getaway with my college roomates, so I won't be working on the house at all.  I do, however, have a date with my dad on Friday to check out base units for our built-in desk/bookshelves.  (When did it happen that I'd rather spend my Friday nights at Home Depot than at the bar?)  I am planning on using unfinished kitchen cabinet bases and cutting off the bottom toe-kick part to get it pretty close to the standard 30" desk height.  Here's an example of someone who did this... I think it turned out great: Home Office Before and After.  The only tricky thing I foresee is the how to do the base unit for the angled part of the wall, but we have a couple of ideas marinating.  For the wood desktop, I am between a stained butcher block counter-top (which is pretty expensive) and just throwing some 2x's together similar to this.  Normally I prefer to go with the cheapest alternative, but now that I'm a "grown-up" I'm trying to remember that sometimes it's better to spend a little extra money for something of better quality that will last longer. 
 
Check out my pinterest board to see some of my ideas for the built-ins and some other items in the room (such as the curtains and rug I just ordered from Crate and Barrel... crossing my fingers that I like them when they arrive!).  

The one thing I wanted to do for the "reading nook" in the corner is re-upholster a wing back chair that currently belongs to my dad.  I have been looking at local re-upholsterers and it seems like it could cost anywhere from $500-$700 to have it done by a professional.  Since I could buy a brand new chair for that amount, I think I might have a go at it myself.  I have been researching DIY re-upholster tutorials online and it seems like it's possible with a little skill and a lot of patience.  Now I just need to make sure my dad is willing to give me the chair :). 

Have you ever tried a somewhat complicated DIY re-upholser?  If so, how did it turn out?  Any tips?

Sunday, January 19, 2014

Hardwood Floors in the Study!

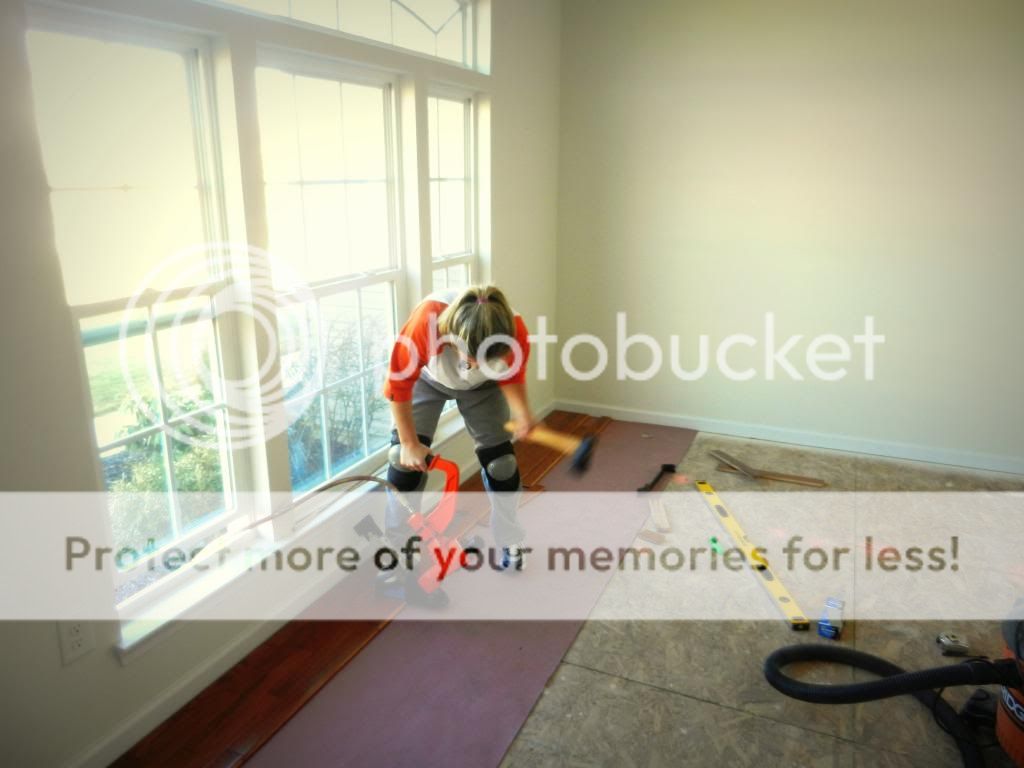
I am writing to you from my couch where I sit sore and exhausted, but it was worth it because.... the hardwood floors in the study are in!!  Woohoo!!  I am so happy with how they look.  I swear they make the room look bigger.  The floors were very easy to put in from a skill standpoint, but geez it's a lot of labor!  I estimate that I did about 200 squats these past two days.  And while the floor-nailer is an awesome tool, swinging the sledge hammer hundreds of times is no walk in the park.  However, we did it for about half of what the builder was charging (saved about $700.00), so I am definitely happy with our decision to DIY it.  It took two 8-hour days with two people working to complete them (plus about 2-3 hours to rip out the carpet, padding, staples and nail strips).

Before:

During:
Sweet knee-pads dude!
After:
Sorry about the poor picture quality.  It was getting dark when we finished, but I couldn't wait to take pictures!
Next up is are the built-ins.  I have started working on the design.  More to come shortly!

Hope everyone had a great weekend!

Tuesday, January 7, 2014

Layout Plans for the Study

The first big project of 2014 for us is going to be our study.  The main reason we want to get this room complete is to get organized.  All of our documents are still in boxes from when we moved.  It's really a pain to have to dig through a bunch of dusty boxes whenever we need to find something. 

Here is the "before" picture of our study (this is from before we moved in, it's a little messier than this now):


I have a pretty good "big picture" idea of how I want the room laid out.  I want to do a built-in desk and some shelves on the back wall, a freestanding desk in the middle of the room facing the big window, and a file cabinet next to the french doors. 

I drew this up from the dimensions on our floorplan, but it seems off to me.  I'll have to do some manual measuring.

Other than the layout, however, I have no vision for how I want the room to look.  I can't decide on style or colors or finishes.  Some days I like a blue-green paint with white furniture for a bright and cheery look... other days I like a dark wood tones and grays for a more masculine look.  The room is small, but it gets a lot of light, so I think I would be ok with the dark colors.  I'm hoping once we get the built-ins and the hardwood floor in, I will start to get some color inspiration.

I want to do something sort-of like this for the built-ins... a desk with cabinets and shelves above.  I definitely like the white with dark wood-stained desktop.  I will modify the layout a little, but more to come on that later. 
Here is the list of tasks/projects for the study:
 
1. Install hardwood floors.
2. Build built-in desk/bookshelves.
3. Install crown molding.
4. Paint.
5. Install window treatments.
6. Buy freestanding desk.
7. Re-finish file cabinet.
8. Buy area rug.
9. Lighting.
10. Decorate.
 
I have a date with my dad tomorrow to go hardwood floor shopping so hopefully we can get this ball rolling soon!  Our Home from Scratch has the same model home as us and they are working on updating their study too.  Maybe we can have a race to see who finishes first :).  I'm pretty sure it will be them since they already have their hardwoods in and they have lots more experience than I do with built-in units.  A girl can dream though!
 
Please offer input/suggestions... I am totally open to new ideas!

Friday, December 27, 2013

2013 Rewind

As 2013 draws to a close, I am taking a look back at all of the progress we have made on our new-construction home since October of 2012.  Here are some highlights of my favorite projects so far.  We still have a long way to go, but we have definitely seen a lot of progress in one year.

1. The DIY Pantry Spice Shelves were our (my dads) very first project.  Nice little shelves that he whipped up in about an hour to store all of my little spice bottles right in our pantry.


2. My first "all-by-myself" project was my DIY Fabric Nailhead Trim Headboard.  I was thrilled with how it turned out.  We still have a long way to go on the master suite, but at least we have a soft place to lean while reading in bed.  I also made an empty frame gallery wall for the master bedroom from some old frames that I freshened up with spray paint and I made-over an old bench that I took from my dad's house for the foot of the bed.

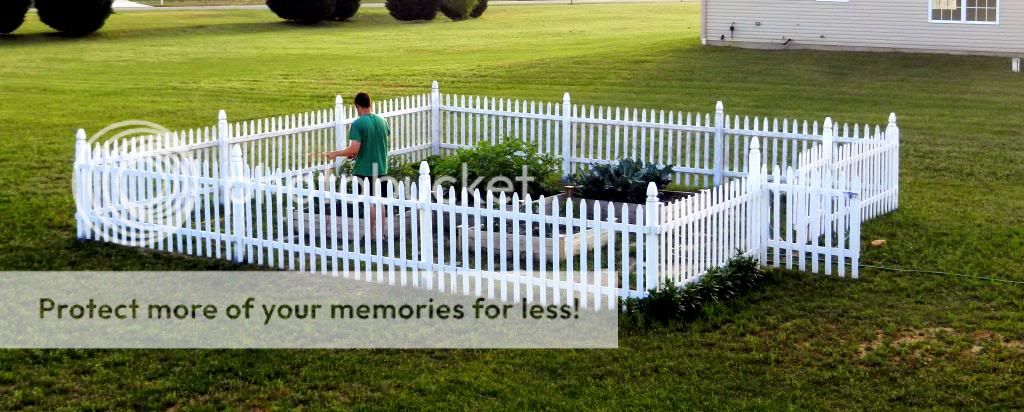
3. Greg built us an awesome fenced-in garden!  We enjoyed peppers, zucchini, broccoli, potatoes, tomatoes, basil, and carrots all summer!  Next year we're going to expand and try some new crops like corn.

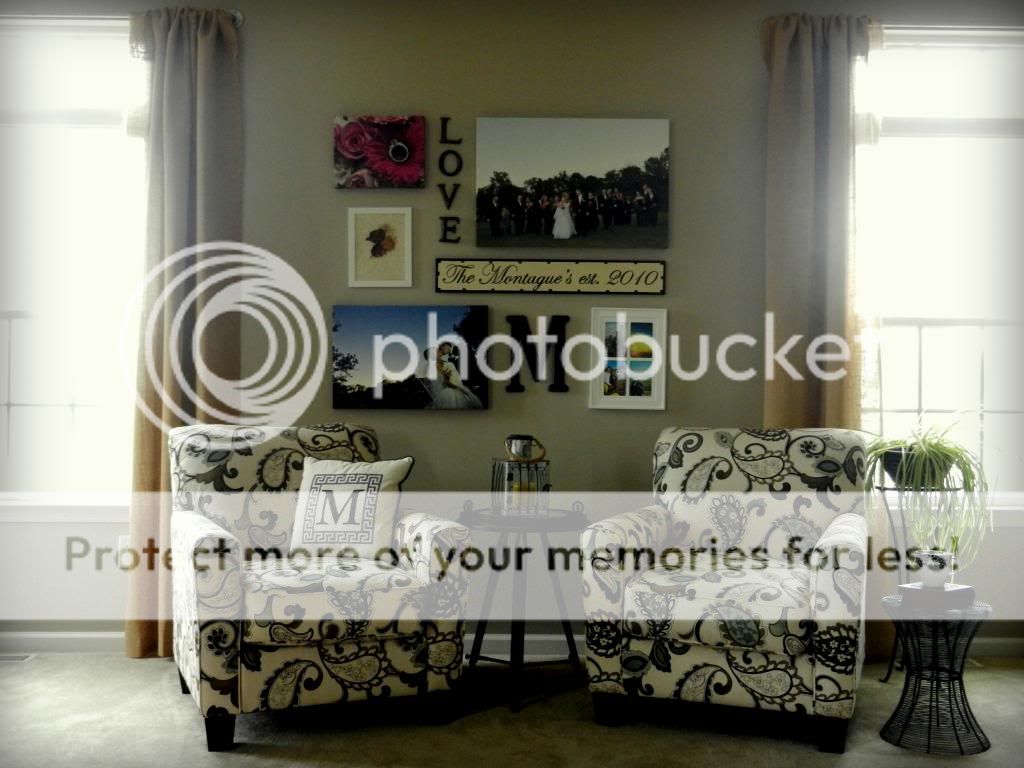
4.  After receiving a bunch of awesome wedding canvas prints from my sis-in-law for Christmas last year, I created a Gallary Wall in the family room to display the canvases and some other memorabilia from our wedding and honeymoon.  That spot looks awesome now that I finally got my chairs!

5.  Another major addition to the family room were my No-Sew Burlap Curtains and Galvanized Steel Pipe Rods.  These were so easy to make and only cost about $20 per set (including the rods).  You can check out the complete family room transformation here.

6. My DIY Coasters from Flooring and Paint Samples were a little 15 minute project.  These are completely free (just need samples from Home Depot and some sort of clear sealant). 


7.  I built some shelves for the powder room.  That room is just about complete.  I want to add some trim work, then it will be done!


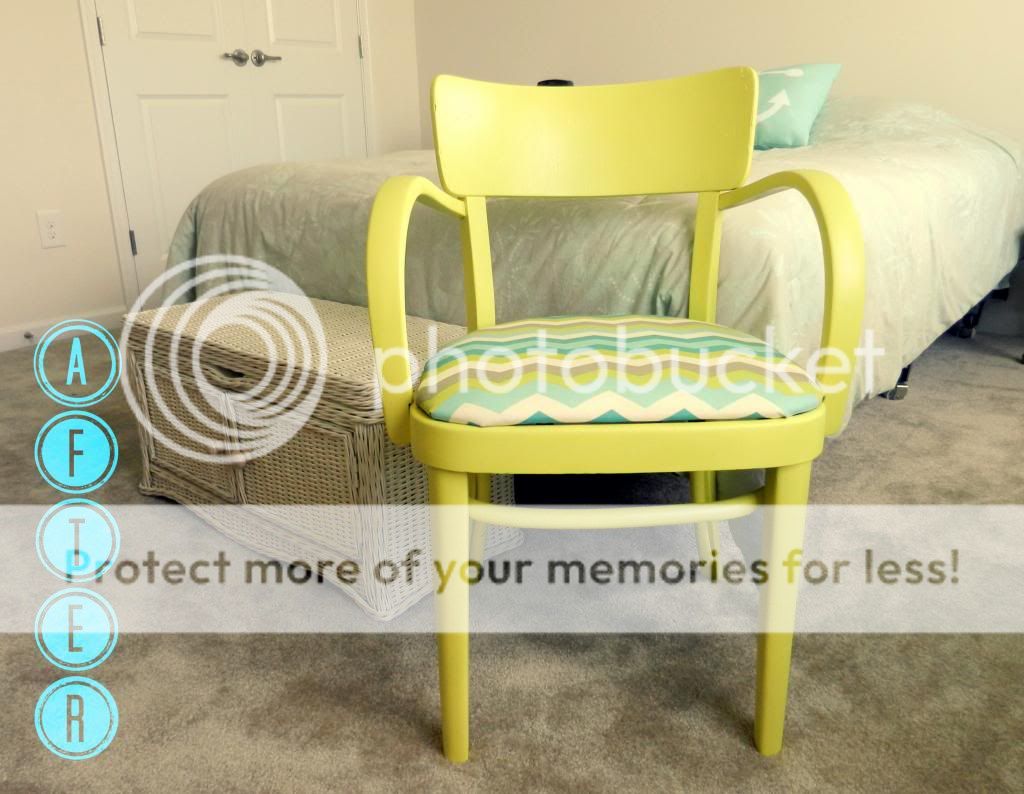
8. I made-over an old chair that I inherited from my grandmother with some fabric and spray paint for our guest room.

9. I recently jazzed up the kitchen with my DIY Painted Backsplash.  It makes me smile looking at those bright and cheery colors every morning :).

And the DIY project I am most proud of is...

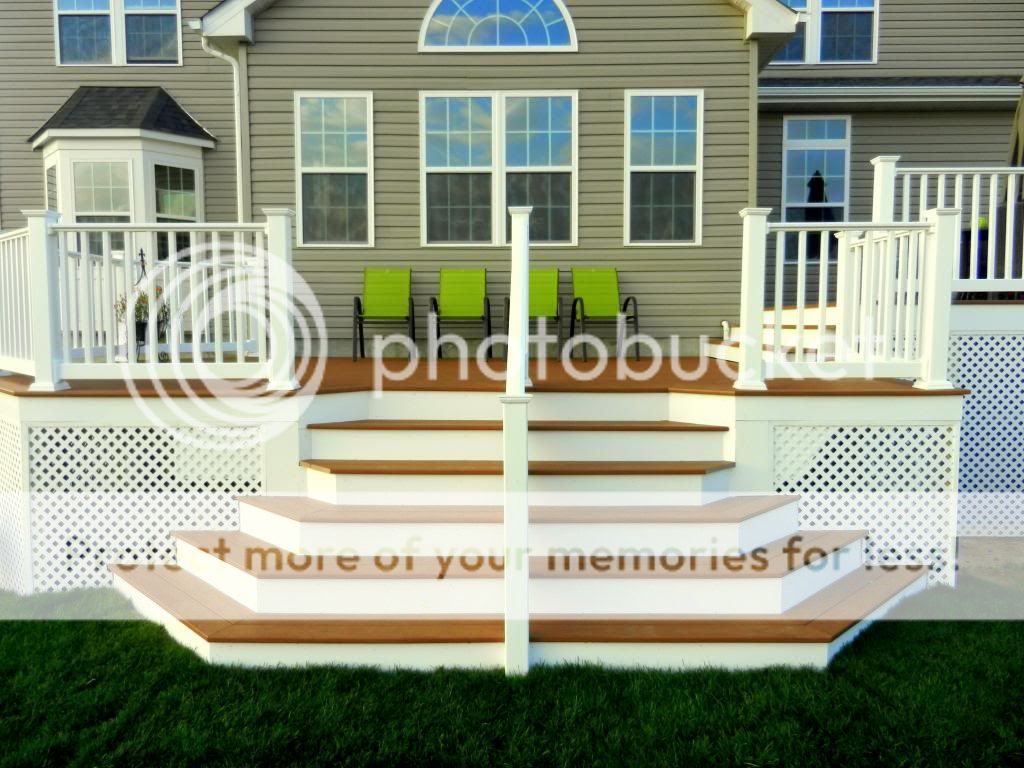
10. The Deck!  After a 6 month wait and 3 months of hard work (we took off over the winter), we finally completed our bi-level, TimberTech XML deck with waterproofed storage underneath.  The deck has become my favorite part of the house.  I can't wait for spring so we can use it again!


Even though we still have a long way to go with the house, it makes me happy looking back to see that we have actually made a good bit of progress.  Now I need to make a plan for what I hope to accomplish in 2014.  Stay tuned!!

I hope everyone had a Merry Christmas!!

Tuesday, November 19, 2013

Family Room: Before and After

Greg's going to kill me for using this picture :). 
It's the only "before" shot I have showing the whole family room I swear!
 
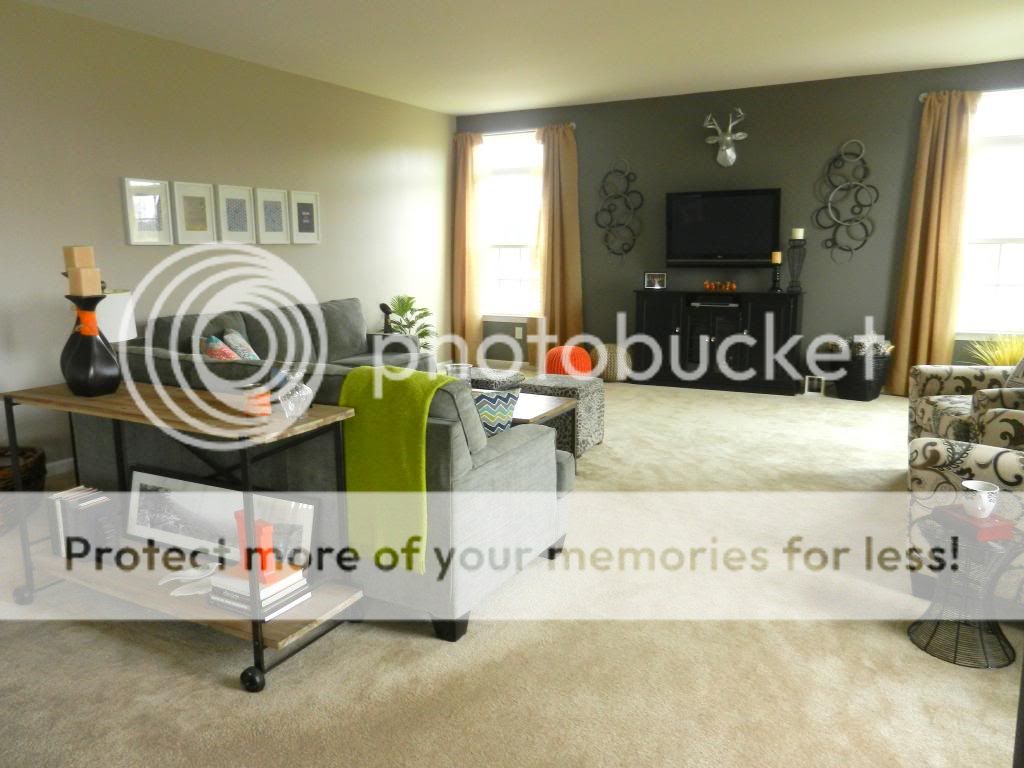
At last, 14 months later, the family room is finally finished (for now)!!  It took me over a year to finish ONE room in our house.  At this rate it's going to be a longggg time before the whole house is done.  But when I look at the before and after pictures, it really has come a long way.  And of course there have been other small and large (the deck!) projects during this time too.

I was going for a rustic/traditional style with this room.  I'm not really an "earthy-tones" type person; I favor cooler grays and I reallllly love distressed wood.  I have also been really into pops(!) of color lately and have been going mostly with orange, teal and lime green.  [I didn't purposefully copy Young House Love's color scheme, but maybe I subconsciously got my inspiration there.]  Knowing how often I change my mind I kept most of the "pops" to easily changeable accessories. 

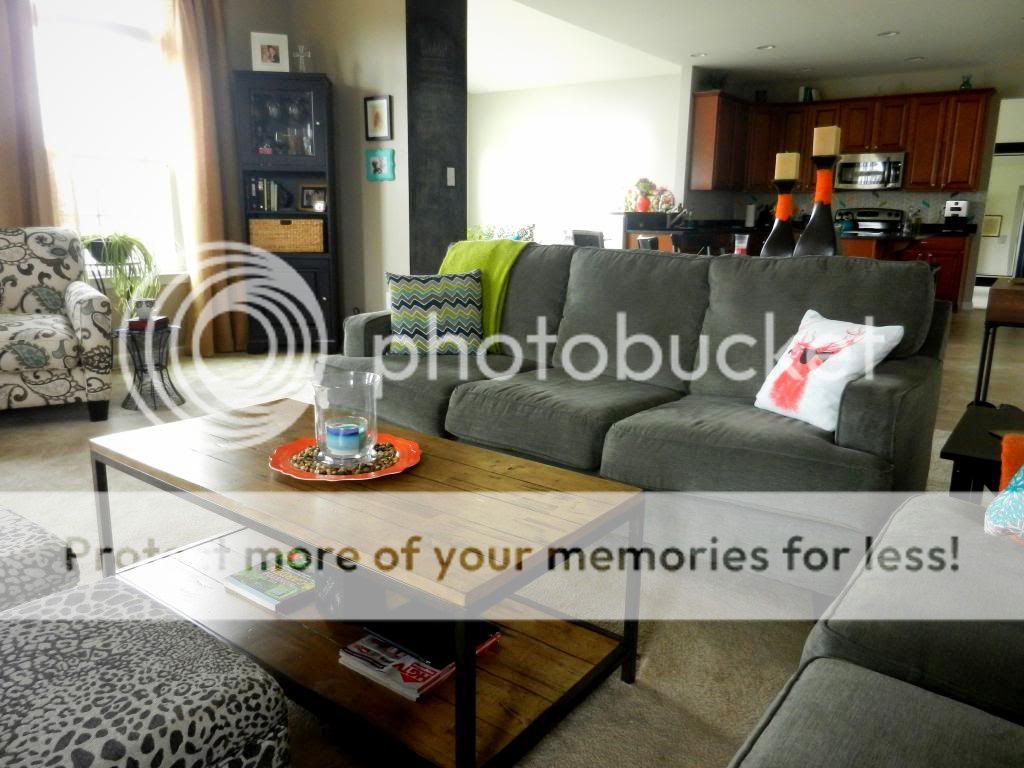
Here's more photos of the finished product (there's some other photos on Part 1 of the Family Room Reveal)!


chalkboard-wall
My chalkboard wall between the morning room and family room, which displays my
"wishlist" and current projects with % complete for each.  Nerd alert!


DIY-burlap-curtains
Are you tired of seeing these chairs yet?  I have been told by people who shall remain nameless that I might be going a little overboard with the chair sharing.  What can I say... I'm in love!

Another "before" angle

...and after
 

This is a semi-custom piece from Howard Miller furniture, which I've had
forever and get so much use out of.

Here are some photos of one final area that I'm still not sure what to do with.  I plan to do something like this in the space next to the couch.  I can't figure out what to do decoration-wise on the wall behind the couch.  I like the pictures I have there, but I don't think they take up enough vertical space and look kind of lost on this wall.  I can't decide whether to add another row, mount them on wood backing similar to this, or just scrap the frame idea and try something totally different.  Any ideas??


Source List:
Burlap Curtains and Galvanized Steel Rods- DIY
TV Console - Custom from Martin's Furniture in Lancaster, PA
Deer Head - West Elm
Metal Circle Wall Art - Kohls
Gray and Orange Poufs - Target
Black Basket with Rope Handles - Pier 1
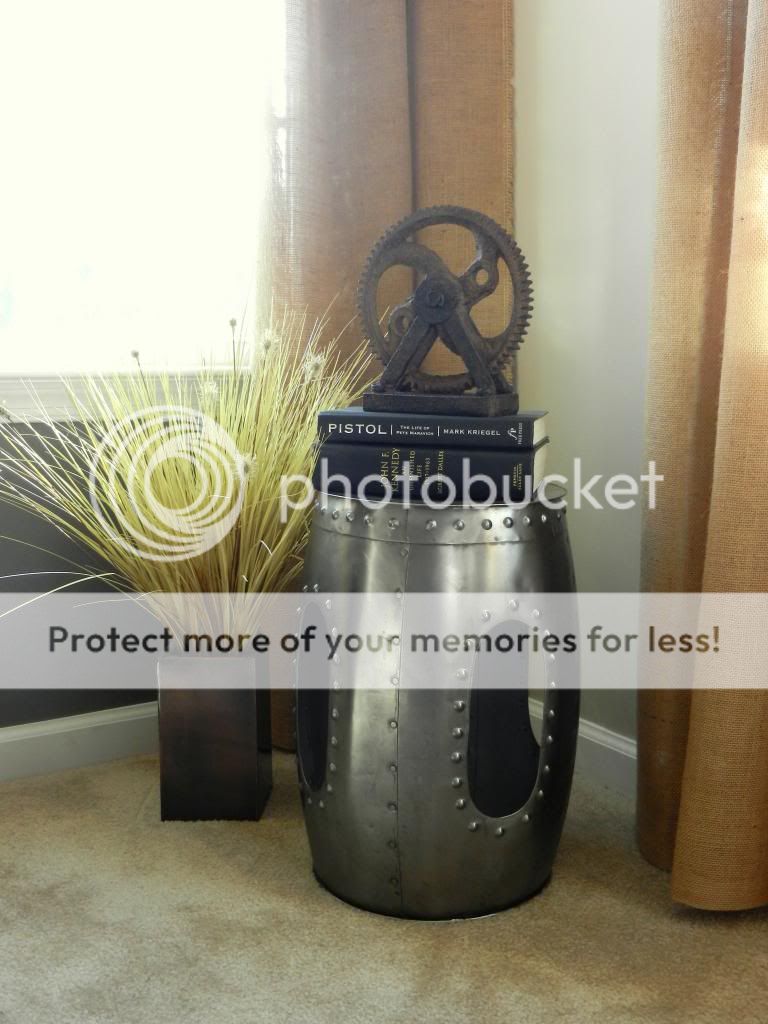
Metal Stool - Joss & Main
Chairs and Couches - Ashley Furniture
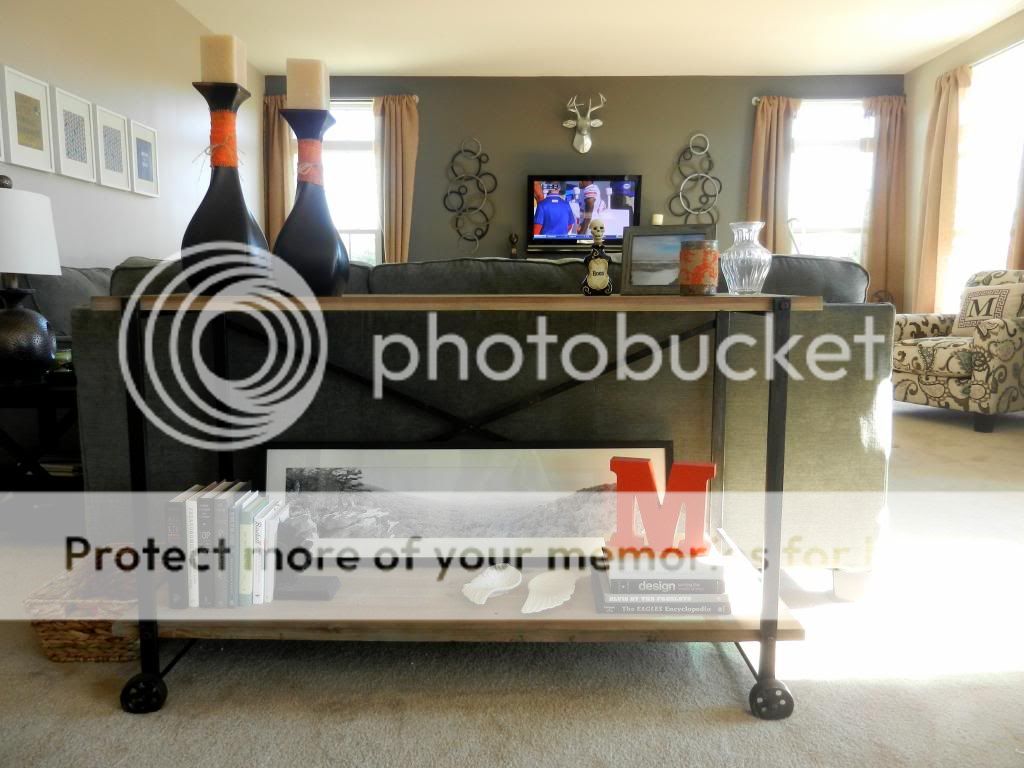
2 End Tables with Chairs and Sofa Table - Joss & Main
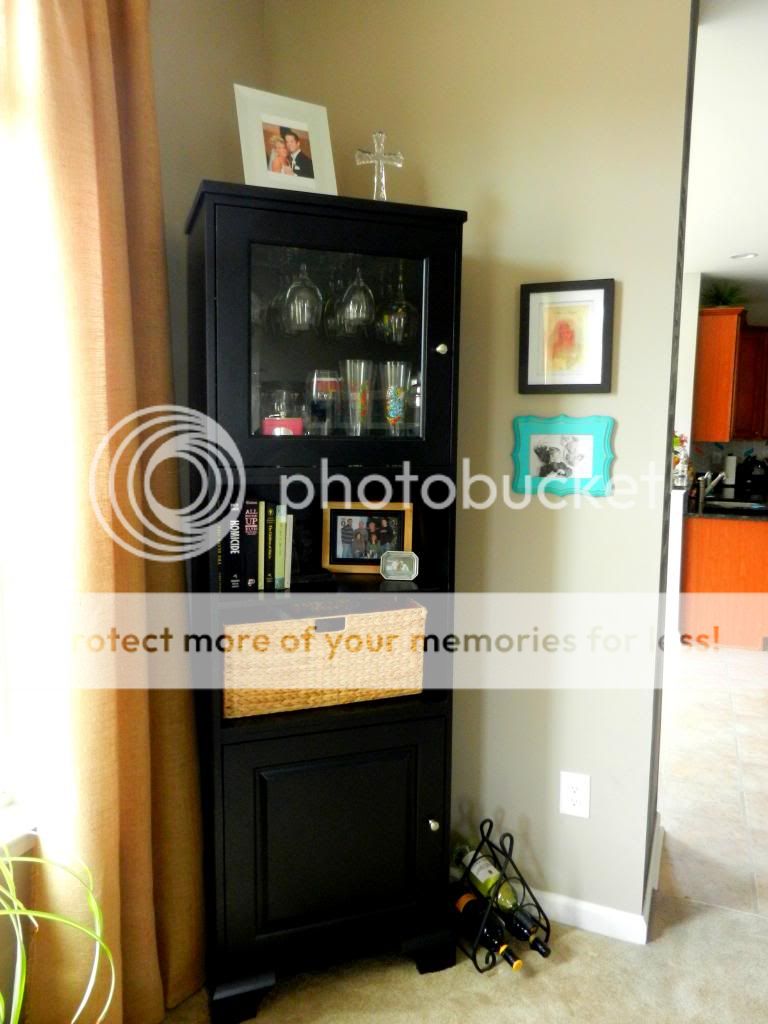
Tall Black Wine/Misc Storage Unit - Howard Miller furniture
Coffee Table - Ballard Designs
Gray Leapord Ottomans and Table Lamp - American Signature Furniture
Pillows - Joss & Main
Clock - Joss & Main
Orange Throw - West Elm
Green Throw - Crate and Barrel 
 
 
I'm linking up at House of Rose, the Humble Brag, the Blissful Bee and The Golden Sycamore go check them out!

Sunday, October 27, 2013

Family Room Reveal - Part 1

I have been away from blog-world for way too long!  Now that wedding/shower/party season is winding down, I hope be able to do more house stuff and blogging.  Although, the holidays are fast approaching, so I'm sure I'll get busy with holiday parties and planning soon too.  There's needs to be more days in the week... or maybe just less work days! 

The family room is really close to being completely furnished/decorated.  I am going to reveal it in two posts since the room wasn't what you would call "clean" today.  You can't see all of the stuff I have piled in front of the couch from the angles of these photos ;).  This room is still a work in progress, but I'm really happy with what we have done so far. 

Enjoy!

This is a shot of almost the whole room.  The pictures above the couch on the left need to be revised... I'll be asking for your opinions on that in an upcoming post.  The couches and chairs are from Ashley Furniture.  The paint colors are Martha Stewart's Potter's Clay on the side walls and Zinc on the back accent wall.

The console table, bookend and angel wing trays are from Joss and Main.  The candle sticks were my mom's (one is super-glued together because Greg dropped it.. haha).  The basket is from Joann's and usually holds phone chargers and errant shoes and socks.  The photo, "M", frame and vase were all gifts.  The photo is actually a picture of me and Greg (we're on a rock on the left) from a camping trip we took a few years back with my brother.

The TV console is a custom piece from Martin's Furniture in Lancaster.  The guys there do amazing work and can make pretty much anything you can imagine.  The paper mache deer head is from West Elm.  The metal circle-art things are from Kohl's.  The larger candle stick is from Joss and Main.  The basket is from Pier1 and the pillows inside came with two ottomans I got from American Signature Furniture (the ottomans will be shown in the next post).  The two poufs are from Target.  The smaller candle stick, frame, and lantern (it's actually a bird feeder) were gifts.  The burlap curtains are home-made.

 
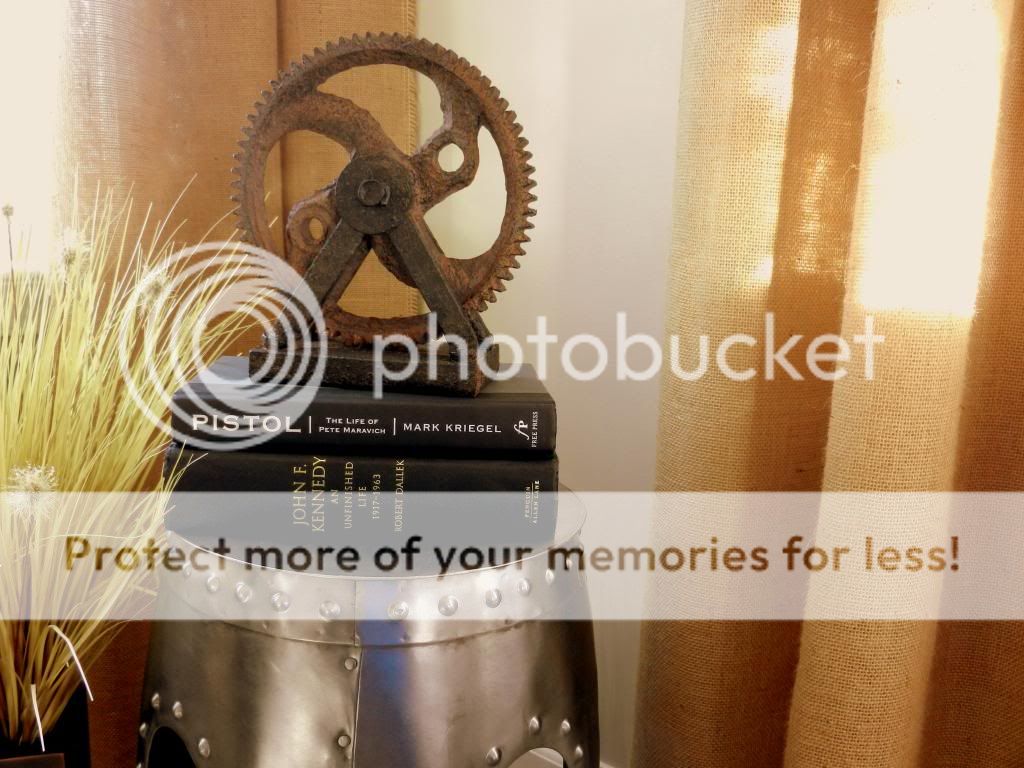
The stool and gear decor are from Joss and Main.  The books are Greg's... he loves biographies.  :)


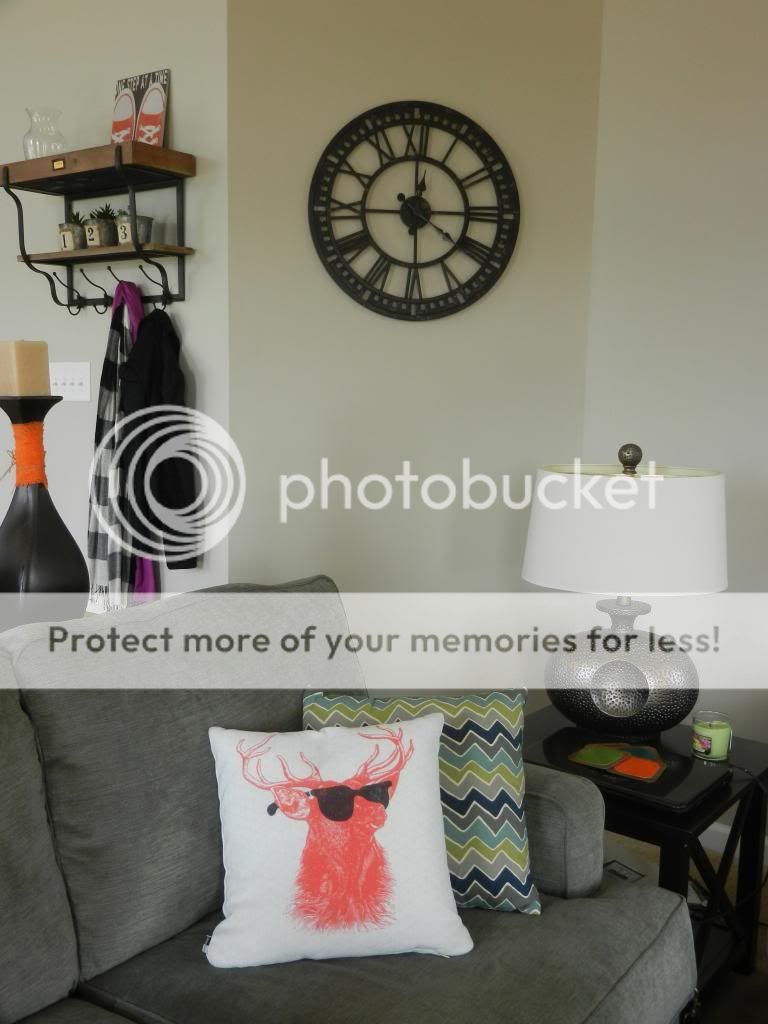
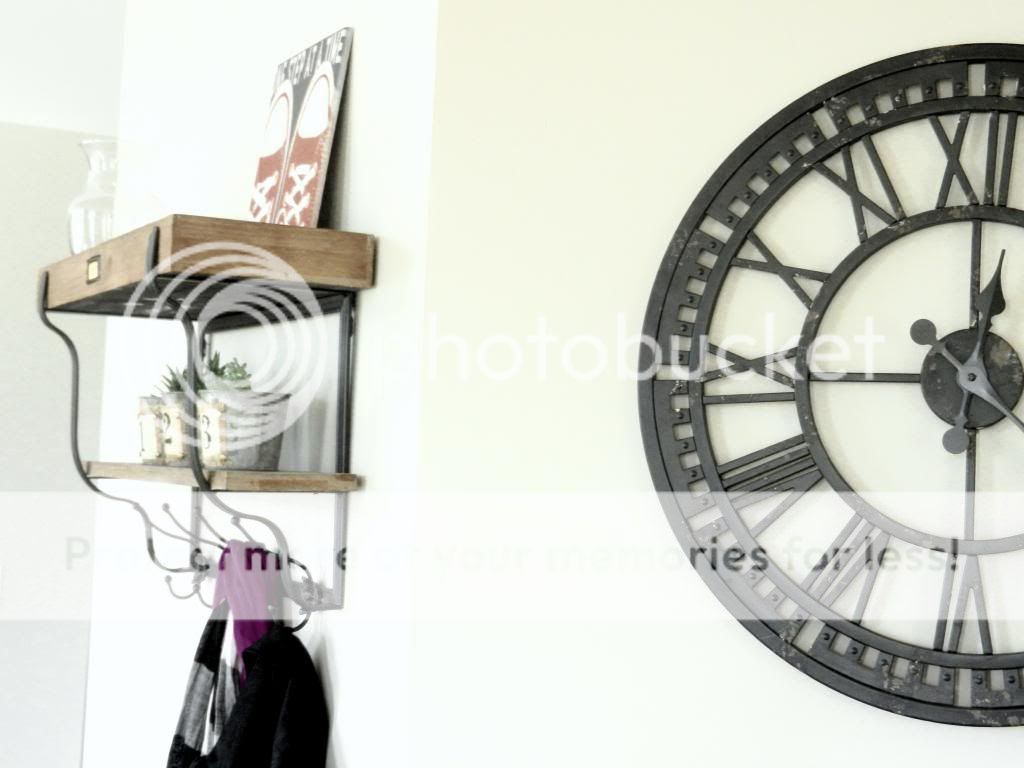
The shelf, pillows and clock are from Joss and Main.  The lamp was on sale for $15 at American Signature Furniture.  The end table is from a second hand store near my house called Wacker's Trading Post.  The coasters are home made.

Here's some close-ups of two of my favorite things in the room, the sunglassed buck pillow and the distressed clock.


The next post will show the rest of the room.  I have a mini-bar storage/bookshelf in one corner that's not shown.  And I'll also take some photos from other angles, which show the front of the couches and the coffee table (which I love) and ottomans.  I'll also share what I still have left to do in this room in an upcoming post.  Why does everything house-related take 10 times more time than you think it will??

How is everyone else's decorating going?  I'd love to see pictures of what you all have going on!