Joss & Main Exclusive online private sales for the home

Friday, November 29, 2013

Top 10 Things I am Thankful For {Home Edition}

I hope everyone had a great Thanksgiving!  Ours was quiet this year, but really nice.  My hope is that our dining room will be at a point that I can have Thanksgiving next year.  We'll see how that goes.  Now that the family room, kitchen and powder room are finished, either the living room and dining room or the study will be next on my list of rooms to tackle.

I am taking a page out of Nadase's book and sharing the top 10 things I am thankful for in our house in honor of the thanksgiving holiday:

10. Basement, which we will probably start finishing in the next year or so. 

9. Bathtub.  I love taking a nice relaxing bubble bath after a stressful workweek.  The tub is about 6 inches shorter than I am... it's huge!

8. The area in which we live... it's the perfect mix of peaceful country and convenience.

7. Big yard...  I actually don't care that much about this but I know it would be top on Greg's list.

6. Bright and airy morning room...  We got the two optional side windows, which really brightens up the space.

5. Giant family room.  I'm glad we opted for the 4' extension... it really makes a difference.
 
 4. My bullnose hardwood steps... so glad we splurged for them at the last minute!

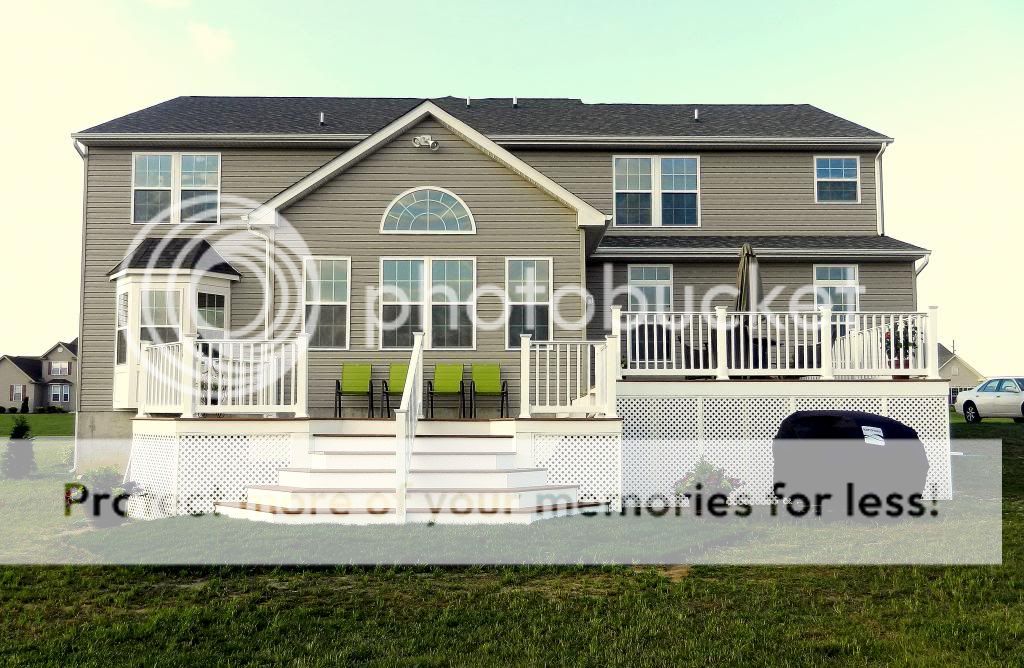
3. The deck!  A lot of blood and sweat (luckily no tears) went in to that baby and it turned out way better than I imagined.

2. The blogging community... It's been so much fun sharing our journey with you guys and getting ideas and inspiration from you all. 

1. The person (and bunny) I share my home with. <3

Sunday, November 24, 2013

DIY Painted Backsplash {Tutorial}

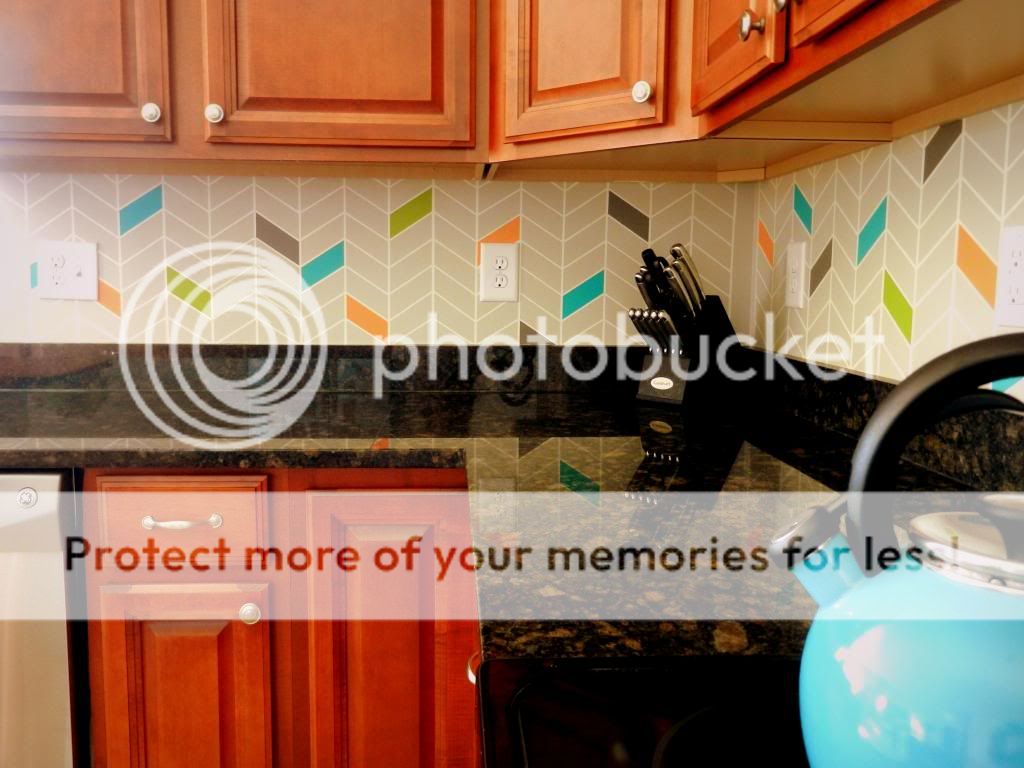
I couldn't decide what kind of backsplash I wanted to do in the kitchen, so I decided to do a painted backsplash for now.  It was super-cheap and adds some character until I figure out what I want to do permanently.  Here's how it turned out:


 I got the color inspiration from this tile backsplash on Houzz.com and the design inspiration from this HGTV magazine cover:


Here's what I used:

- 1.5 rolls of Frog Tape (this stuff is the best for painting clean lines).
-Ruler
-Pencil
-Samples of paint (I used Martha Stewart Opal for the "grout lines")
-Paint brushes

First I sketched out on a piece of paper the size "tiles" I wanted.  Then I added my measurements to a paint stirrer so I didn't have to keep measuring every time, then I made tiny pencil marks on the wall where the "grout lines" should go.

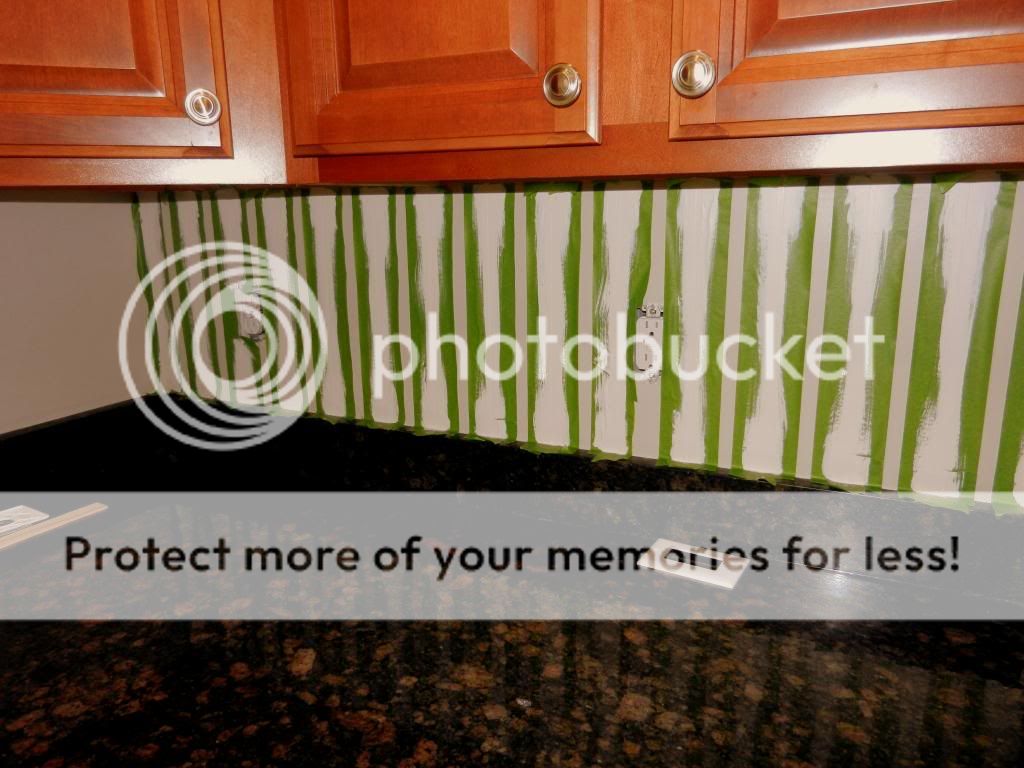
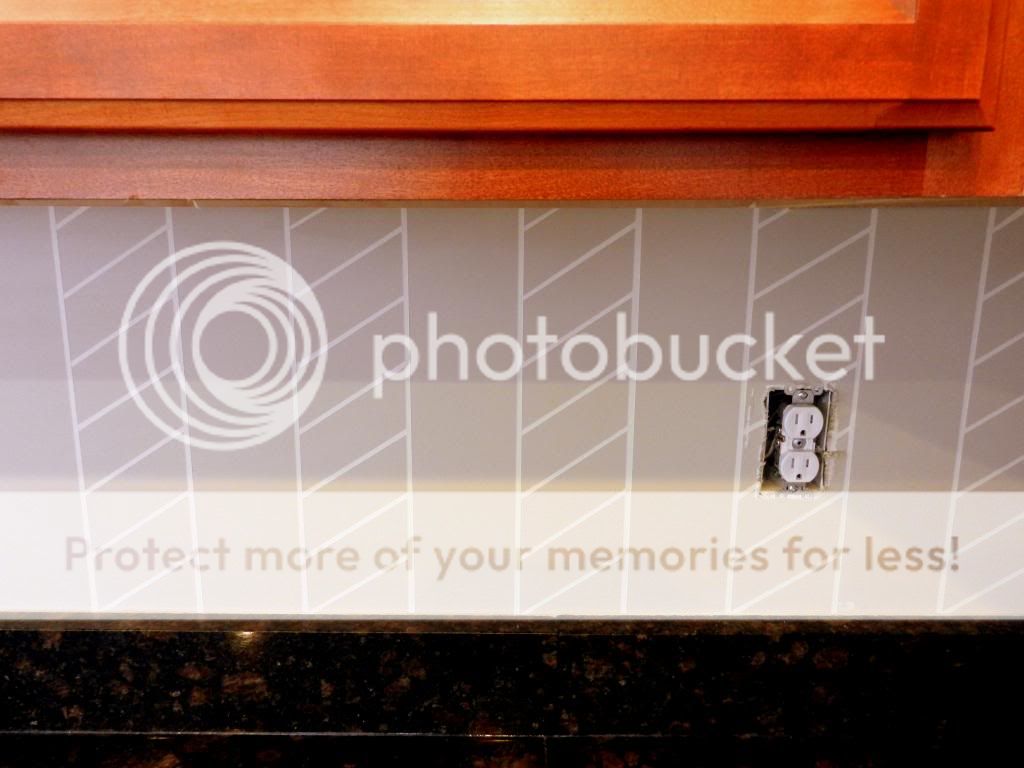
I marked the horizontal lines first, then taped, then painted:

Then I marked, taped and painted the diagonal lines in one direction first, then the other.  I let it dry for at least a day between tapings. 

It was a bit tricky getting to the spots in the very corner...


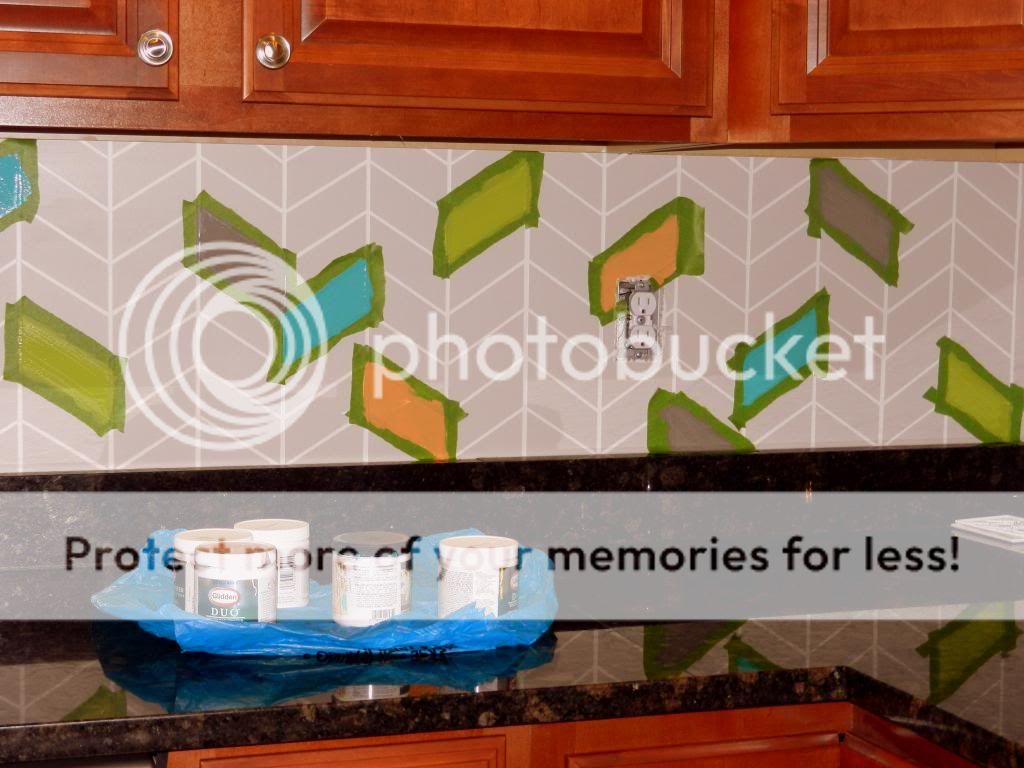
After I did all of the "grout lines", I taped off some random "tiles" to add my colors:


And here are some photos of our finished (for now) kitchen with the new snazzy backsplash!


I'm not gonna lie, this project was rather time-consuming.  It was probably about 8 hours worth of work, but since I had to wait a long time between coats/steps and I don't have all that much free time on my hands, it took several weeks to complete.  BUT, it was super-cheap... $30 total!  I love how it cheers up the kitchen and adds some more "pops" of color. 

Is anyone else doing a new backsplash?  We picked up several tile samples but I could not make up my mind, so we went with this temporary fix.  I'd love to see what you guys are doing!
**I am linking up at these great blogs... go check them out!**

This project was featured on House of Rose and One Project Closer.... woohoo!

Tuesday, November 19, 2013

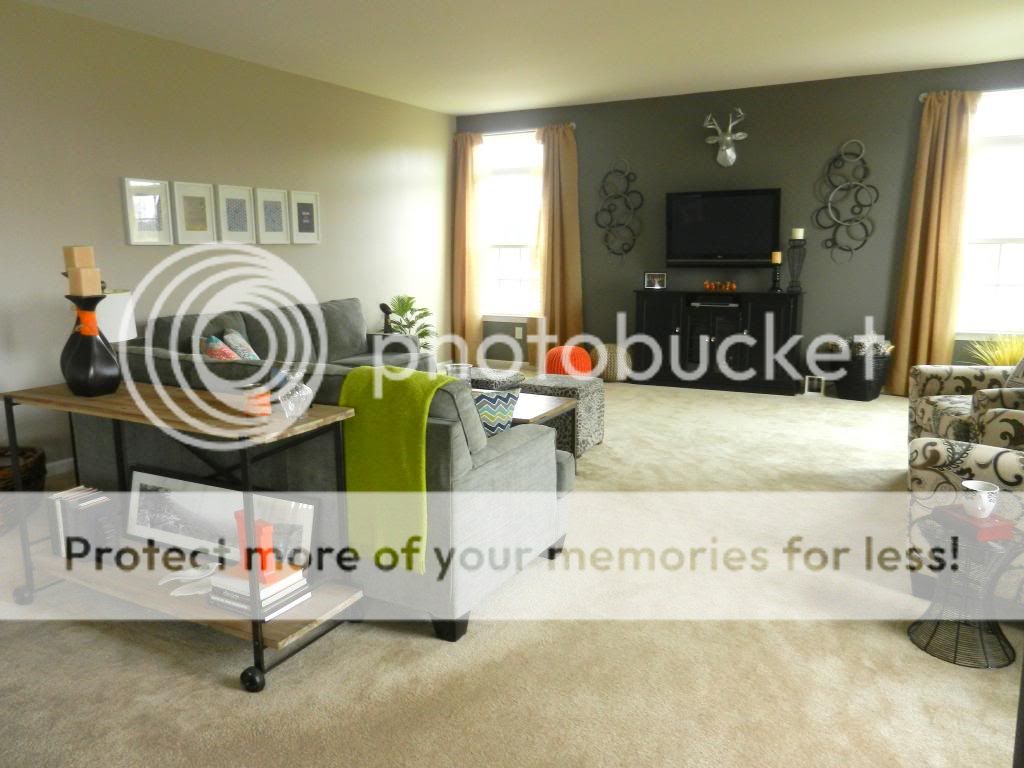
Family Room: Before and After

Greg's going to kill me for using this picture :). 
It's the only "before" shot I have showing the whole family room I swear!
 
At last, 14 months later, the family room is finally finished (for now)!!  It took me over a year to finish ONE room in our house.  At this rate it's going to be a longggg time before the whole house is done.  But when I look at the before and after pictures, it really has come a long way.  And of course there have been other small and large (the deck!) projects during this time too.

I was going for a rustic/traditional style with this room.  I'm not really an "earthy-tones" type person; I favor cooler grays and I reallllly love distressed wood.  I have also been really into pops(!) of color lately and have been going mostly with orange, teal and lime green.  [I didn't purposefully copy Young House Love's color scheme, but maybe I subconsciously got my inspiration there.]  Knowing how often I change my mind I kept most of the "pops" to easily changeable accessories. 

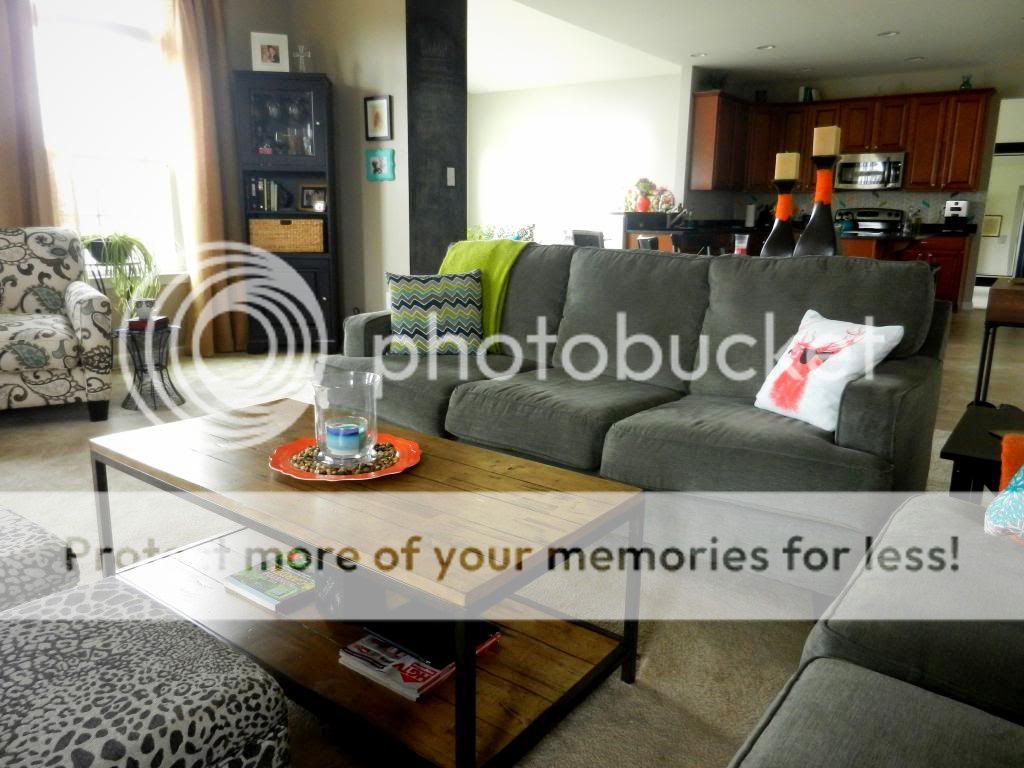
Here's more photos of the finished product (there's some other photos on Part 1 of the Family Room Reveal)!


chalkboard-wall
My chalkboard wall between the morning room and family room, which displays my
"wishlist" and current projects with % complete for each.  Nerd alert!


DIY-burlap-curtains
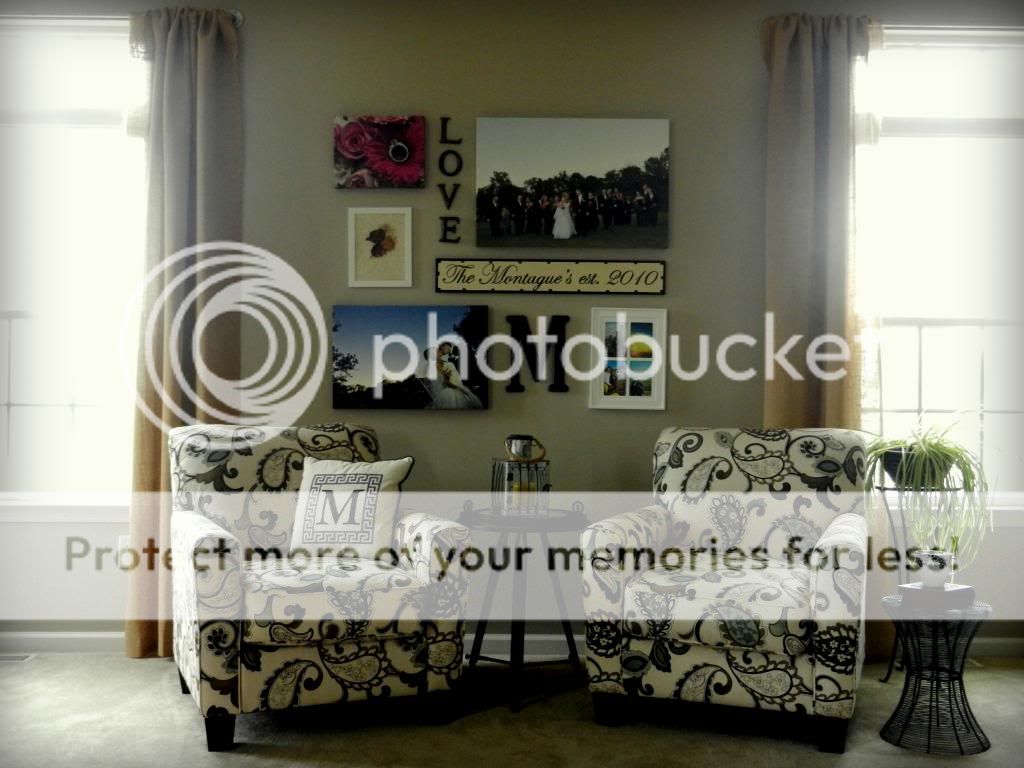
Are you tired of seeing these chairs yet?  I have been told by people who shall remain nameless that I might be going a little overboard with the chair sharing.  What can I say... I'm in love!

Another "before" angle

...and after
 

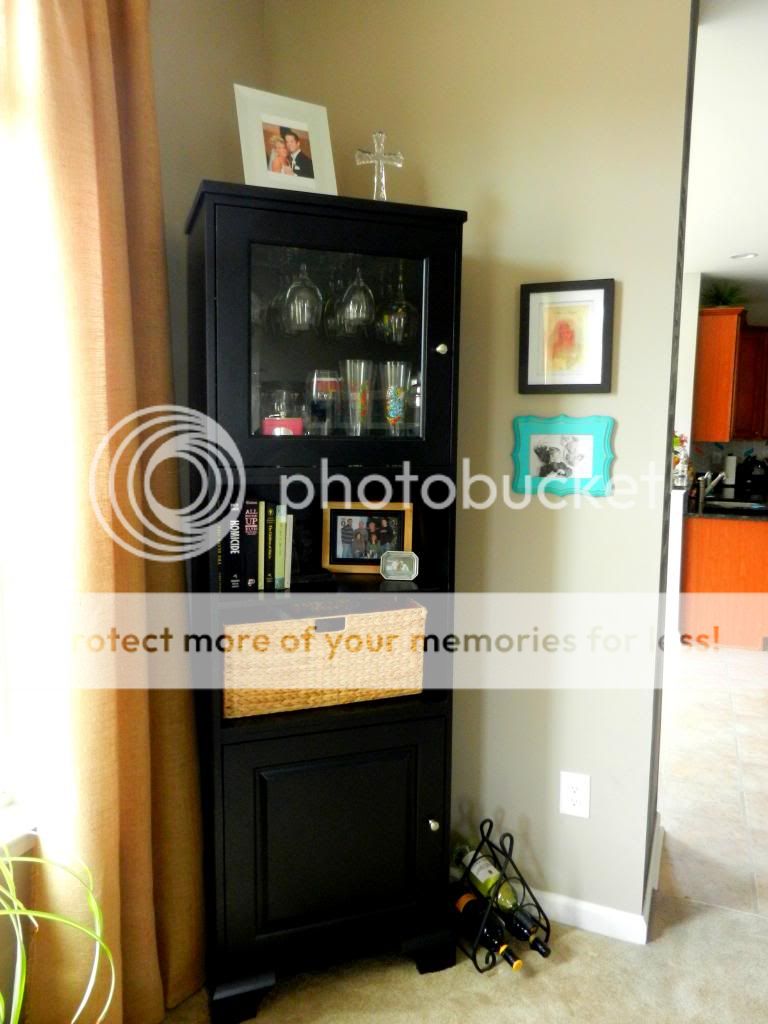
This is a semi-custom piece from Howard Miller furniture, which I've had
forever and get so much use out of.

Here are some photos of one final area that I'm still not sure what to do with.  I plan to do something like this in the space next to the couch.  I can't figure out what to do decoration-wise on the wall behind the couch.  I like the pictures I have there, but I don't think they take up enough vertical space and look kind of lost on this wall.  I can't decide whether to add another row, mount them on wood backing similar to this, or just scrap the frame idea and try something totally different.  Any ideas??


Source List:
Burlap Curtains and Galvanized Steel Rods- DIY
TV Console - Custom from Martin's Furniture in Lancaster, PA
Deer Head - West Elm
Metal Circle Wall Art - Kohls
Gray and Orange Poufs - Target
Black Basket with Rope Handles - Pier 1
Metal Stool - Joss & Main
Chairs and Couches - Ashley Furniture
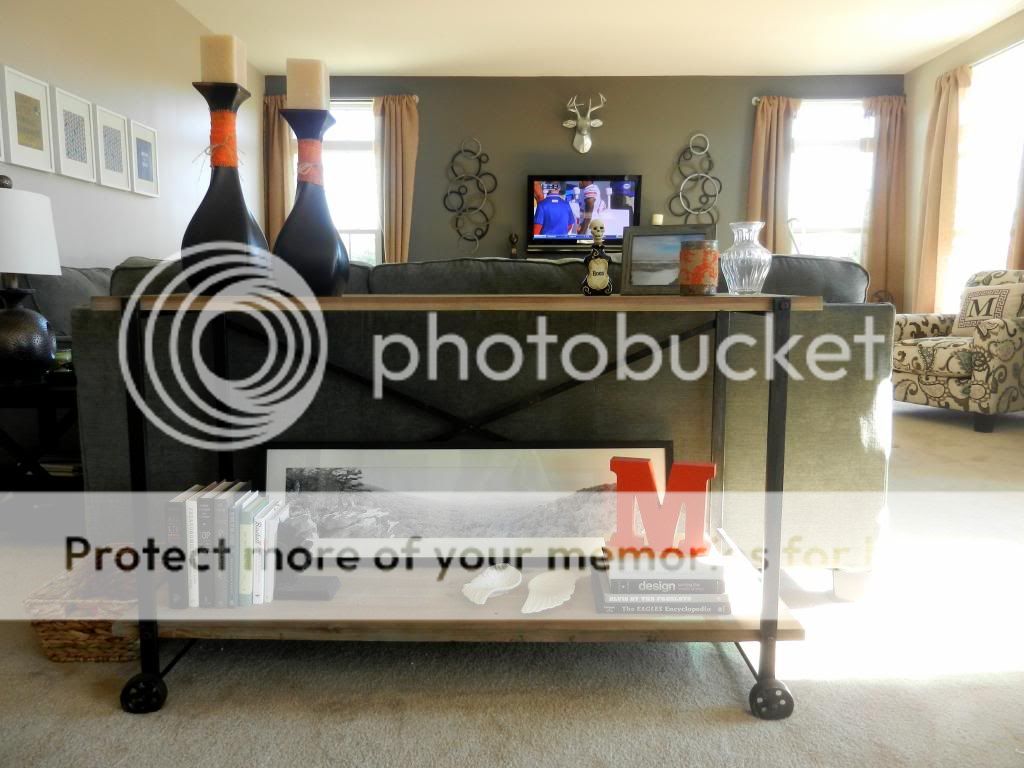
2 End Tables with Chairs and Sofa Table - Joss & Main
Tall Black Wine/Misc Storage Unit - Howard Miller furniture
Coffee Table - Ballard Designs
Gray Leapord Ottomans and Table Lamp - American Signature Furniture
Pillows - Joss & Main
Clock - Joss & Main
Orange Throw - West Elm
Green Throw - Crate and Barrel 
 
 
I'm linking up at House of Rose, the Humble Brag, the Blissful Bee and The Golden Sycamore go check them out!

Monday, November 4, 2013

Drop Zone Table Options

The blogosphere has spoken... console table with drawers for the "drop-zone" it is!  Thanks to everyone who weighed in on my dilemma of whether to do a shelf, a simple table or a table with drawers for our family room drop-zone area.  I totally agree with the general consensus that a table with drawers would be the most functional for this space.

I did some online browsing on my lunch break today and discovered these three tables from Target that I think could be contenders:  Option 1 (in black), Option 2, Option 3 (in black).  As a reminder, here is the space where this will go:


I think Option 2 is my favorite, but I'm concerned with how it will match the wood of the shelves above it and the sofa table (picture below), which it will be right next to.  But do wood tones need to match perfectly in a room as casual as this?  I don't know what the rules are!?!? :)  Or is it just too much natural wood in one room?

Let me know what you think... I'm anxious to finish this spot, so I'll probably order one of these tables this week.  Thank you for your opinions!