Joss & Main Exclusive online private sales for the home
Showing posts with label furniture. Show all posts

Thursday, April 3, 2014

The Pros and Cons of Chalk Paint {and my desk makeover}

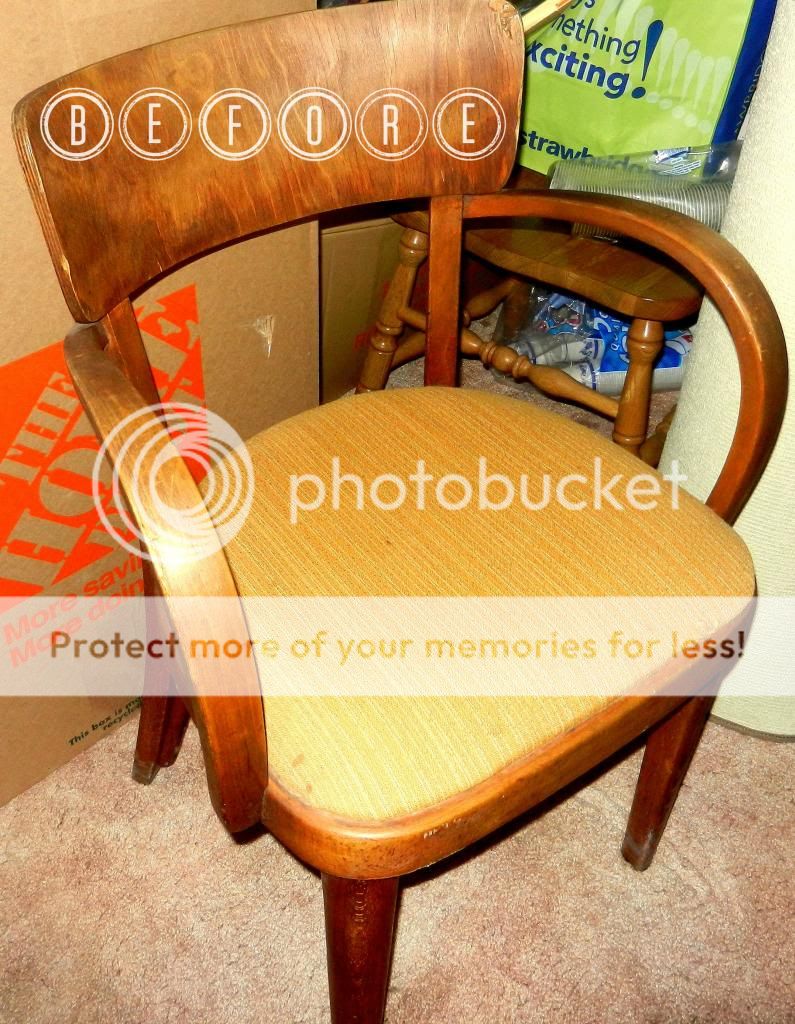
I finally jumped on the chalk paint bandwagon.  I bought a desk off of Craigslist a few months ago.  It's fake wood with that plastic-y coating and it was in pretty bad shape, but it is the exact size and shape that we were looking for. 


Since it was so cheap, I figured if my chalk paint experiment failed, I could just scrap it and look for a new desk.  So far I am pleased with the results, but there are a few caveats to my satisfaction, which are outlined in my "pros" and "cons" list below and explained in more detail in the rest of the post.


What is chalk paint?  It's basically a thick, matte paint that can cover just about anything with very minimal prep work.  Ann Sloane sells the most famous line of chalk paint and has some pretty good information on her website.  Her paint is quite expensive though.  The color options are also somewhat limited, so I decided to make my own.  There are a whole bunch of different "recipes" out there, but I went with the plaster of paris option.

I simply poured about 4 tablespoons of plaster of paris (which can be found at any home improvement store) into a solo cup then slowly mixed water in until it reached my desired consistency.  (The thicker (less water) it is, the more coverage it will provide, but it will also be a bit harder to work with).  Then I added regular old latex paint until the cup was about 3/4 full.  It doesn't matter what finish your base paint is, it will turn out matte when mixed with the plaster of paris.  It also lightens a bit when you add the plaster, so you may want to go a shade darker with your base paint.

Application of the chalk paint was so easy.  All I did was wipe down my desk with some soap and water (since it was used), fill in some dents and divits with wood filler, and then I got to painting.  After the first coat, it was pretty streaky and the coverage wasn't great.  After the second coat, it looked much better, but I applied a third coat just in case.  It dries very quickly so I basically started my second coat as soon as I finished the first.  You do get some little lumps from the plaster so I lightly spot-sanded between coats.  If you want a really smooth finish, you should probably sand the whole thing between coats, but I was ok with seeing some brush strokes.

After first coat

After 3 coats

Application of the paint was easy.  The wax finish coat was not. 

It took me about an hour to do all three coats of paint and then about another 3 hours to apply the wax.  I'm normally a big fan of plain old polyurethane, but I had read in several places that polyurethane doesn't work well with chalk paint so I went with the wax as most people suggest.

The wax (I used Miniwax Finishing Wax) is pretty hard in the can, so it was difficult to get any onto my rag at first.  After a while it became easier, but it was just very time-consuming and tedious.  And it smells!  I applied one coat to the whole desk, and then an extra two coats to the top.  I already nicked a spot on the front of the desk, so I think I may add another coat to the whole thing.  You definitely need to apply the wax, because the chalk paint chips very easily without it.

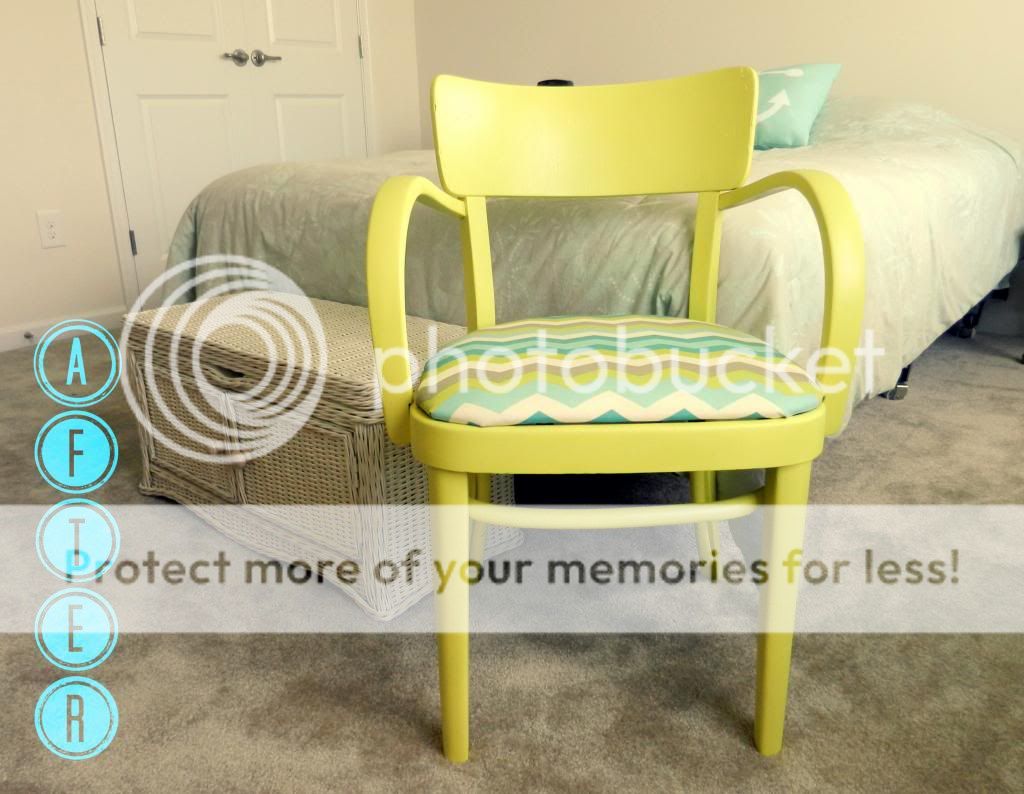
I really like how the chalk paint turned out visually, but I'm not sure that it's going to hold up to wear and tear in the long run.  We shall wait and see.


Will I use chalk paint again?  Definitely!  But I will first do some research on easier ways to apply the wax finish.

Have you bought into the chalk paint craze yet?  If so, what's your opinion?

Sunday, October 27, 2013

Family Room Reveal - Part 1

I have been away from blog-world for way too long!  Now that wedding/shower/party season is winding down, I hope be able to do more house stuff and blogging.  Although, the holidays are fast approaching, so I'm sure I'll get busy with holiday parties and planning soon too.  There's needs to be more days in the week... or maybe just less work days! 

The family room is really close to being completely furnished/decorated.  I am going to reveal it in two posts since the room wasn't what you would call "clean" today.  You can't see all of the stuff I have piled in front of the couch from the angles of these photos ;).  This room is still a work in progress, but I'm really happy with what we have done so far. 

Enjoy!

This is a shot of almost the whole room.  The pictures above the couch on the left need to be revised... I'll be asking for your opinions on that in an upcoming post.  The couches and chairs are from Ashley Furniture.  The paint colors are Martha Stewart's Potter's Clay on the side walls and Zinc on the back accent wall.

The console table, bookend and angel wing trays are from Joss and Main.  The candle sticks were my mom's (one is super-glued together because Greg dropped it.. haha).  The basket is from Joann's and usually holds phone chargers and errant shoes and socks.  The photo, "M", frame and vase were all gifts.  The photo is actually a picture of me and Greg (we're on a rock on the left) from a camping trip we took a few years back with my brother.

The TV console is a custom piece from Martin's Furniture in Lancaster.  The guys there do amazing work and can make pretty much anything you can imagine.  The paper mache deer head is from West Elm.  The metal circle-art things are from Kohl's.  The larger candle stick is from Joss and Main.  The basket is from Pier1 and the pillows inside came with two ottomans I got from American Signature Furniture (the ottomans will be shown in the next post).  The two poufs are from Target.  The smaller candle stick, frame, and lantern (it's actually a bird feeder) were gifts.  The burlap curtains are home-made.

 
The stool and gear decor are from Joss and Main.  The books are Greg's... he loves biographies.  :)


The shelf, pillows and clock are from Joss and Main.  The lamp was on sale for $15 at American Signature Furniture.  The end table is from a second hand store near my house called Wacker's Trading Post.  The coasters are home made.

Here's some close-ups of two of my favorite things in the room, the sunglassed buck pillow and the distressed clock.


The next post will show the rest of the room.  I have a mini-bar storage/bookshelf in one corner that's not shown.  And I'll also take some photos from other angles, which show the front of the couches and the coffee table (which I love) and ottomans.  I'll also share what I still have left to do in this room in an upcoming post.  Why does everything house-related take 10 times more time than you think it will??

How is everyone else's decorating going?  I'd love to see pictures of what you all have going on!

Thursday, September 26, 2013

The Family Room Chairs Have Arrived!

I was planning on waiting until I had finished a few more things to share photos of the family room (such as the last set of curtains, which are missing from the photo below), but our new chairs arrived yesterday and I'm just so thrilled with them that I couldn't wait to share! 

So.....

drumroll please..........

Tada!!!!!!!!!!!

The plan is to get the last set of curtains up this weekend then share the whole family room transformation with you next week.  I want to hurry up because I need some input from you guys on some finishing touches.  Let's hope I can stay on schedule :).

And here's a picture of some of the autumn decorating that has begun at our house.  I can't wait to do more; I love this time of year!

If you want to see a sneak peak of my latest project that's going on in the kitchen follow me on instagram @colettefb!

Friday, August 30, 2013

Chair Makeover

Here's a quick update I made to a chair I salvaged from my grandmother's house after she died.  I love using meaningful/sentimental pieces in my home and I just recently learned that even old, outdated things can be made to fit with my décor with a little fabric and spray paint!  This chair lives in our guestroom, which is the next room on my list to finish after the family room and powder room.  The fabric on the chair is going to be the color scheme of the room. 

Here's the before and after:


Monday, November 5, 2012

Design Suggestions Please!?!?

 
The wall that we have our TV on in the family room is very large and has windows at both ends. I already have a pretty nice media console which we are using there now, but it just looks so small on that giant wall and I don't know what to do with the area on either side of it. If the windows weren't there, I would have considered trying to do some built-in shelving/cabinets similar to the picture below, but I think the flanking windows might make that look funny.


Does anyone have any suggestions for a way I can make our wall less boring, while still using my existing media console? Or do you think I should just put the console somewhere else and start from scratch? I'd really like to find a decorating solution that covers up that outlet on the right too. It really bothers me that that's the closest outlet to the TV... I hate exposed wires!
 
Please offer any ideas you may have!  If you have pictures of your ideas, you can email them to movingtothecountryblog@hotmail.com.
 
Thanks in advance for your help!

Tuesday, June 26, 2012

The Courtland Gate

Greg and I visited a decorated Courtland Gate model this weekend.  Our community's model is empty so it was hard to get a feel for how furniture would fit.  The Courtland Gate is the new "sister plan" to the Courtland (our home), which Ryan Homes is phasing out.  Ours will likely be one of the last Courtlands ever built!  The first floor of the CG is almost exactly the same as the Courtland so I got some great decorating/furnishing ideas.  Here are some pictures of the CG model:

Foyer

Living Room (looking from foyer)

Living Room

Living Room (I plan to put my piano where that display case is)

Dining room (looking from living room)

Dining Room

I like the little bar cart in the bay window area

Dining room looking into living room

Study

Family Room (looking from kitchen).  

Family room (note: this family room has the 4' extension)

Family room (I'm pretty sure this is how we will layout our furniture)

Family room (Greg waiting for me to finish taking pictures :))

Family room

Family room looking into kitchen

I love these chairs!  The color and fabric would go perfect with my couch.

Kitchen

Morning room

Morning room

Powder room

Heading to the basement (I liked those pictures)

Basement (the bar is under the morning room area)

Basement

Basement

Master Bedroom

Master Bedroom (that's the sitting area to the right)

Master bath

Master sitting area (door to the right is the bathroom)

Foyer from upstairs

Things I liked (decorating-wise) from this model:

-Trim in the upper walls of the foyer area.
-Furniture layout of living room and family room.
-I love the chairs and coffee/side tables in the family room.  (I was pleased to see that you can apparently mix wood with black furniture.  I have some black furniture already, but I didn't want to have EVERYTHING black.  I wasn't sure how it would look, but they had a mix of black and dark wood and it looked great).
-Living room curtains (for family room).
-Wall paint colors.  I love the gray accent wall in the family room with the neutral walls running into the kitchen and a slightly darker version of the neutral in the morning room.
-I love the idea of a colorful paint in the master bath.  I will probably do blue instead of the green they had.
-Bar cart in the bay window area in the dining room.
-Study layout.


Note to Anj:  Apparently I didn't get many pictures of the upstairs.  I will probably be back there sometime over the summer so let me know if you want more pictures of anything specific!


Wednesday, May 30, 2012

Need Suggestions: Furniture Layout

Has anyone done the morning room with the standard island?  There are a few upgrades (like this) that I would have liked to have gotten, but in an effort to save money we decided against.  We actually had the gourmet island listed at the beginning, but then traded it for some other things that I wanted more.  I'm totally ok with the layout of the regular island; my only concern is all of that extra space between the end of the island and the family room.  I was thinking maybe I could put a wine fridge or something at the end of the island, but I don't know how that would look.  Another option would be to put a small kitchen table in the kitchenette area and use the morning room as more of a "florida" sitting-room with some chairs and a coffee table.  I picture myself sitting in there with a book and coffee watching my future children. :)   Below is a sketch and renderings of my first option with the kitchen table in the morning room:

Option 1 with table in morning room
 

Looking from kitchen into family room


Looking from family room into kitchen (lots of open space)
 

Here's a sketch/renderings of the second layout idea with the table in the kitchenette area and the morning room as a sitting area:


My other dilemma is where to put our cable jack in the family room.  I was originally thinking directly across from the kitchen because that fits my desired furniture layout the best (and then I could see the TV from the kitchen while I'm cooking dinner), but we are getting two windows on that wall, so depending on how far apart they will be I'm not sure if it would be good to have a tv on that wall.  The other option is on the wall between the family room and the garage since there are no windows on this wall.  Here are sketches/renderings of the furniture layouts for each option.  Any thoughts or suggestions? 

Option 1: TV on wall opposite kitchen (we are getting two windows on this wall... not sure how far apart they will be)


Option 1 rendering

Option 2: TV on wall between garage and living room (no windows on this wall)


Option 2 rendering